Best Practices for Washing Salad Greens: A Complete Home Kitchen Guide
Learn the best practices for washing salad greens at home. Discover step-by-step methods, drying and storage tips, and common mistakes to avoid for safer, crisper salads.
Washing salad greens properly is one of the simplest ways to make your meals safer, fresher, and more enjoyable. Whether you are rinsing a head of lettuce from the supermarket or delicate baby spinach from the farmers' market, the way you wash, dry, and store your greens makes a big difference in both food safety and flavor.
This guide explains step by step how to wash salad greens correctly, which tools to use, and what mistakes to avoid. By following these best practices, you will reduce the risk of foodborne illness, keep your greens crisp and vibrant, and minimize food waste in your kitchen.
Why It Is Important to Wash Salad Greens
Raw salad greens are often eaten without any cooking, which means any dirt, bacteria, or pesticide residues remaining on the leaves go straight onto your plate. Proper washing helps reduce:
- Soil and grit trapped in crevices and between leaves.
- Microorganisms such as bacteria that may be present on the surface.
- Residual farm materials like sand, small insects, or plant debris.
- Excess surface pesticides or other contaminants that water can help rinse away.
While washing cannot make contaminated food completely sterile, it significantly lowers the microbial load and removes visible dirt. Combined with careful sourcing and safe handling, it is a critical step in food safety at home.
Know Your Greens: Different Types, Different Needs
Not all salad greens behave the same way in water. Understanding their structure helps you choose the best washing method.
Loose Leafy Greens
Examples: loose leaf lettuce, spring mix, arugula, spinach.
These greens have many exposed surfaces and can trap dirt easily, especially near the stems and veins. They typically benefit from soaking in cool water and gentle agitation.
Head Lettuce and Compact Greens
Examples: iceberg, romaine hearts, butterhead, radicchio.
Dirt and insects often collect near the base where leaves meet the core. These greens usually need to be cut or separated before washing so water can reach each leaf.
Sturdy Greens and Herbs
Examples: kale, chard, cabbage, parsley, cilantro.
These hold up well to more vigorous washing. However, delicate herbs still require a gentle touch to avoid bruising and loss of aroma.
Essential Tools for Washing Salad Greens
You do not need specialized equipment to wash greens effectively, but a few simple tools make the job easier and more hygienic.
- Large bowl or clean sink: For soaking and swishing greens to loosen dirt.
- Colander or fine-mesh strainer: For draining the greens after soaking.
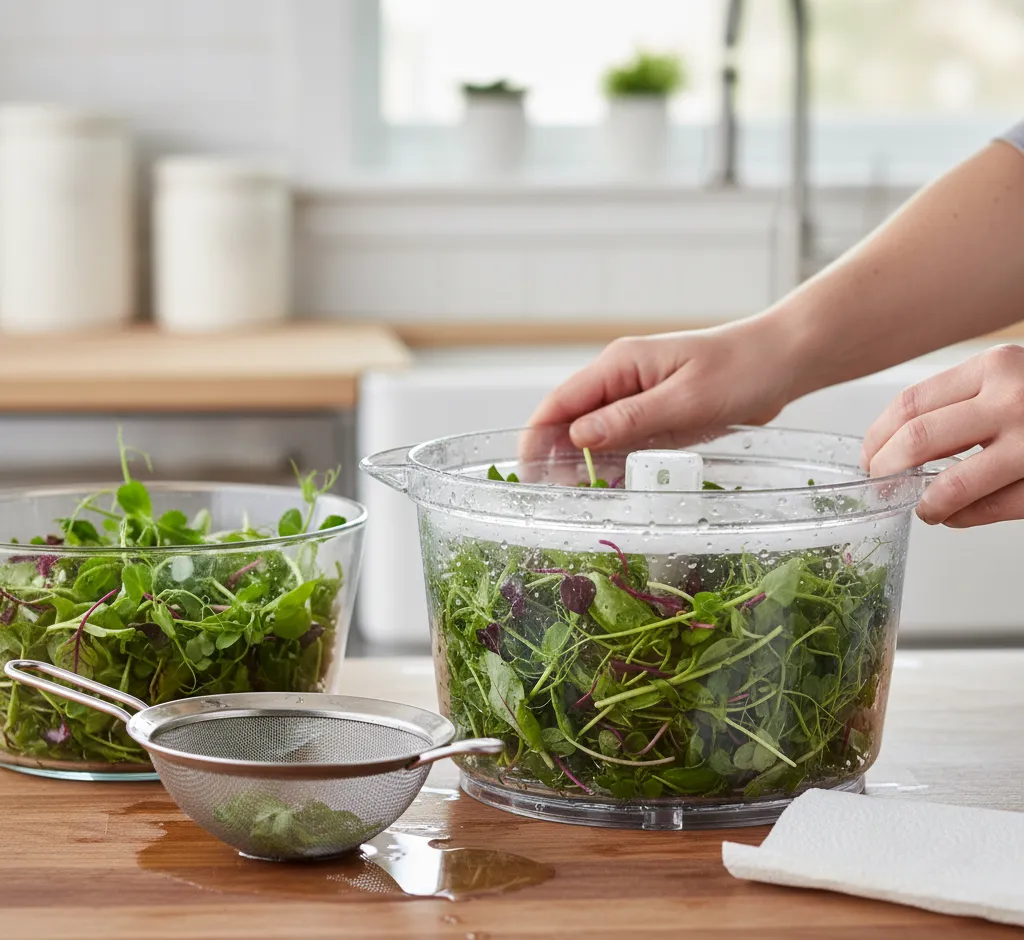
- Salad spinner: One of the best tools for drying greens quickly and gently.
- Clean kitchen towels or paper towels: For blotting or air-drying if you do not have a spinner.
- Storage containers or resealable bags: For keeping washed greens fresh in the refrigerator.
Whichever tools you use, ensure they are clean before you start. Washing greens in a dirty sink or using contaminated towels can reintroduce bacteria you are trying to remove.
Step-by-Step: How to Wash Salad Greens Properly
1. Wash Your Hands and Clean the Work Area
Before touching your salad greens, wash your hands thoroughly with soap and warm water for at least 20 seconds. Wipe down your countertop, cutting board, and any tools you will use. This prevents cross-contamination from raw meat, unwashed produce, or other kitchen surfaces.
2. Inspect and Trim the Greens
Remove any damaged, slimy, or yellowing leaves. These can spoil the rest of the batch more quickly and may harbor more bacteria. Trim the stem ends or core if needed, especially on head lettuces and compact greens, to allow individual leaves to separate during washing.
3. Fill a Bowl or Sink with Cool Water
Use plenty of cold or cool tap water. The idea is to immerse the greens and give the dirt somewhere to fall away from the leaves. Avoid warm or hot water, which can cause wilting and degrade texture.
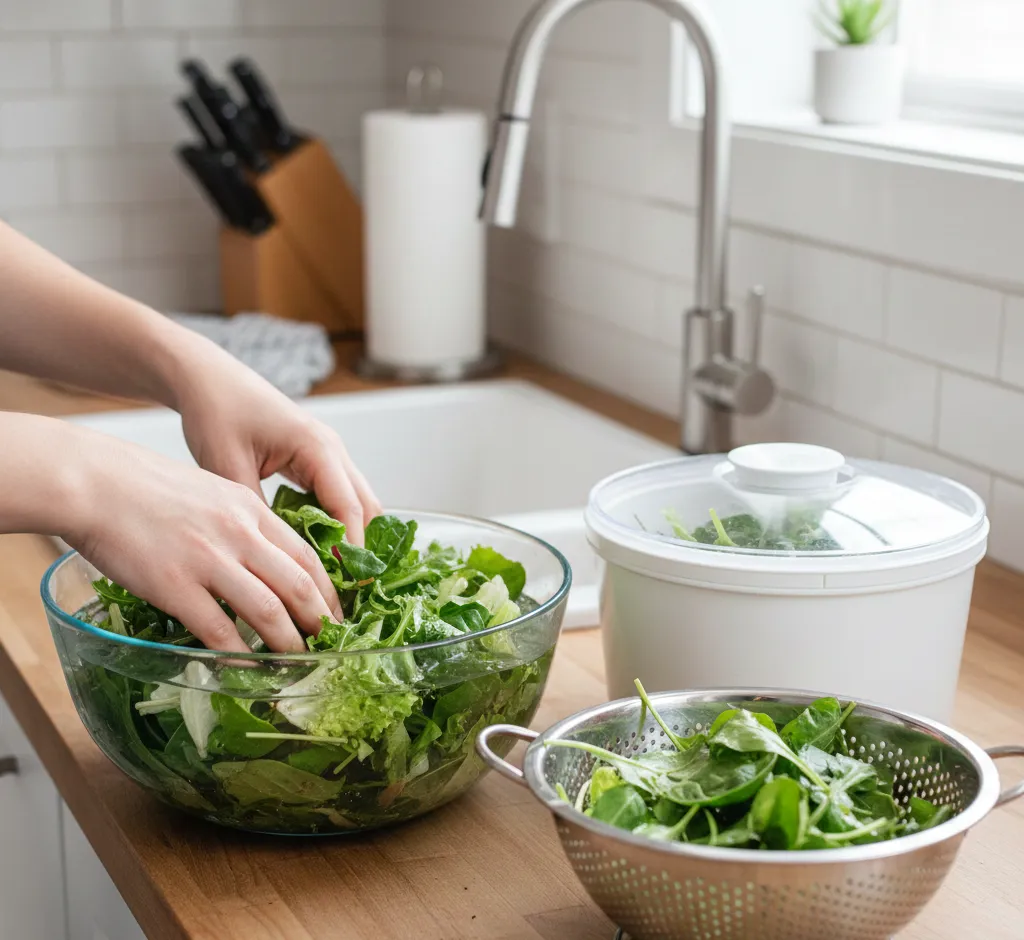
4. Submerge and Gently Agitate
Add the greens to the water and gently swish them around with your hands. Lift and lightly shake the leaves under water, then let them sit for a minute or two. As the greens float, dirt and grit will sink to the bottom of the bowl or sink.
For very sandy greens (common with farmers' market spinach or arugula), drain the water and repeat this process with fresh water until no visible dirt remains at the bottom.
5. Lift, Do Not Pour
When the greens look clean, lift them out of the water and place them in a colander or salad spinner basket. Do not simply pour the water out of the bowl over the greens, or the sediment and sand at the bottom may wash right back onto the leaves.
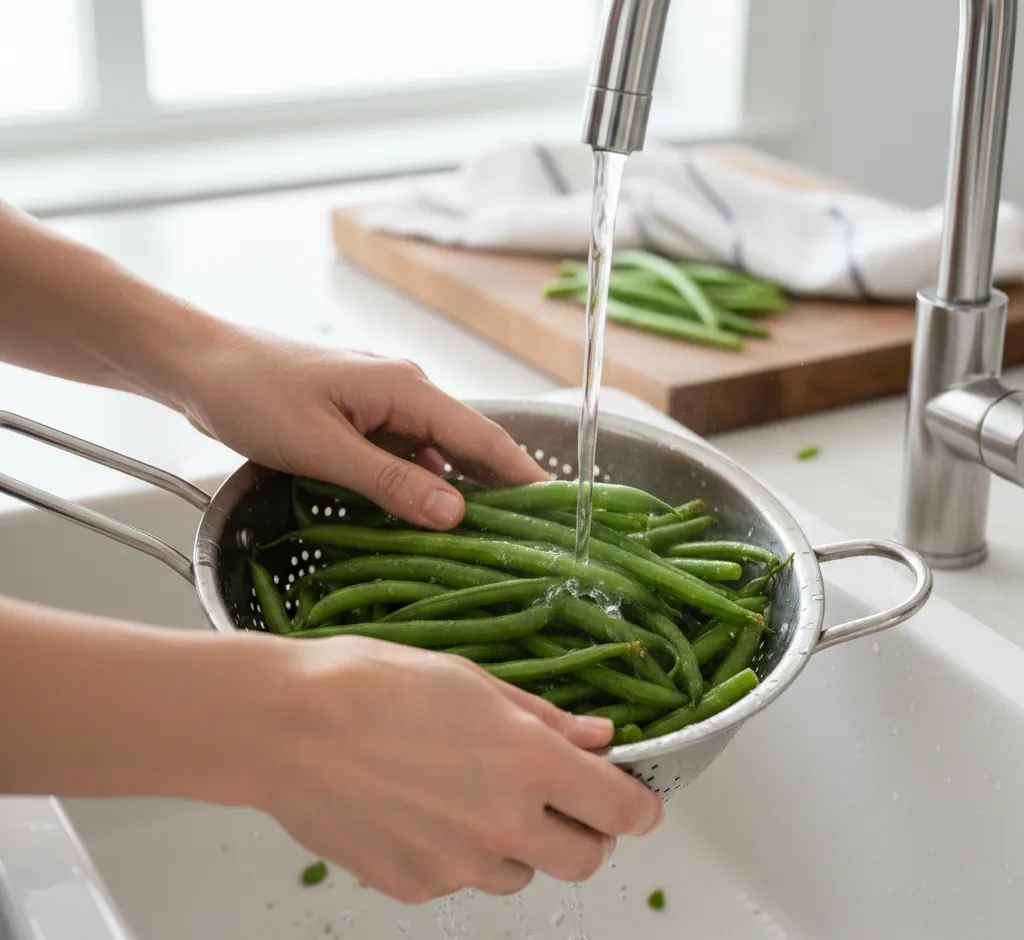
6. Rinse Under Running Water (Optional but Helpful)
For extra assurance, especially with heavily soiled greens, give them a brief rinse under cool running water in the colander. This step helps remove any remaining particles clinging to the leaves.
Best Practices for Drying Salad Greens
Drying is just as important as washing. Wet greens dilute dressings, encourage spoilage, and lead to limp salads. Removing moisture helps your greens stay crisp and last longer.
Use a Salad Spinner
A salad spinner is the most efficient way to dry greens. After washing:
- Place the greens in the spinner basket in loose layers, not tightly packed.
- Spin in short bursts at first to avoid bruising very delicate leaves.
- Check for excess water, empty the bowl, and spin again if needed.
Stop when the leaves feel mostly dry but still slightly cool and hydrated. Over-spinning is rare, but if you notice tearing or bruising, spin more gently next time.
Air-Drying and Towel-Drying
If you do not have a salad spinner, you can still dry greens effectively:
- Spread the washed greens in a single layer on a clean kitchen towel or paper towels.
- Pat gently with another towel to absorb surface moisture.
- Let the greens sit for several minutes to air-dry before storing or serving.
Avoid wringing or squeezing the leaves, which damages the cell structure and leads to faster wilting.
How to Store Washed Salad Greens for Maximum Freshness
Once your greens are clean and mostly dry, proper storage keeps them fresh, crisp, and ready to use.
Use Breathable Containers
Place the greens in a large container with a lid or in resealable bags. Add a dry paper towel or clean cloth inside to absorb any remaining moisture. This helps prevent sogginess and extends shelf life.
Do not pack the greens too tightly. Air circulation around the leaves helps reduce pressure and bruising, keeping the texture lighter and crisper.
Refrigerate Promptly
Store washed salad greens in the refrigerator, preferably in the crisper drawer, where humidity and temperature are more stable. Aim to use them within a few days, although well-dried greens can often last up to a week depending on the variety.
Refresh Tired Greens
If your greens start to look slightly limp but are still safe to eat, you can refresh them:
- Submerge the leaves in a bowl of ice-cold water for 10–15 minutes.
- Dry them again with a spinner or towels.
- Use them promptly in salads, sandwiches, or cooking.
This process perks up the texture by rehydrating the cells, making the greens taste fresher.
Should You Wash Pre-Washed or “Ready-to-Eat” Greens?
Many packaged salads are labeled as “pre-washed”, “triple-washed”, or “ready to eat.” These have been cleaned during processing and are generally considered safe to eat directly from the package when handled correctly.
Food safety authorities often note that rewashing these greens at home does not significantly improve safety and may even introduce new contaminants from your sink, hands, or utensils. However, there are a few best practices you should still follow:
- Check the use-by date and do not eat greens that are past their prime.
- Inspect the contents for slimy or discolored leaves and remove them.
- Store the bag in the refrigerator and close it tightly after opening.
- Use clean utensils or hands when handling the greens.
If you prefer to rewash pre-washed greens for peace of mind, you can follow the same soaking and drying steps as for loose greens, taking extra care to keep your equipment very clean to avoid cross-contamination.
Common Mistakes to Avoid When Washing Salad Greens
A few simple errors can undo your good work or reduce the quality of your greens. Watch out for these common pitfalls:
1. Using Hot or Warm Water
Warm water causes greens to wilt and can create a friendlier environment for bacteria. Always use cool or cold water for washing and soaking.
2. Skipping the Soak
Rinsing greens quickly under running water without soaking often fails to remove grit and trapped dirt. The soak-and-lift method is much more effective for thorough cleaning.
3. Pouring Off the Water Instead of Lifting Greens Out
When you pour greens and water together through a colander, the dirt that has settled to the bottom can redistribute over the leaves. Lifting the greens out of the water keeps the sediment behind.
4. Leaving Greens Too Wet
Storing very wet greens promotes spoilage, leads to off odors, and makes salads watery. Take the time to spin or blot-dry thoroughly before refrigerating.
5. Washing Too Far in Advance
Washing and storing greens properly can extend their life, but washing them many days before you plan to eat them increases the risk of quality loss. Ideally, wash them the day you buy them or within a day, and plan to use them within several days.
Do You Need Vinegar, Baking Soda, or Produce Washes?
Many home cooks wonder whether plain water is enough or if they should use vinegar, baking soda, or commercial produce washes to clean their salad greens.
Plain Water Is Usually Sufficient
For most situations, thorough washing with cool running water and soaking is effective at removing dirt and reducing surface bacteria. This remains the most widely recommended method by food safety experts for home kitchens.
Vinegar or Mild Acid Solutions
Some people use a diluted vinegar solution to wash greens, typically a ratio such as 1 part vinegar to 3 parts water. This may help reduce certain microbes, but it can also slightly alter the flavor and aroma of delicate leaves.
If you choose to use vinegar:
- Limit the soaking time to a few minutes.
- Rinse well with plain water afterward to remove any residual taste.
- Avoid high concentrations that can damage the leaves.
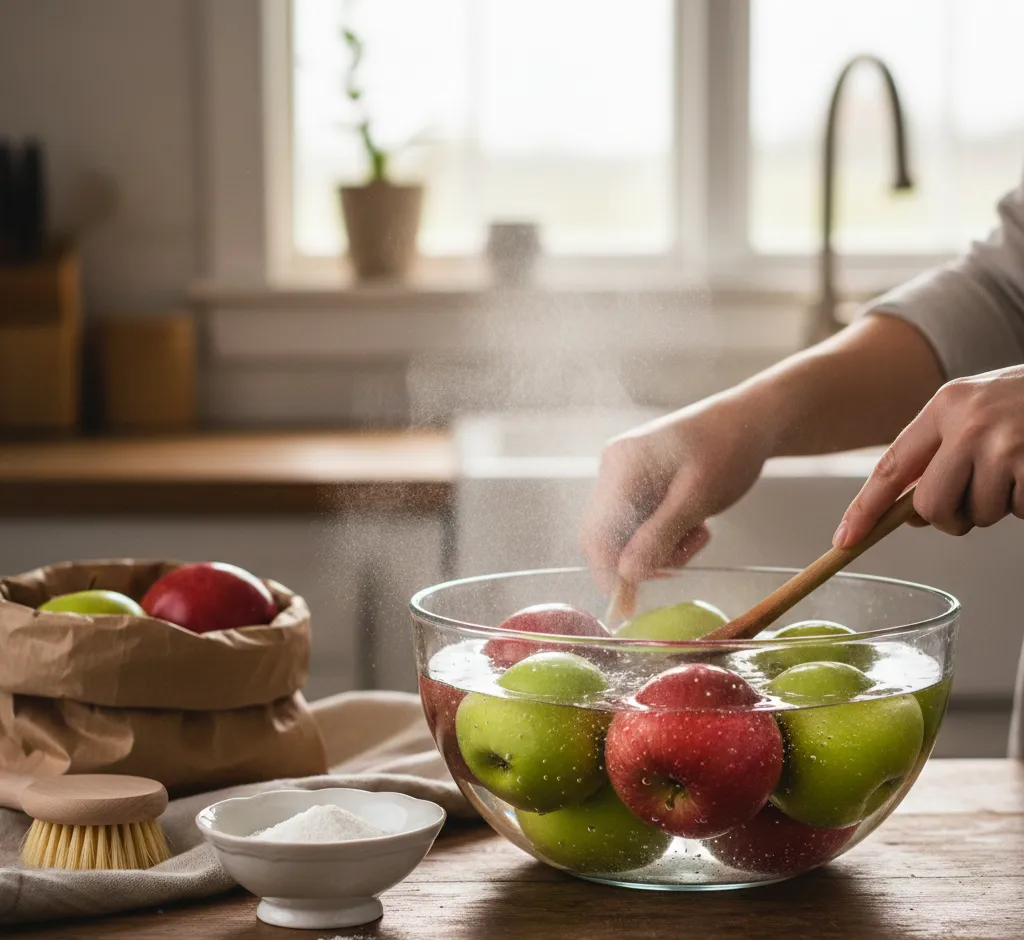
Baking Soda and Commercial Washes
Baking soda solutions are more often used for firm fruits and vegetables rather than delicate salad greens. Commercial produce washes are widely available, but scientific evidence does not consistently show a major advantage over clean water for leafy greens.
In most home kitchens, the best combination remains:
- Good sourcing and handling.
- Careful trimming and inspection.
- Thorough washing with cool water.
- Proper drying and cold storage.
Food Safety Tips for Handling Salad Greens
Beyond washing and drying, a few general practices help keep your salads safe:
- Separate raw meats and produce. Use different cutting boards and utensils to avoid cross-contamination.
- Wash your hands often. Before and after handling raw foods, especially meat, poultry, or eggs.
- Keep greens cold. Do not leave washed greens at room temperature for long periods.
- When in doubt, throw it out. If greens look slimy, smell unpleasant, or show signs of mold, discard them.
These habits, combined with proper washing, contribute to a safer kitchen and healthier salads.
Making Salad Greens Part of a Healthy Routine
Once you develop a simple system for washing and storing salad greens, you will find it much easier to enjoy them regularly. Many people like to wash a large batch at once and store it in the refrigerator, so fresh greens are ready for quick salads, sandwiches, smoothies, or cooked dishes throughout the week.
By following the best practices in this guide, you will:
- Improve the taste and texture of your salads.
- Increase the safety of your raw greens.
- Reduce food waste by storing greens properly.
- Make healthy choices more convenient in your daily routine.
Clean, crisp salad greens are the foundation of countless nutritious meals. A few extra minutes at the sink can transform a simple bowl of leaves into a fresh, safe, and delicious part of your table.