Build Your Own DIY Raspberry Trellis: Simple Steps for a Bountiful Harvest
Learn to build a DIY raspberry trellis with our step-by-step guide. Essential materials, designs, and tips for healthier plants and bigger harvests in your garden.
Introduction to Raspberry Trellises
Raspberries are one of the most rewarding fruits to grow in a home garden. Their sweet-tart flavor, vibrant colors, and versatility in recipes make them a favorite among gardeners. However, without proper support, raspberry canes can become tangled, diseased, and unproductive. This is where a DIY raspberry trellis comes in—a simple, cost-effective structure that keeps canes upright, improves air circulation, and makes harvesting easier. In this guide, we'll explore everything you need to know about building your own raspberry trellis, from selecting materials to installation tips and maintenance advice.
Whether you're a novice gardener with a small patch or an experienced horticulturist expanding your berry collection, a trellis can transform your raspberry yield. By elevating the canes off the ground, you'll reduce pest issues, prevent rot, and encourage more fruit production. Plus, the satisfaction of crafting it yourself adds a personal touch to your garden. Let's dive into the benefits and get started on your project.
Why Your Raspberries Need a Trellis
Raspberry plants are vigorous growers, producing long, arching canes that can reach up to six feet in height. Without support, these canes flop over, creating a dense mat that's hard to manage. A trellis addresses several key challenges:
- Improved Airflow: Spacing out the canes prevents fungal diseases like anthracnose and gray mold, which thrive in humid, crowded conditions.
- Easier Harvesting: Upright canes mean berries are at eye level, reducing back strain and allowing you to spot ripe fruit more easily.
- Higher Yields: Supported plants direct energy toward fruit production rather than sprawling growth, often resulting in 20-30% more berries.
- Better Pest Control: Elevated canes are less accessible to ground-dwelling pests like slugs and voles.
- Aesthetic Appeal: A well-structured trellis turns your raspberry patch into a tidy, ornamental feature that enhances your garden's overall look.
Investing time in a trellis now pays dividends in healthier plants and sweeter harvests year after year. For summer-bearing varieties like 'Heritage' or everbearing types like 'Fall Gold,' the right support system is essential.
Choosing the Right Design for Your Garden
Not all raspberry trellises are created equal. The best design depends on your space, plant type, and aesthetic preferences. Here are three popular options to consider:
The Classic V-Trellis
This design uses two parallel wires stretched between posts, forming a V-shape. It's ideal for small to medium gardens and works well for both summer and everbearing raspberries. The angled wires allow canes to lean outward, providing stability and easy access.
The T-Post System
Utilizing sturdy T-posts and horizontal wires, this setup is quick to install and highly durable. It's perfect for larger rows and can withstand windy conditions. Add cross-bracing for extra strength if your area experiences strong gusts.
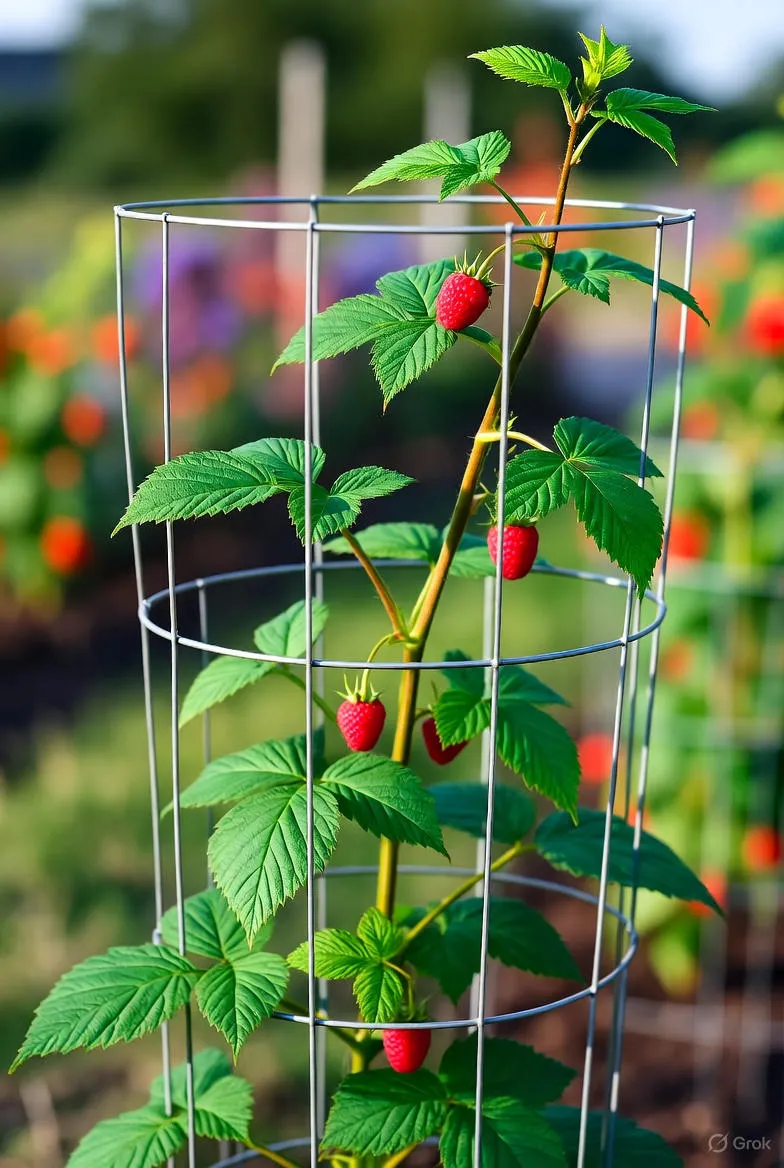
The Fan Trellis
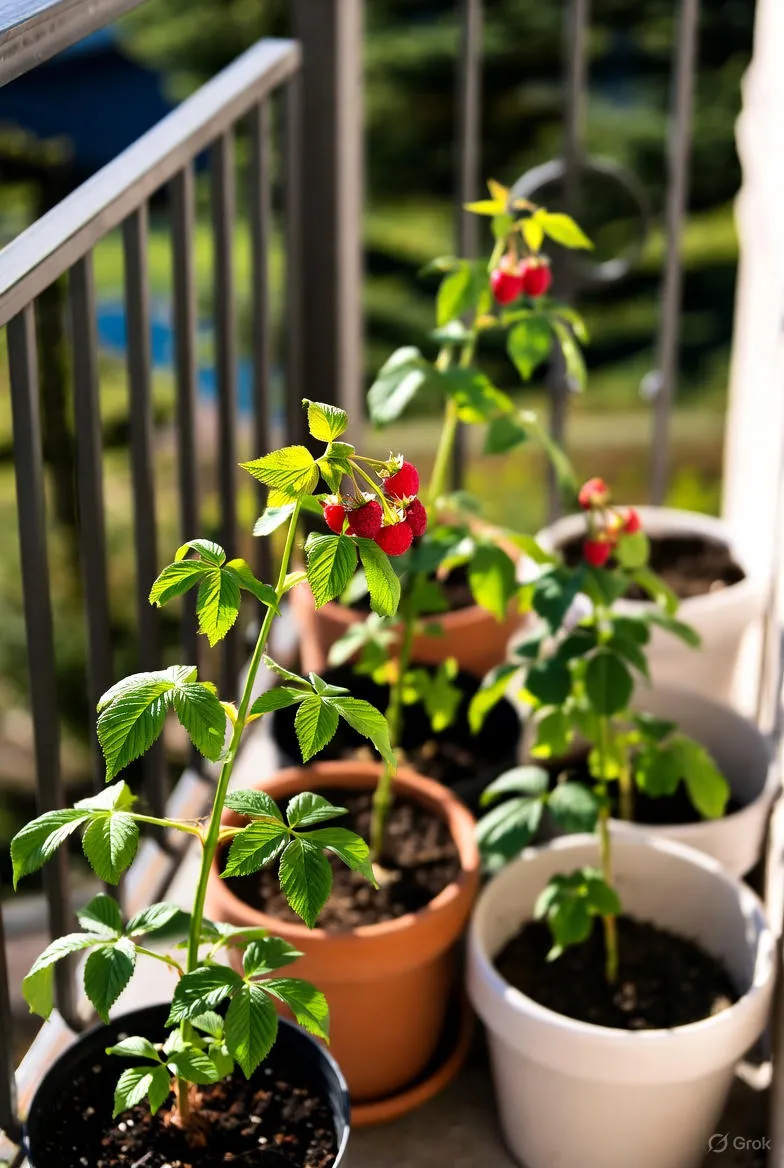
For a more decorative approach, fan out wires from a central post like spokes on a wheel. This is great for container-grown raspberries or urban gardens where space is at a premium. It also creates a beautiful backdrop for garden paths.
Whichever style you choose, aim for a height of 4-6 feet to accommodate mature canes. Sketch your design on paper, measuring your raspberry row to ensure a proper fit.
Materials You'll Need
Gathering supplies is the first step in any DIY project. For a basic 10-foot row trellis, you'll need affordable, readily available items. Here's a comprehensive list:
- Posts: 4-6 wooden 4x4 posts (8 feet long) or metal T-posts for durability. Treated lumber resists rot better in moist garden soil.
- Wire: 12-14 gauge galvanized wire for strength and rust resistance. You'll need about 50 feet total.
- Fasteners: Wire clips, eye bolts, or staples to secure the wire to posts. U-nails work well for temporary setups.
- Tools: Post hole digger, hammer, wire cutters, level, and pliers. A drill is handy for eye bolts.
- Optional Add-ons: Twine or plant ties for securing canes, and mulch to suppress weeds around the base.
Budget-wise, expect to spend $50-100, depending on whether you opt for new or repurposed materials. Check your local hardware store or salvage yard for deals on posts and wire.
Step-by-Step Building Instructions
Building a DIY raspberry trellis is a weekend project that even beginners can tackle. Follow these steps for the classic V-trellis design:
- Mark and Dig Post Holes: Space your end posts 10 feet apart, with intermediate posts every 5 feet for longer rows. Dig holes 2 feet deep and 1 foot wide. For stability, set end posts at a slight angle outward (about 10 degrees).
- Set the Posts: Place posts in holes, backfill with soil, and tamp down firmly. Use a level to ensure they're plumb. Brace temporarily if needed while concrete sets (optional for wood posts).
- Install Wire Supports: At 2 feet and 4 feet up each post, attach eye bolts or hooks. String the lower wire tautly between corresponding points on adjacent posts, twisting ends to secure. Repeat for the upper wire, creating the V shape.
- Tension the Wires: Pull wires tight using pliers, and fasten with clips. The wire should hum slightly when plucked—too loose, and canes will sag; too tight, and it may snap.
- Train Your Raspberries: Gently tie new canes to the wires using soft twine, spacing them 4-6 inches apart. Prune older fruiting canes at ground level after harvest to make room.
Take your time with each step, and step back to admire your progress. In just a few hours, you'll have a functional trellis ready for planting season.
Tips for Installation and Plant Training
Success with your trellis hinges on proper installation and ongoing care. Here are pro tips to get it right:
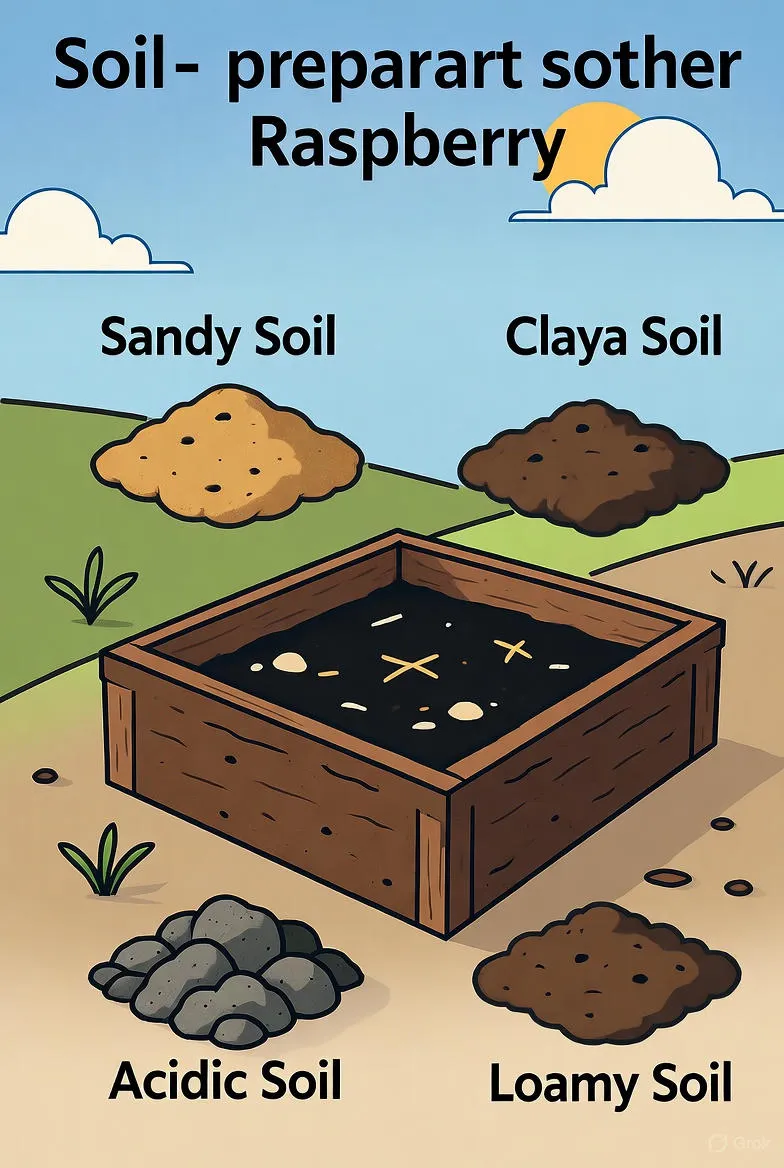
- Location Matters: Choose a sunny spot with well-drained soil, at least 6 hours of direct sunlight daily. Avoid low-lying areas prone to frost pockets.
- Soil Preparation: Amend soil with compost before planting. Raspberries prefer slightly acidic pH (5.5-6.5); test and adjust as needed.
- Planting Depth: Set bare-root canes 1-2 inches deeper than their nursery pot, spacing 2 feet apart along the trellis base.
- Seasonal Timing: Install the trellis in early spring before buds swell, or fall for everbearing varieties to give roots time to establish.
- Training Techniques: Use the "two-wire system" for everbearers: tie primocanes (new growth) to one wire, floricanes (fruiting) to the other. This simplifies pruning.
If you're dealing with established plants, retrofit the trellis carefully to avoid damaging roots. Start with loose ties and tighten as canes grow.
Customizing Your Trellis for Different Varieties
Raspberries come in red, black, purple, and yellow varieties, each with unique growth habits. Tailor your trellis accordingly:
- Red Raspberries: These vigorous growers benefit from sturdy V-trellises to handle their height and spread.
- Black Raspberries: More upright but thorny; a fan design keeps canes separated to minimize scratches during harvest.
- Everbearing Types: Compact and productive twice a year; a simple T-post setup suffices, with wires at 18, 30, and 42 inches for multi-level support.
- Heritage or Joan J: Thornless options that thrive on lightweight aluminum trellises for easier maintenance.
Experiment with hybrid designs, like adding a middle wire for extra support in high-wind areas. Over time, observe your plants' behavior and adjust as needed.
Maintenance and Longevity
A well-built trellis can last 10-15 years with minimal upkeep. Here's how to keep it in top shape:
Annual Checks
Inspect wires and posts each spring for rust, rot, or loosening. Tighten as necessary and replace damaged parts promptly. After the growing season, remove dead canes to prevent pest harbors.
Pruning Essentials
For summer-bearers, cut fruiting canes to the ground post-harvest. For everbearers, mow the entire patch to 6 inches in late winter for a single fall crop, or selectively prune for two seasons' worth.
Pest and Disease Prevention
The trellis's elevation helps, but monitor for Japanese beetles or spider mites. Use row covers if needed, and apply organic neem oil sprays early.
Winter protection: In cold climates (USDA zones 3-4), mulch heavily around bases and wrap posts in burlap to shield from freeze-thaw cycles.
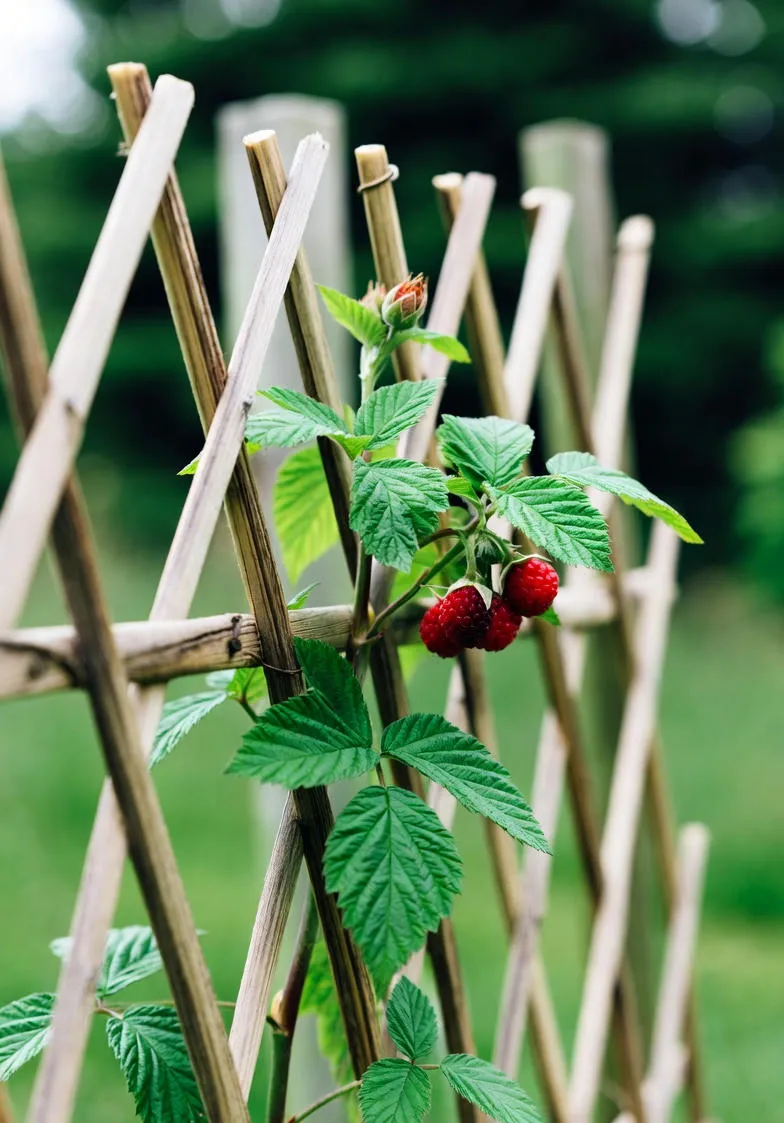
Sustainable Upgrades
Enhance eco-friendliness by using reclaimed wood or bamboo poles. Incorporate pollinator-friendly flowers at the base, like marigolds, to boost berry set.
With routine care, your trellis becomes a garden heirloom, supporting generations of raspberries.
Common Mistakes to Avoid
Even seasoned DIYers slip up. Steer clear of these pitfalls:
- Undersized Posts: Weak supports lead to collapse under fruit weight—always overbuild for safety.
- Poor Wire Tension: Saggy lines tangle canes; invest in turnbuckles for adjustable tautness.
- Ignoring Pruning: Unmanaged growth defeats the trellis's purpose—commit to a pruning schedule.
- Overcrowding Plants: Too many canes per foot stifles air flow; thin aggressively.
Learn from trial and error, but starting strong prevents headaches down the line.
Expanding Your Garden with Trellis Ideas
Once your raspberry trellis is up, why stop there? Apply similar principles to other crops:
- Blackberries: Similar to raspberries but need heavier wires due to thicker canes.
- Grapes or Peas: Extend the row for vertical veggies, maximizing space.
- Espalier Fruit Trees: Train apples or pears against a wall-mounted version for urban orchards.
Your DIY skills will inspire a more productive, beautiful garden overall.
Conclusion: Harvest the Rewards of Your DIY Project
Building a DIY raspberry trellis is more than a chore—it's an investment in flavor, health, and joy. From the first twine tie to the last berry picked, you'll appreciate the structure's role in your garden's success. Gather your materials, roll up your sleeves, and watch your raspberries flourish. Happy gardening—may your trellis bear fruit for years to come!
(Word count: 1,248)