Flossing Techniques to Prevent Gum Disease: A Complete Step‑by‑Step Guide
Learn the best flossing techniques to prevent gum disease. Discover step-by-step instructions, tools for tight teeth and braces, common mistakes to avoid, and how to make flossing a daily habit for healthier gums.
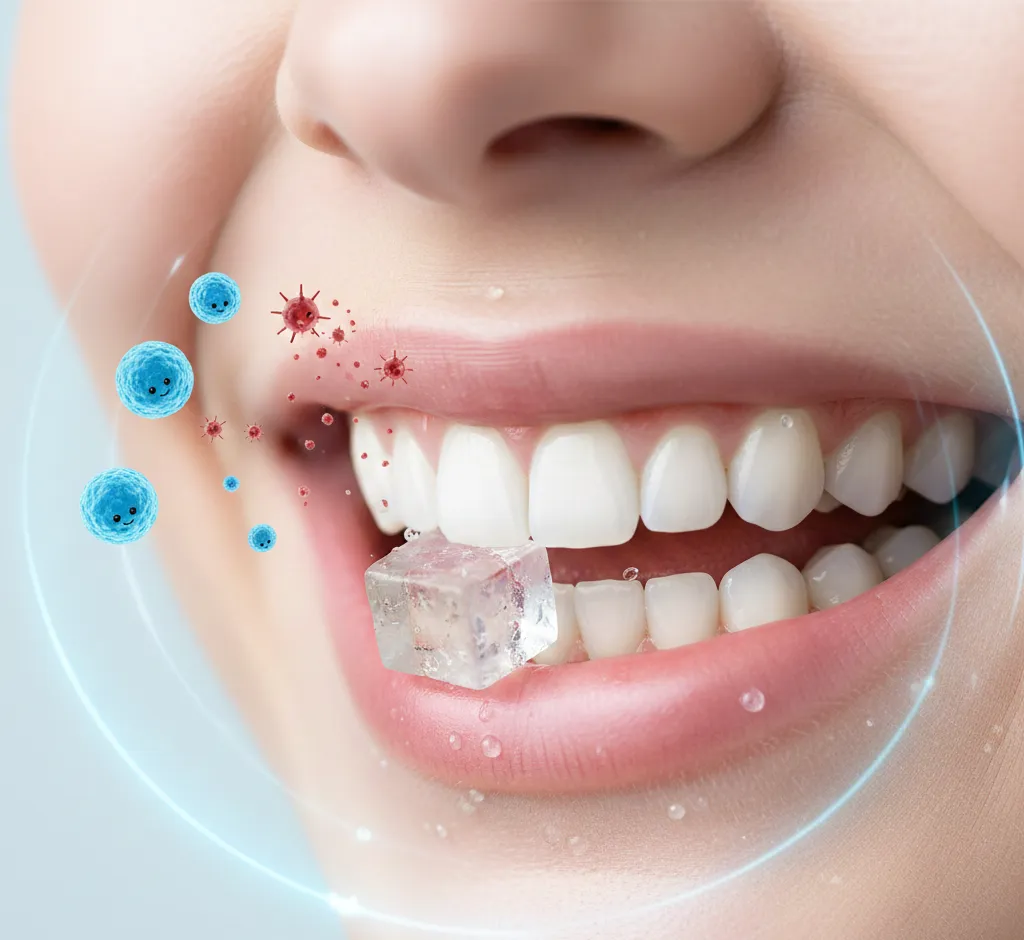
Healthy gums are the foundation of a healthy smile, and daily flossing is one of the most effective ways to protect them. While brushing removes plaque from the surfaces of your teeth, it cannot fully clean between them or under the gumline. This is where proper flossing techniques become essential for preventing gum disease.
In this guide, you will learn why flossing matters, how to floss correctly step by step, which type of floss to choose, and how to avoid common mistakes. Whether you are just starting to floss or want to improve your technique, these practical tips will help you keep your gums healthy and your smile strong.
Why Flossing Is Essential for Gum Health
Gum disease, or periodontal disease, usually starts with gingivitis. Plaque, a sticky film of bacteria, builds up along the gumline and between teeth. If it is not removed daily, this plaque hardens into tartar and can cause redness, swelling, and bleeding gums. Over time, gum disease can lead to receding gums, bad breath, tooth mobility, and even tooth loss.
Flossing helps prevent gum disease by:
- Removing plaque from tight spaces where toothbrush bristles cannot reach.
- Disrupting bacterial colonies before they become mature and aggressive.
- Cleaning under the gumline and around the base of each tooth.
- Reducing inflammation so gums become less likely to bleed and swell.
Flossing once a day is generally enough for most people, as long as the technique is correct and consistent.
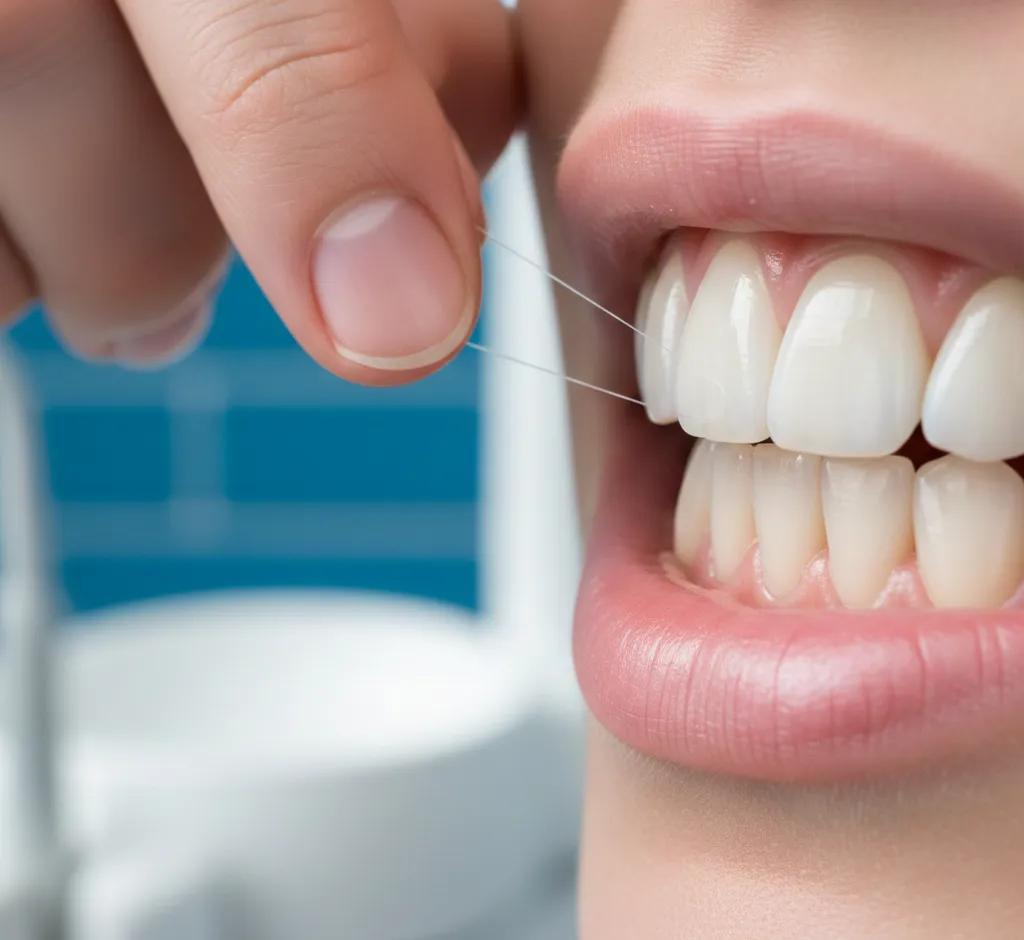
How to Floss Properly: Step-by-Step
Many people claim that flossing "doesn’t work" simply because they have never been shown how to do it correctly. Effective flossing is gentle, controlled, and thorough.
Step 1: Prepare the Right Length of Floss
Start with about 45 cm (18 inches) of dental floss. This gives you enough length to use a fresh section between each tooth.
- Wrap most of the floss around the middle finger of one hand.
- Wrap the remaining floss around the middle finger of the other hand.
- Leave a section of about 2–3 cm (1 inch) between your thumbs and index fingers to work with.
Step 2: Hold the Floss Correctly
Use your thumbs and index fingers to guide the floss. Keep it tight and controlled, but not so tight that it cuts into your fingers.
- For upper teeth, use your thumbs to guide the floss.
- For lower teeth, guide the floss with your index fingers.
Step 3: Gently Slide the Floss Between Teeth
Carefully slide the floss between two teeth using a gentle back-and-forth motion. Avoid snapping or forcing the floss, as this can injure the gum tissue.
- Go slowly, especially if contacts are tight between teeth.
- If the floss “pops” suddenly through the contact, reposition and try again more gently.
Step 4: Form a “C” Shape Around Each Tooth
Once the floss is between your teeth and just below the contact point, curve it into a C-shape around one tooth at a time.
- Hug the side of the tooth so the floss is flush against the enamel.
- Slide the floss gently under the gumline until you feel slight resistance.
- Move the floss up and down 5–10 times to remove plaque from the side of the tooth and under the gum.
Step 5: Clean Both Teeth in the Space
Each space between teeth has two surfaces to clean, one for each tooth. After cleaning one tooth with the C-shape, reposition the floss around the adjacent tooth.
- Repeat the same up-and-down motion on the neighboring tooth.
- Do not forget to gently go just below the gumline each time.
Step 6: Use a Fresh Section as You Go
As you move from one tooth to the next, unwind clean floss from one hand and wind the used floss onto the other. This prevents spreading plaque and bacteria to clean areas.
- Move systematically from one side of your mouth to the other.
- Remember to floss the back surfaces of the last molars on each side.
Flossing Techniques for Different Needs
Not everyone’s mouth is the same. Crowded teeth, braces, bridges, or gum recession can make standard flossing challenging. Adjusting your technique and tools helps you still get a deep clean.
For Tight or Crowded Teeth
If your teeth are very close together, floss may shred or be difficult to slide between them.
- Choose waxed floss or a polytetrafluoroethylene (PTFE) floss designed to slide easily between tight contacts.
- Use a gentle sawing motion to guide the floss through tight spots instead of forcing it.
- Be patient and avoid snapping the floss, which can damage the gums.
For Braces and Orthodontic Appliances
Braces create many extra surfaces for plaque to attach. Flossing with brackets and wires in place takes longer, but it is crucial for preventing gum disease and white-spot lesions.
- Use a floss threader to guide floss under the orthodontic wire.
- Alternatively, use super floss, which has a stiffened end for easier threading.
- Once under the wire, use the same C-shape technique to clean around each tooth and under the gumline.
- Consider adding an interdental brush or water flosser to your routine for improved access around brackets.
For Bridges, Implants, and Crowns
Dental work often creates hard-to-reach areas that trap plaque. Special tools make cleaning these spaces more effective.
- Use super floss or bridge floss to clean under fixed bridges.
- Wrap the floss around the implant or crown base and gently move it back and forth, staying under the gumline.
- An interdental brush can be especially useful around implants to remove plaque without damaging the surface.
For Sensitive or Bleeding Gums
Many people stop flossing when they see blood, but bleeding gums are often a sign of inflammation from plaque, not a sign to avoid flossing. When done gently and consistently, flossing actually reduces bleeding over time.
- Use a soft, waxed floss and be extra gentle around inflamed areas.
- Do not skip these areas; they are the ones that need cleaning most.
- If bleeding persists after 1–2 weeks of careful flossing, consult your dentist or hygienist.
Choosing the Best Type of Floss
The best floss is the one you will use daily. Understanding the differences can help you pick a product that matches your teeth, gums, and preferences.
Waxed vs. Unwaxed Floss
- Waxed floss: Coated with a light wax, it slides more easily between tight teeth and is less likely to shred. It is a good choice for people with crowded teeth.
- Unwaxed floss: Slightly thinner and may squeak when teeth are clean. Some people like this feedback, but it can shred more easily in tight spaces or around rough fillings.
Tape, String, and PTFE Floss
- Dental tape: Flatter and wider than standard floss, it can feel more comfortable for people with more space between teeth or larger gaps.
- Standard string floss: Round and flexible, suitable for most mouths with average spacing.
- PTFE (glide-style) floss: Very smooth and shred-resistant, ideal for tight contacts and people who struggle with floss breaking.
Floss Picks and Holders
Floss picks, Y-shaped holders, and reusable floss handles can make flossing easier, especially for people who have difficulty using traditional floss.
- Floss picks: Convenient and portable, but the short piece of floss can limit the ability to use a fresh section between teeth.
- Floss holders: Can be loaded with your preferred floss and are great for people with limited hand mobility or children learning to floss.
If you rely on floss picks, focus on using gentle, controlled movements and cleaning each tooth surface fully rather than rushing.
Alternatives and Complements to Traditional Floss
While traditional floss is highly effective, some people benefit from combining it with other interdental cleaners.
- Interdental brushes: Small, cone-shaped brushes designed to clean between teeth, especially helpful where there are larger spaces or gum recession.
- Water flossers: Devices that use a pressurized stream of water to remove plaque and food debris. They are especially useful for braces, implants, and deep gum pockets.
- Soft picks and rubber stimulators: Gentle tools that can massage the gums and remove plaque between teeth.
These tools can improve gum health, but they work best in addition to, not instead of, traditional flossing unless your dental professional advises otherwise.
Common Flossing Mistakes to Avoid
Even with the best intentions, technique errors can limit the benefits of flossing or cause discomfort. Avoid these common mistakes to protect your gums and make your efforts more effective.
Snapping the Floss Into the Gums
Forcing the floss quickly through tight spaces can cause cuts, irritation, and soreness.
- Always guide the floss gently with a controlled back-and-forth motion.
- Slow down as you approach the gumline to avoid impact.
Not Going Below the Gumline
Some people only glide the floss between teeth without cleaning under the gumline where plaque often hides.
- Always slide the floss 1–2 mm under the gum edge around each tooth.
- You should feel a gentle hugging motion, not pain or sharp pressure.
Rushing the Process
Quickly snapping floss up and down a couple of times is not enough to fully remove plaque.
- Take your time and make several controlled strokes on each surface.
- Think of flossing as a mindful part of your self-care routine, not a chore to rush through.
Skipping Hard-to-Reach Areas
The molars at the back of your mouth and the inside surfaces near the tongue are often neglected, yet they are high-risk areas for gum disease.
- Use a mirror and open wide to ensure all areas are reached.
- Adjust your hand position to get better access to rear teeth.
Stopping When Gums Bleed
Bleeding gums frequently indicate inflammation caused by plaque buildup. Stopping flossing allows plaque to persist and the inflammation to continue.
- Continue flossing gently every day, especially in areas that bleed.
- Bleeding should gradually decrease as your gums become healthier.
- If bleeding is heavy, painful, or does not improve, schedule a dental checkup.
How Often and When to Floss
Most dental professionals recommend flossing at least once a day. Consistency is more important than flossing multiple times irregularly.
Best Time of Day to Floss
- Evening: Flossing before bed is often recommended so your teeth and gums stay clean overnight while saliva flow slows and bacteria can grow more easily.
- Before or after brushing? Both orders are effective, but many experts suggest flossing before brushing so fluoride from toothpaste can reach between teeth more effectively.
The most important factor is choosing a time you can stick with every day. Attach flossing to an existing habit (like brushing before bed) to make it easier to remember.
Signs Your Flossing Routine Is Working
With proper technique and consistency, you should notice positive changes in your gums and overall oral health.
- Less bleeding when flossing or brushing.
- Reduced redness and swelling along the gumline.
- Fresher breath due to fewer trapped food particles and less bacterial buildup.
- Smoother tooth surfaces when you run your tongue over them.
Your dentist or hygienist may also notice less plaque and tartar buildup at your regular cleanings and shorter appointment times because there is less to remove.
When to See a Dental Professional
While good home care is vital, professional guidance and cleanings are equally important in preventing and managing gum disease.
- Schedule regular dental checkups (typically every 6 months, or as recommended).
- Ask your hygienist to demonstrate proper flossing technique tailored to your mouth.
- Seek help promptly if you notice ongoing bleeding, gum recession, pain, pus, or loose teeth.
Early gum disease is often reversible with improved home care and professional treatment. Advanced gum disease requires more specialized care, but flossing remains an essential part of maintaining results.
Making Flossing a Lifelong Habit
Flossing is a small daily investment that pays off in long-term oral health. The key is finding a technique and tools that fit your lifestyle, then staying consistent.
- Keep floss where you brush so it is always within reach.
- Set reminders on your phone until the habit feels automatic.
- Experiment with different types of floss or flossing aids until you find what works best for you.
- Involve children early by teaching proper flossing technique in a fun, supportive way.
By mastering simple flossing techniques and using them every day, you can dramatically reduce your risk of gum disease, keep your breath fresher, and protect your natural teeth for years to come.
Key Takeaways
- Flossing removes plaque and bacteria where toothbrushes cannot reach, especially between teeth and under the gumline.
- Proper technique involves using enough floss, forming a C-shape around each tooth, and gently cleaning below the gumline.
- Different tools, such as waxed floss, PTFE floss, floss threaders, water flossers, and interdental brushes, can help meet individual needs.
- Avoid snapping the floss, rushing, or skipping areas, and do not stop flossing if your gums bleed—gentle consistency usually improves gum health.
- Daily flossing, combined with regular dental checkups and professional cleanings, is one of the most effective ways to prevent gum disease.