Heat Styling Curly Hair Without the Damage: Expert Tips and Techniques
Learn expert tips for heat styling curly hair safely. Discover protective products, essential tools, step-by-step techniques, and ways to minimize damage for healthy, vibrant curls.
Understanding the Unique Needs of Curly Hair
Curly hair is a beautiful expression of natural texture, but it comes with its own set of challenges when it comes to styling. Unlike straight hair, which can withstand heat more easily, curly locks are more porous and prone to dryness. The natural oils from your scalp struggle to travel down the twisted shaft of curly strands, leaving them vulnerable to breakage and frizz when exposed to high temperatures. Heat styling, while tempting for achieving sleek looks or defined curls, can strip away moisture and weaken the hair's structure if not done carefully.
Before diving into techniques, it's essential to recognize the curl pattern you're working with. Type 2 curls are wavy and looser, Type 3 forms bouncy spirals, and Type 4 creates tight coils or kinks. Each type requires tailored approaches to heat application. For instance, finer Type 2 waves might need gentler heat to avoid flattening, while denser Type 4 coils benefit from protective barriers to maintain elasticity. By understanding your hair's porosity and density, you can customize your routine to preserve its health and bounce.
Why Heat Protection is Non-Negotiable
Heat from styling tools can reach temperatures up to 450°F, far exceeding the point at which hair proteins begin to denature—around 300°F. This denaturation leads to cuticle damage, loss of shine, and increased breakage over time. For curly hair, the risk is amplified because the curls' structure already makes it harder for moisture to penetrate. Without protection, you might end up with limp, straw-like strands that resist styling altogether.
The good news? With the right products and habits, you can enjoy heat styling without sacrificing your curls' vitality. Prioritizing protection isn't just about products; it's a mindset shift toward viewing heat as a tool, not a daily necessity. Aim to limit sessions to once a week, and always intersperse with heat-free days to allow recovery.
Essential Products for Heat Styling Curly Hair
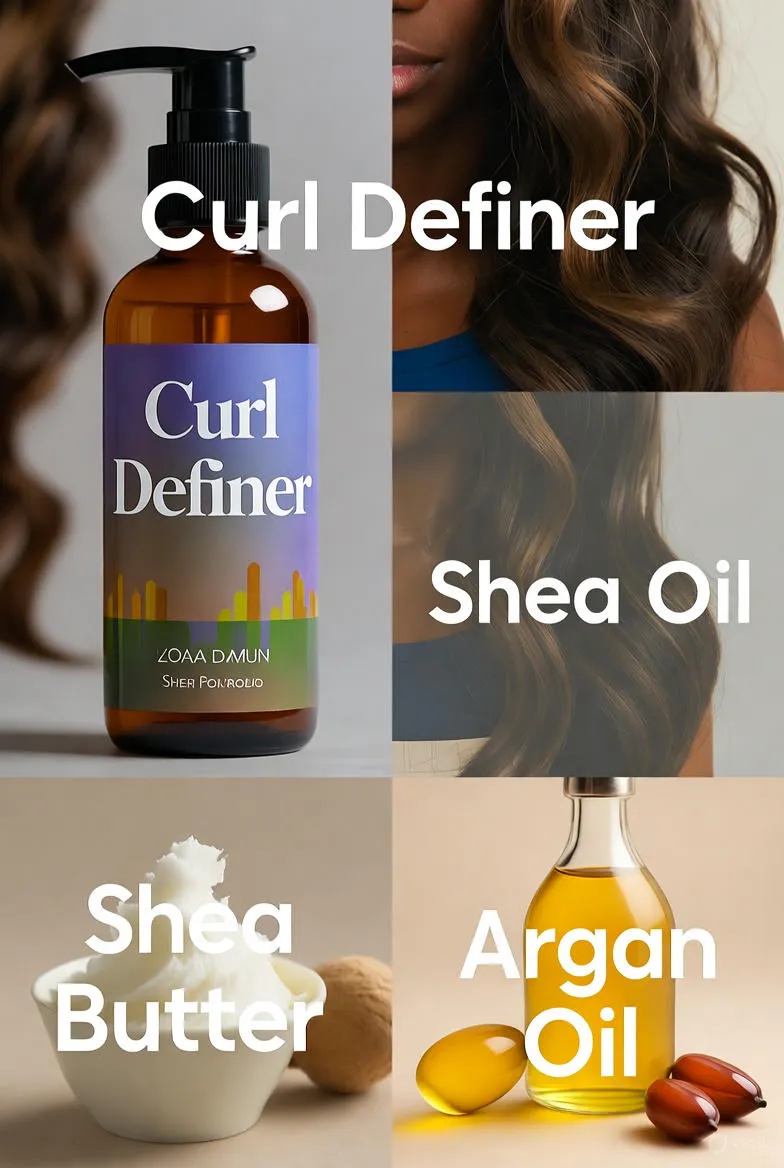
Building a solid product lineup is the foundation of damage-free styling. Start with a heat protectant spray or serum—these create a thermal barrier that reflects heat away from the strand. Look for formulas infused with silicones like dimethicone for smoothing or natural alternatives like argan oil for nourishment. Apply generously from roots to ends before any tool touches your hair.
- Leave-in Conditioner: Locks in moisture pre-styling. Opt for lightweight ones with aloe vera or shea butter to combat dryness without weighing down curls.
- Anti-Frizz Serum: Tames flyaways during and after styling. Ingredients like jojoba oil mimic natural sebum for added shine.
- Styling Cream or Gel: Provides hold while protecting. For curls, choose curl-enhancing versions with flaxseed or pumpkin seed oil.
- Deep Conditioning Mask: Use post-styling weekly to repair any minor damage. Hydrolyzed proteins and ceramides are stars here for rebuilding strength.
Incorporate these into your routine: After washing with a sulfate-free shampoo and moisturizing conditioner, towel-dry gently with a microfiber cloth or old T-shirt to reduce friction. Then, section your hair and apply products starting from the ends, where damage accumulates most.
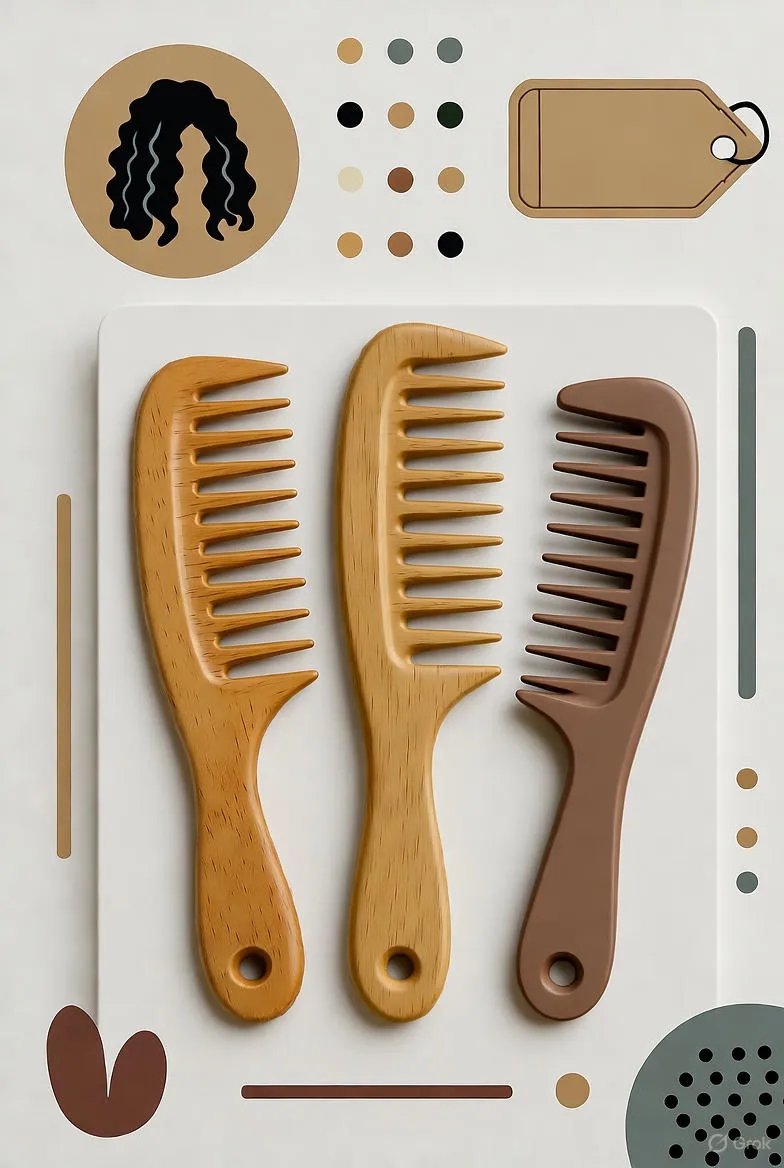
Selecting the Best Tools for Your Curls
Not all heat tools are created equal, especially for curly hair. Invest in quality to minimize exposure time and maximize results. Ceramic or tourmaline plates distribute heat evenly, reducing hot spots that scorch strands. Ionic technology emits negative ions to seal the cuticle, cutting down on static and frizz.
For blow drying, a diffuser attachment is a curly girl's best friend. It disperses airflow to enhance volume without stretching curls out of shape. Flat irons with adjustable temperatures and rounded edges prevent creasing, ideal for straightening sections without pulling. Curling wands with varying barrel sizes allow for versatile looks, from beachy waves to tight spirals.
Key features to seek: Temperature controls down to 250°F for delicate curls, swivel cords for maneuverability, and cool-shot buttons to set styles. Brands like Dyson or Bio Ionic offer advanced models with built-in protection, but even budget options from Conair work well if they prioritize even heating.
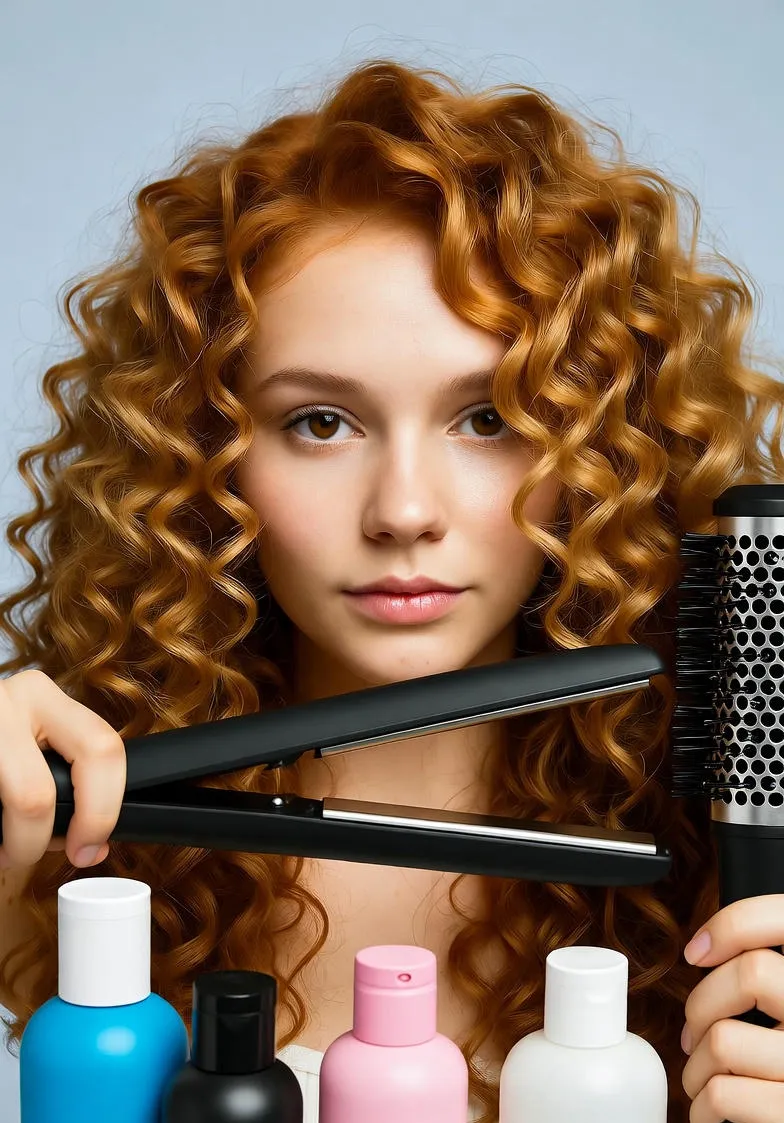
Step-by-Step Techniques for Flawless Heat Styling
Blow Drying for Volume and Definition
Begin with 80% dry hair to avoid steaming the strands. Apply heat protectant, then clip up sections. Using a round brush and low heat, lift roots for volume while diffusing the lengths. Flip your head upside down midway for extra lift, and finish with a cool shot to lock in the shape. This technique preserves curl pattern while adding bounce—perfect for Type 3 hair seeking effortless waves.
Flat Ironing for Sleek Straight Looks
Though less common for curlies, straightening can be done safely. Work in small, 1-inch sections, passing the iron slowly (no more than 10 seconds per pass) at 300-350°F. Glide from mid-lengths to ends, avoiding roots to maintain some texture. Follow with a serum to combat reversion—curly hair's tendency to spring back in humidity. This method suits Type 2 waves craving a polished finish.
Using a Curling Iron for Enhanced Curls
To amp up your natural texture, wrap sections around a 1-inch barrel, holding for 5-8 seconds at 320°F. Alternate directions for a lived-in look, and spritz with protectant between passes. For Type 4 coils, use a smaller barrel or clipless wand to mimic your pattern without flattening. Pinch the ends as you release for definition, then finger-coil with a styling gel.
Throughout any technique, take breaks every 10 minutes to assess and cool sections. This prevents cumulative damage and ensures even results.
Tips to Minimize and Repair Heat Damage
Even with precautions, occasional slip-ups happen. To minimize risks:
- Assess Hair Health First: If your curls feel brittle, postpone heat and focus on protein treatments.
- Use a Heat Mat: Place tools on a silicone mat between uses to avoid accidental burns.
- Incorporate Silk: Sleep on silk pillowcases or use satin wraps to retain moisture overnight.
- Monitor Frequency: Track sessions in a journal; if breakage increases, dial back.
For repair, weekly deep conditioning is key. Mix in apple cider vinegar rinses monthly to restore pH balance, and trim ends quarterly. Supplements like biotin or collagen support internal strength, but consult a dermatologist for personalized advice.
Explore heat-free alternatives too: Flexi-rods for overnight curls, braiding for waves, or pin curls for definition. These methods hydrate while styling, extending the life of your heat sessions.
Maintaining Long-Term Curl Health
Heat styling is just one piece of the puzzle. A holistic routine amplifies results: Drink plenty of water, eat omega-rich foods like salmon and walnuts, and protect from environmental stressors with UV sprays. Regular trims keep ends healthy, preventing split ends from traveling up the shaft.
Listen to your hair—it's communicative. If it feels dry post-styling, reduce heat next time or amp up hydration. With patience, you can enjoy versatile looks without compromising your curls' essence.
Embracing Your Curls with Confidence
Heat styling curly hair doesn't have to be a battle against damage. By arming yourself with knowledge, quality products, and mindful techniques, you unlock endless possibilities while nurturing your natural beauty. Whether you're going for a glossy blowout or amplified spirals, the goal is healthy, happy curls that turn heads. Experiment, adapt, and celebrate the journey—your locks will thank you.