How to Choose a Hair Dryer for Effortless Beach Waves
Learn how to choose the best hair dryer for effortless beach waves. Discover the key features, attachments, and techniques you need for soft, frizz-free, long-lasting waves at home.
Effortless, beachy waves are one of the most requested hairstyles because they look relaxed, modern, and flattering on almost every hair type. The secret to achieving them consistently is not only technique but also choosing the right hair dryer that works with your natural texture instead of fighting it.
Why Your Hair Dryer Matters for Beach Waves
A hair dryer does much more than simply remove moisture from your hair. Its power, heat control, attachments, and technology all determine whether you end up with relaxed waves, fluffy frizz, or flat, lifeless strands. When you want beach waves, you need controlled airflow, adjustable temperature, and the right nozzle or diffuser to shape movement.
Choosing thoughtfully means you can skip excessive hot tools and reduce damage, because your dryer will already create the foundation of the style. A good model lets you rough-dry, define bends, and lock in texture with minimal effort, so your waves last all day and still feel touchably soft.
Key Features to Look For
Before falling for packaging or marketing claims, focus on core technical features. These are what actually influence how your hair behaves while you dry and style it.
1. Wattage and Airflow Power
Wattage tells you how powerful the motor is, but more power is not always better for beach waves. Extremely strong airflow can blast out your natural texture and create frizz instead of smooth bends. For most people, a dryer around the mid-range of power with multiple speed settings is ideal: it dries effectively while still allowing control.
If your hair is thick or very long, a slightly higher wattage can help reduce drying time, but make sure you can switch down to a gentler airflow when shaping waves. Fine or wavy hair types often respond best to low or medium speeds that encourage natural movement instead of blowing hair completely straight.
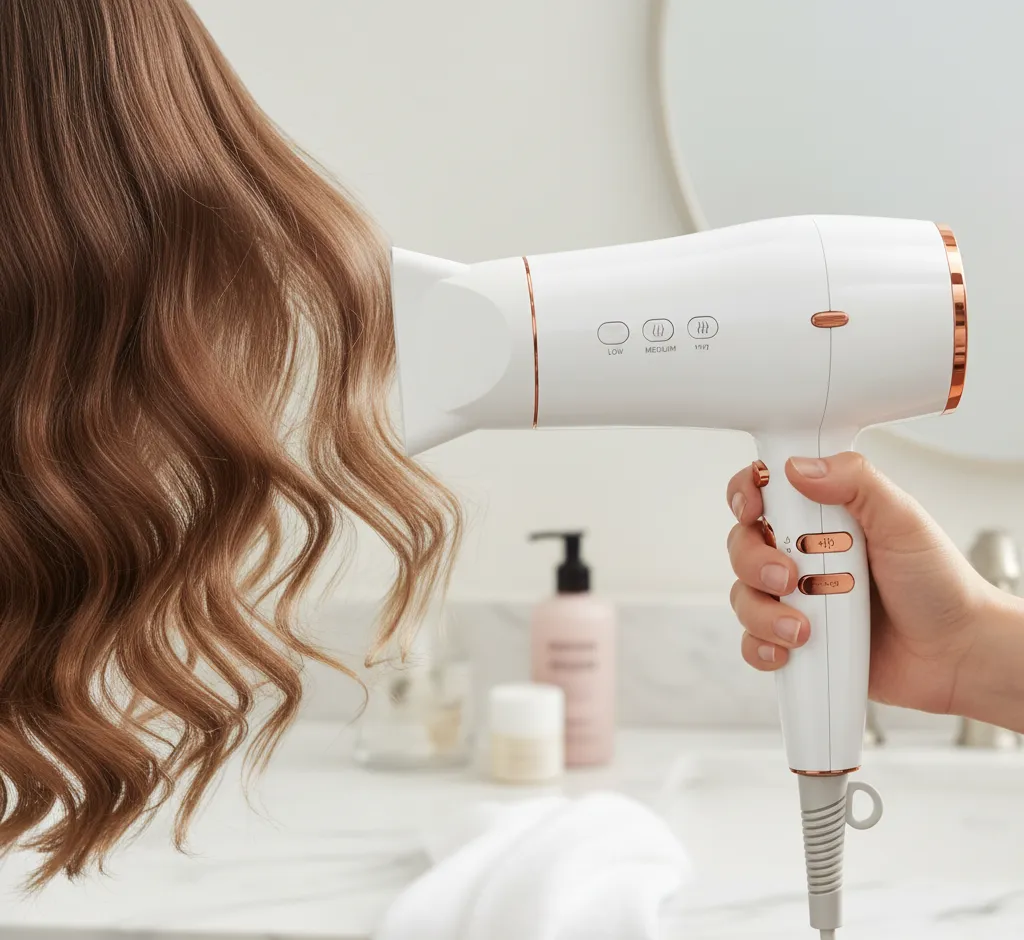
2. Multiple Heat and Speed Settings
Heat is essential for reshaping the hair shaft, but too much creates dryness, breakage, and dullness over time. When you are shopping, avoid dryers with only one or two basic settings. Look instead for at least three heat options (cool, warm, hot) and two or three speed levels. This lets you tailor the combination to your hair type and the stage of styling.
Use higher heat only when necessary to remove excess moisture, then switch to a lower setting as hair approaches 70–80% dry. At this point, hair is malleable but less vulnerable, which is ideal for building beachy bends and waves with less risk of roughing up the cuticle.
3. Cool Shot Button
A cool shot button may seem like a minor feature, but it makes a big difference in how long your beach waves last. Heat softens the internal structure of the hair, while cool air helps set it in place. After creating a bend or wave, finishing that section with a burst of cool air helps lock in the new shape.
When evaluating dryers, make sure the cool shot is a true temperature drop rather than just slightly less warm air. A clearly noticeable cool airflow makes it easier to close the cuticle, add shine, and preserve texture through humidity and movement throughout the day.
4. Ionic, Ceramic, and Tourmaline Technology
Modern hair dryers often advertise ionic, ceramic, or tourmaline technology. These features are especially useful when aiming for beach waves because they help control frizz and maintain softness. Ionic dryers release negative ions, which help break up water molecules and speed drying while reducing static and flyaways.
Ceramic and tourmaline elements help distribute heat more evenly, preventing hot spots that can damage hair or create uneven texture. For naturally wavy or frizz-prone hair, this combination is valuable: it encourages defined, separated waves with a smoother, more polished finish, rather than puffy bulk.
5. Weight, Shape, and Ergonomics
Creating beach waves often takes longer than a simple rough-dry, especially if you are working in sections with a diffuser or nozzle. A heavy, poorly balanced dryer can quickly tire out your arms and make it tempting to rush the process, which affects the final result. That is why weight and ergonomics matter just as much as raw power.
Look for a model that feels comfortable to hold, with intuitive button placement that you can operate without changing your grip. A lighter dryer is especially important if you have a lot of hair, limited mobility, or prefer doing detailed styling rather than just blasting hair dry.
Essential Attachments for Beach Waves
Attachments transform a basic hair dryer into a versatile styling tool. For beach waves, two are especially important: the diffuser and the concentrator nozzle. Each shapes airflow differently, and using the right one for your hair type and desired finish is key.
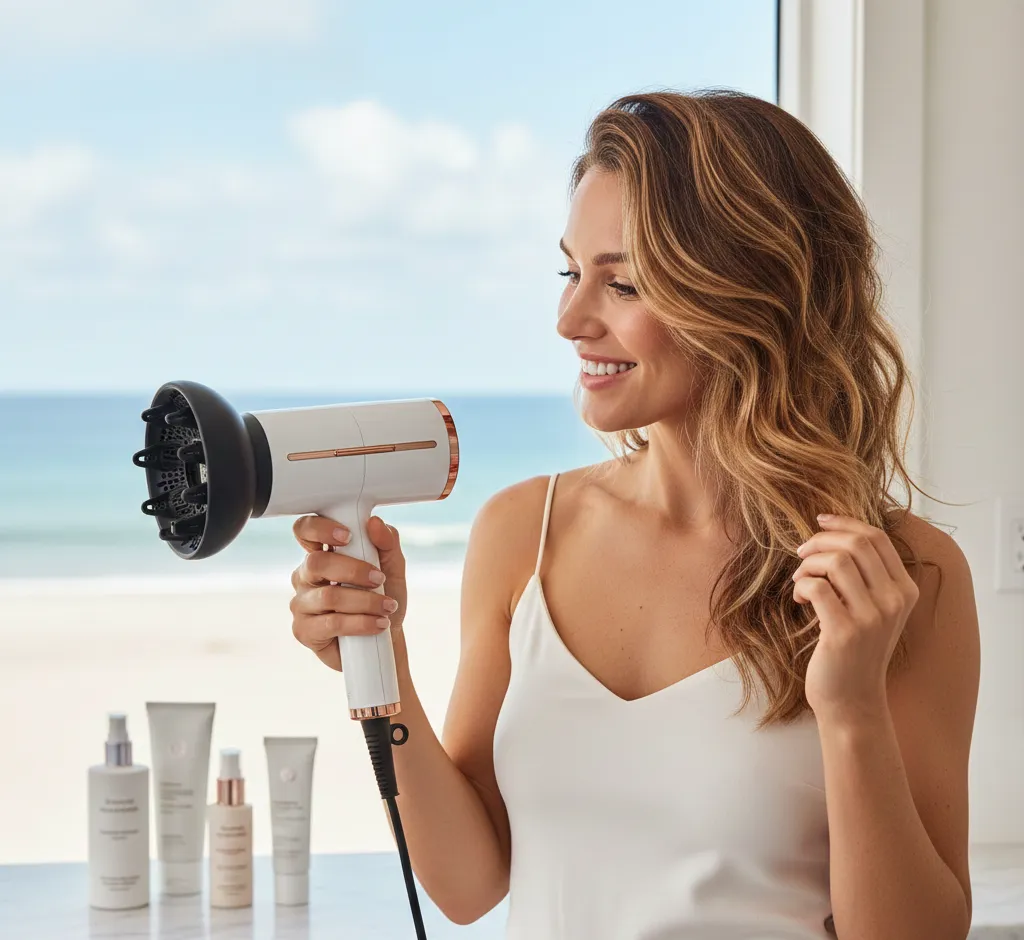
1. Diffuser for Natural Waves and Curls
A diffuser spreads airflow over a larger area and softens the force of the air. This helps preserve and enhance natural wave or curl patterns instead of blowing them straight. If you already have some natural movement in your hair, a high-quality diffuser is often the fastest path to relaxed, beachy texture.
Look for a diffuser bowl that is deep enough to hold sections of hair and has evenly spaced prongs or fingers. These prongs lift the hair at the root to add volume while air circulates through the mid-lengths and ends. Wide vents help dry hair efficiently without creating hot spots or encouraging frizz.
2. Concentrator Nozzle for Polished Waves
A concentrator nozzle narrows the airflow into a directed stream, which is ideal for creating smooth, controlled bends with a round brush or for refining the top layer of the hair. For beach waves, a narrow or medium concentrator allows you to polish the roots and front pieces while leaving the lengths with more relaxed texture.
If you have straighter hair and rely on brush styling to create waves, the concentrator becomes your primary attachment. It gives you the precision needed to wrap sections around a brush, direct airflow along the hair shaft, and create soft S-shaped bends that resemble natural beach waves rather than tight curls.
3. Additional Attachments and When They Help
Some dryers include specialty attachments such as wide-tooth combs or unique diffusers designed to cradle curls. These can be helpful if you have very dense or textured hair and want more lift at the roots while still maintaining definition through the ends.
When comparing models, consider whether you will genuinely use additional accessories. A well-designed diffuser and concentrator are usually more important than a long list of rarely used extras. Prioritize quality and shape over quantity to keep your styling routine efficient.
Matching the Hair Dryer to Your Hair Type
The best hair dryer for beach waves is the one that suits your specific hair type and styling habits. What works for thick, coarse hair may overwhelm fine strands, and the settings that define tight curls may be too intense for looser waves. Thinking about your natural texture helps narrow down your options.
Fine or Thin Hair
Fine or thin hair can easily be weighed down or over-dried. When aiming for beach waves, the goal is to maintain as much volume as possible while gently adding texture. A lighter dryer with a medium wattage and precise airflow control works well here, ideally paired with a diffuser and a good cool shot.
Use lower heat and medium airflow, focusing first on lifting the roots with your fingers or a diffuser prong, then scrunching the lengths as they dry. Avoid blasting hair on the highest power setting, which can make waves fall flat and cause flyaways.
Medium Hair with Natural Wave
If your hair has some natural wave, your dryer mainly needs to support and enhance what you already have. A diffuser-friendly dryer with adjustable heat and at least a warm and hot setting allows you to move from quick rough-drying to gentle shaping as hair becomes damp rather than wet.
For this hair type, pay attention to ionic and ceramic features that help keep frizz under control, especially in humid climates. A medium-speed setting is often enough to maintain your natural S-shape without turning it into a frizzy halo.
Thick, Coarse, or Curly Hair
Thicker or curlier hair typically takes longer to dry and can be more prone to frizz. A slightly higher wattage paired with an efficient diffuser is helpful because it speeds up drying time while allowing you to keep airflow gentle. Look for a dryer that maintains consistent heat without sudden spikes.
For defined yet relaxed beach waves, you can either work with your natural curl by diffusing and then loosening with your fingers, or gently stretch curls while diffusing to create a softer wave pattern. In either case, strong ionic performance and a reliable cool shot will help seal in shine and definition.
How to Use Your Hair Dryer for Beach Waves
Even the best dryer will not create beach waves on its own. Technique matters just as much as technology. Once you have a model with the right power, settings, and attachments, follow a simple routine to get consistent results.
Step 1: Prep Your Hair Correctly
Start with freshly washed hair and gently squeeze out excess water with a microfiber towel or soft cotton T-shirt. Avoid rough rubbing, which disturbs the cuticle and encourages frizz before you even begin drying. Hair should be damp rather than dripping before touching the dryer.
Apply a lightweight heat protectant from mid-lengths to ends, then add a texture-enhancing product that suits your hair type, such as a salt spray, wave foam, or curl cream. Comb these products through with your fingers or a wide-tooth comb to distribute them evenly without stretching out your natural pattern.
Step 2: Rough-Dry to 60–80%
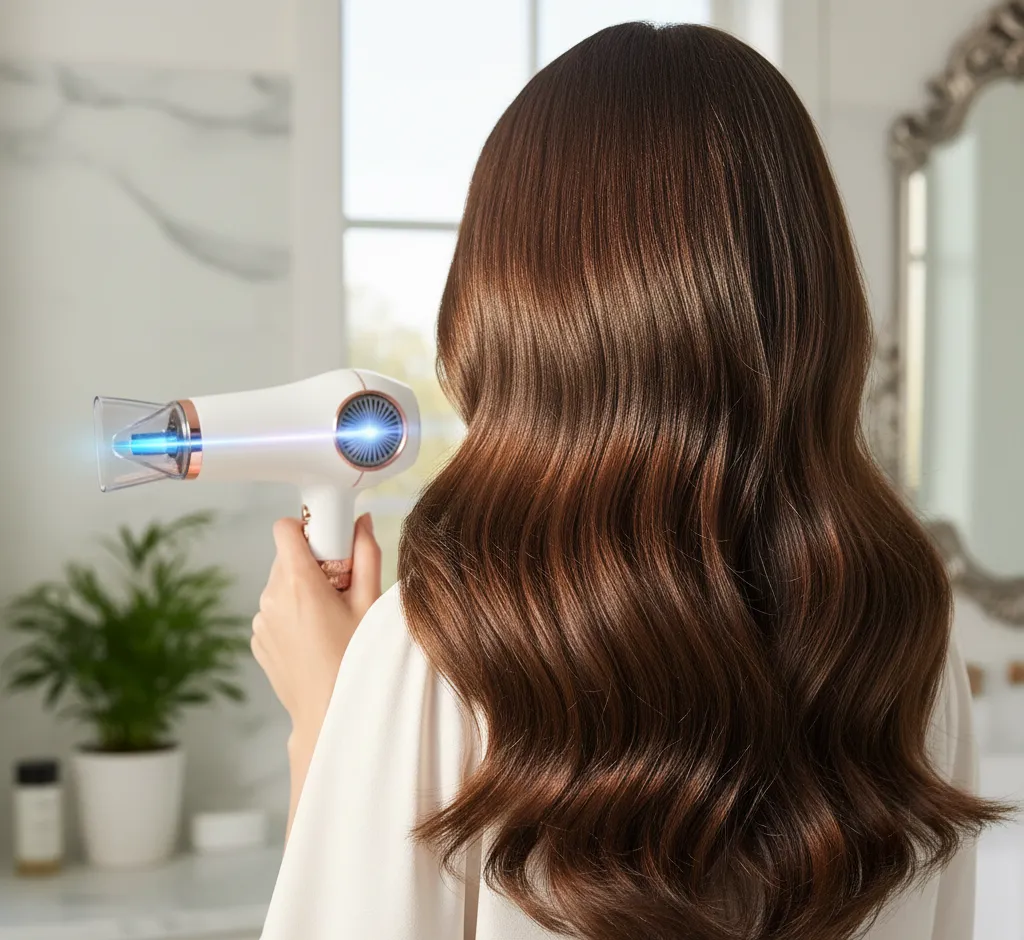
Set your dryer to a medium heat and moderate airflow. Without using attachments at first, rough-dry your roots and mid-lengths by moving the dryer around your head, lifting your hair at the roots with your fingers. Keep the nozzle angled downward relative to the hair shaft to smooth the cuticle.
The goal here is not perfection but removing enough moisture so that your hair is lightly damp. This stage determines your volume: concentrating on root lift now allows you to keep the lengths more relaxed and undone later. Once your hair is about 60–80% dry, switch to your chosen attachment based on your texture.
Step 3: Shape Waves with a Diffuser
If you have natural wave or curl, attach the diffuser and lower the airflow. Working in sections, place lengths of hair into the diffuser bowl, then lift it gently toward your scalp. Hold for several seconds before moving to the next area, allowing air to circulate without aggressively disturbing the hair.
Alternate between tilting your head to each side and slightly forward to encourage even volume. Continue until your hair is almost dry, then use the cool shot while still holding sections in the diffuser to set the wave pattern. Try not to touch hair too much with your hands until it is fully cooled to preserve definition.
Step 4: Create Polished Bends with a Nozzle
If your hair is mostly straight or you prefer a more polished wave, use the concentrator nozzle and a round or flat brush. Work in medium-size sections, wrapping the mid-lengths around the brush while keeping the ends slightly out for a more relaxed finish. Direct airflow down the hair shaft, following the brush as you slowly unroll each section.
After forming a bend, hold the section in your hand and blast it briefly with the cool shot to fix the shape. Repeat this process around the head, varying the direction of the wraps so the result looks natural and beachy rather than overly uniform, which can resemble traditional curls.
Step 5: Finish and Define
Once hair is completely dry and waves have cooled, gently break them up with your fingers. You can add a small amount of lightweight oil or serum on the ends to increase shine and reduce any remaining frizz. Avoid heavy creams or thick oils at the roots, which can collapse volume.
For extra hold without stiffness, mist a flexible hairspray from a distance, scrunching lightly to encourage texture. If you prefer a more lived-in, second-day feel, finish with a dry texturizing spray at the roots and mid-lengths, lifting sections as you spray for airy separation.
Additional Buying Tips and Common Mistakes
A few smart decisions at the buying stage can save you money and frustration later. Pay attention not only to technical specifications but also to small design details that affect everyday use.
Budget, Warranty, and Durability
There are excellent options at many price points, but very low-cost dryers often lack consistent heat control or durable motors. If you style your hair frequently, consider your dryer an investment tool rather than a disposable gadget. A mid-range or professional-level dryer can last for years and protect your hair better over time.
Check for basic quality indicators like a removable filter (for easy cleaning), a strong cord connection, and a reasonable warranty. Regularly cleaning the back filter keeps airflow strong and reduces the strain on the motor, which also helps maintain more stable heat for consistent styling.
Common Mistakes to Avoid
- Using maximum heat and speed for the entire blow-dry. This can rough up the cuticle, create frizz, and flatten natural wave patterns instead of enhancing them.
- Skipping heat protectant. Even a high-quality dryer exposes hair to elevated temperatures, so a protective product helps prevent dryness and breakage.
- Touching and scrunching too early. Manipulating hair excessively while it is still very wet or hot tends to cause frizz rather than defined, soft waves.
- Choosing a dryer without the right attachments. Without a diffuser or concentrator, it is harder to direct airflow and shape intentional beach waves.
- Never using the cool shot. Skipping this step means your waves may fall faster because the style is not fully set in place.
Putting It All Together
To choose the best hair dryer for beach waves, focus on the features that directly influence texture: moderate but adjustable power, multiple heat and speed settings, a truly cool shot, ionic and ceramic or tourmaline technology, and comfortable weight. Make sure it comes with a diffuser and concentrator nozzle that you will actually use.
When paired with the right prep and technique, the right dryer allows you to create soft, undone waves that feel like they came from a day at the beach rather than an hour with hot tools. Over time, you will learn which settings and attachments work best for your unique hair, turning your blow-dry into a fast, reliable way to achieve your favorite effortless style.