How to Pick a Hair Dryer for Smooth, Salon-Quality Blowouts
Learn how to pick the best hair dryer for smooth, frizz-free blowouts at home. Discover the right wattage, technology, attachments, and features for your hair type, plus expert blow-drying tips.
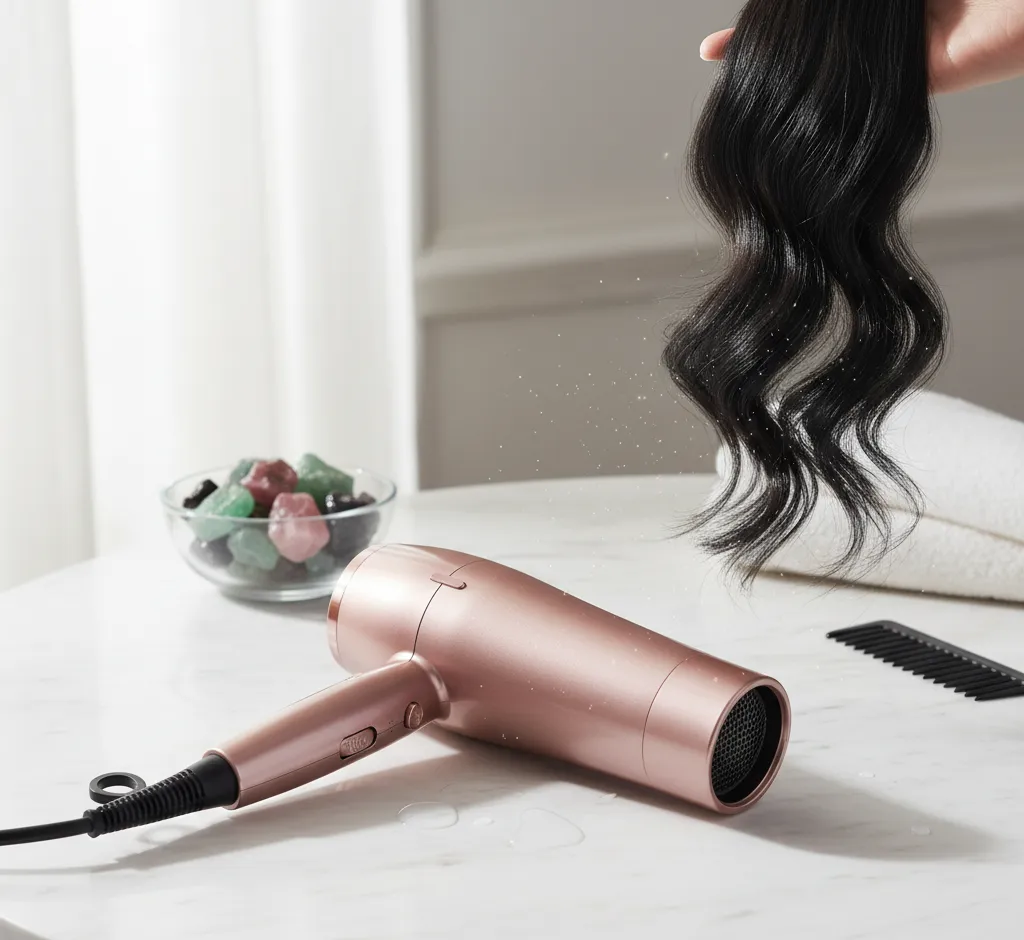
Smooth, salon-style blowouts start long before you pick up a round brush. The hair dryer you choose can mean the difference between glossy, frizz-free hair and a puffy, dull finish that falls flat by midday. A good dryer doesn’t just speed up drying time; it controls frizz, protects from damage, and helps your style last.
This guide breaks down how to pick a hair dryer for smooth blowouts at home. You will learn what wattage to look for, which technologies really matter, and which attachments and settings make sleek styling easier and healthier for every hair type.
Why Your Hair Dryer Matters for Smooth Blowouts
Many people invest in shampoos, masks, and serums but overlook the importance of a quality dryer. Yet the dryer controls how quickly moisture leaves the hair, how evenly heat is distributed, and how smooth or rough the cuticle lies after styling. The wrong tool can rough up the hair shaft, causing frizz and breakage, while the right one helps seal the cuticle for shine and softness.
For smooth blowouts, you want a dryer that offers strong but controlled airflow, gentle and consistent heat, and features that let you tailor styling to your hair type. Instead of chasing brand names alone, focus on core specifications and design details that directly affect your results.
Step 1: Match Wattage to Your Hair Type
Wattage measures the power of a hair dryer, which affects both airflow and how fast your hair dries. More power is not automatically better for everyone, but underpowered dryers force you to use more heat for longer, increasing damage.
- Fine or fragile hair: Look for dryers in the range of about 1400–1800 watts. This gives enough power to dry efficiently without blasting delicate strands with excessive force or heat.
- Medium hair: A range of around 1600–1900 watts usually works well, offering a balance between speed and control.
- Thick, coarse, or very long hair: Consider 1800–2100 watts or higher. Strong airflow helps evaporate moisture quickly so you spend less time with hot air on your hair, which can actually reduce overall damage when used correctly.
If you frequently style your hair into smooth blowouts, prioritize a dryer with steady, strong airflow rather than relying solely on high heat. This lets you straighten and smooth the hair with a brush while keeping the temperature more moderate.
Step 2: Understand Dryer Technologies
Modern dryers often advertise buzzwords like “ionic,” “ceramic,” or “tourmaline.” These technologies are not just marketing; when chosen thoughtfully, they can make a noticeable difference in smoothness and shine.
Ionic technology for frizz control
Ionic dryers emit negatively charged ions that help break up water droplets on the hair surface, speeding up drying and helping the cuticle lie flatter. This can reduce frizz and static and make hair look glossier. Ionic dryers are especially helpful for thick, coarse, or frizz-prone hair that tends to puff up during blow-drying.
However, if your hair is very fine and easily goes limp, too much ionic smoothing can sometimes reduce volume. In that case, look for a dryer that lets you switch the ionic feature on and off, or alternate between ionic for mid-lengths and non-ionic for the roots when you want lift.
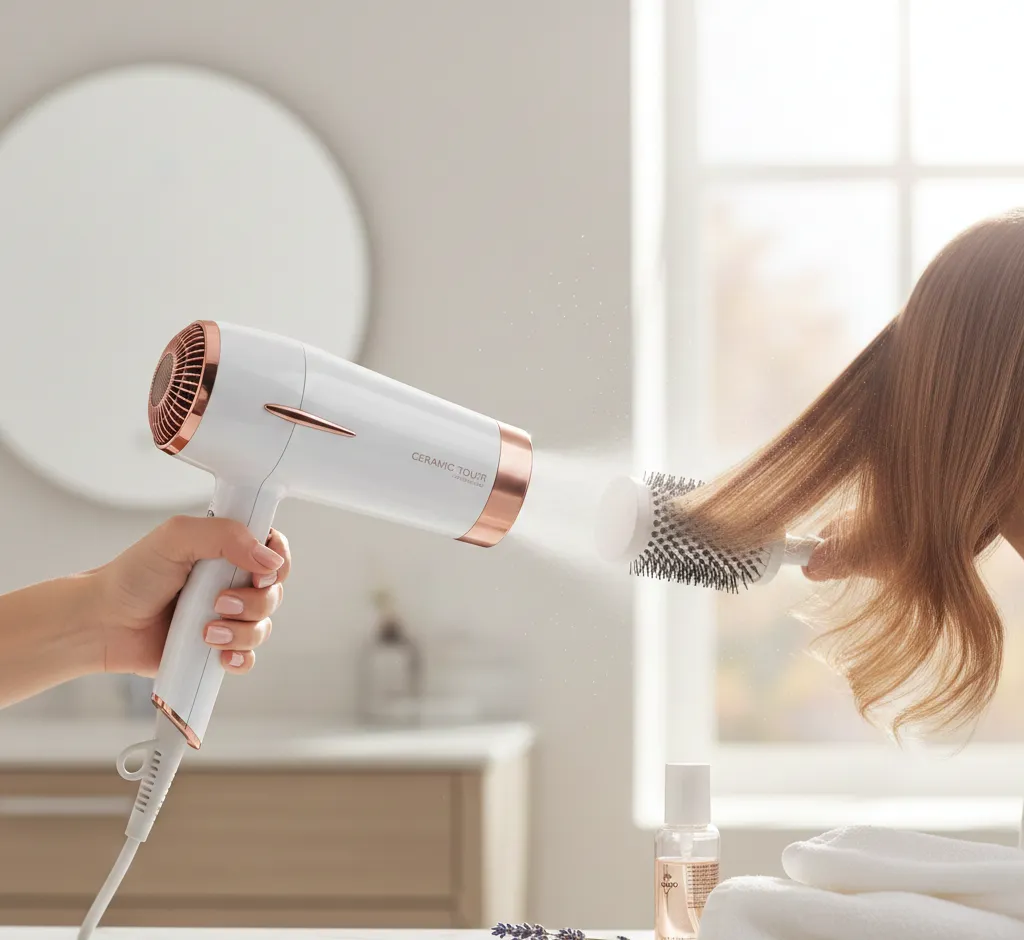
Ceramic and tourmaline for even, gentle heat
Ceramic components help distribute heat more evenly across the airflow, reducing hot spots that can scorch the hair. This is useful for preventing damage and achieving a uniform, smooth finish, especially when styling regularly.
Tourmaline is a mineral often used as a coating on internal parts of the dryer. It enhances both ion production and infrared-style, gentle heating. For coarse, frizz-prone, or highly textured hair, a ceramic-tourmaline dryer can be particularly effective at creating sleek blowouts with less frizz.
Titanium for speed and thick hair
Titanium dryers tend to get hot quickly and maintain high temperatures with strong airflow. They are popular among professionals for use on thick, dense hair because they dramatically speed up drying and smoothing.
For fine, fragile, or damaged hair, titanium can be too aggressive unless used carefully on lower heat settings. If you choose titanium, make sure the dryer offers excellent temperature control and that you are disciplined about using the lowest effective heat.
Step 3: Look for Essential Settings and Controls
The right controls help you adapt the dryer to your hair type, styling goals, and specific sections of your hair. This is key to smooth, polished blowouts instead of one-size-fits-all heat blasting.
Multiple heat and speed settings
At minimum, look for at least two heat settings (low and high) and two speed settings (low and high). Even better is a dryer with three heat and two or three speed options, allowing fine-tuning.
- Low heat + low speed: Ideal for very fine, damaged, or face-framing sections where control matters more than speed.
- Medium heat + medium speed: A good default for most hair types while smoothing with a round brush.
- High speed + medium or high heat: Best used when hair is very wet and you are rough-drying before actual styling, or for very thick hair.
Being able to separate speed and heat means you can get strong airflow with gentler warmth, which is ideal for protecting your hair while still getting a smooth blowout.
Cool shot button
A cool shot button delivers a burst of unheated or much cooler air. After shaping a section around your brush, cooling it while still under tension helps “set” the style. This locks in smoothness and bend at the ends, making the blowout last longer.
During blowouts, use the cool shot on each section once it is 80–90% dry and smooth. This simple habit can dramatically improve the staying power and polish of your style without adding extra products.
Step 4: Choose the Right Attachments for Smoothness
Attachments might seem like extras, but for smooth blowouts they are essential. The right nozzle shape directs airflow where you need it, supporting a sleek, controlled finish instead of scattered frizz.
Concentrator nozzle
The concentrator is the must-have attachment for smooth blowouts. It narrows and focuses airflow so it travels parallel to the hair shaft, helping you smooth the cuticle as you glide the dryer along the section.
- Narrow concentrator: Great for precision, root control, and bangs. It offers very targeted airflow, ideal when you want straight, sharp lines.
- Wider concentrator: Better for longer sections and general blowouts, as it covers more hair at once while still giving direction.
When evaluating dryers, check that a concentrator is included and that it snaps on securely. A loose, wobbly nozzle can twist while you work and make styling frustrating.
Diffuser (when you want versatility)
A diffuser is not used for sleek blowouts, but if your hair is naturally wavy or curly, it can be useful on days when you want to enhance your natural texture instead of smoothing it. Choosing a dryer that comes with both a concentrator and diffuser gives you flexibility.
Look for a diffuser that is large and bowl-shaped with long prongs to reach the roots. This lets you dry curls gently without causing frizz, complementing those days when you skip the blowout and opt for defined waves.
Step 5: Consider Weight, Ergonomics, and Noise
A smooth blowout usually takes 15–30 minutes depending on hair length and thickness. A dryer that is too heavy or poorly balanced will exhaust your arms and make you rush, which leads to rougher, less polished results.
When possible, compare weights and handle shapes. A lighter dryer with an ergonomic, easy-grip handle helps you maintain consistent tension with your brush and reach the back sections more comfortably. A long, flexible cord is also helpful, so you are not fighting the cord while smoothing each section.
Noise and motor type
Professional-style dryers often use more durable motors that can be quieter and more powerful at the same time. Quieter dryers are not just about comfort; they also allow you to hear the sound of the airflow, which helps you gauge distance and angle for better control.
If you style frequently, investing in a dryer with a long-life motor and lower noise output can make your daily routine much more pleasant and less fatiguing.
Step 6: Protect Hair Health While Chasing Smoothness
Even the best hair dryer can cause damage if misused. For consistently smooth blowouts, healthy hair is just as important as the tool itself. A few smart habits help you keep strands strong and shiny.
- Always use a heat protectant: Before blow-drying, apply a lightweight heat-protectant spray or cream from mid-lengths to ends. This adds a barrier that reduces moisture loss, frizz, and breakage.
- Rough-dry first: Let hair air dry until it is about 60–70% dry, or use the dryer without a brush on medium heat and high speed. Once hair is only slightly damp, switch to a concentrator and round brush for the smoothing phase.
- Keep the dryer moving: Avoid holding the nozzle in one spot. Constant motion reduces the risk of hot spots and keeps heat more even, which helps maintain shine.
Healthy hair responds better to styling and holds a smooth blowout longer. Combine a quality dryer with gentle techniques and regular trims for the best long-term results.
How to Pair Your Dryer With Your Hair Type
Choosing a dryer becomes easier when you think about your hair’s natural behavior and your usual styling goals. Below are suggestions that align specific hair types with key dryer features.
Fine or thin hair
Fine hair tends to lose volume easily and can show damage quickly. Aim for moderate wattage, ceramic or ceramic-tourmaline technology, and multiple heat settings so you can stick to lower temperatures.
- Use the concentrator at the roots with a round or vented brush, directing airflow upward for lift.
- Limit ionic power if your hair goes flat; use medium heat and high airflow rather than maximum smoothing modes.
Medium, straight or wavy hair
Medium hair is more forgiving and often benefits from a balance of speed and control. A dryer with 1600–1900 watts, ionic-ceramic technology, and at least three heat settings will suit most needs.
- Rough-dry on higher speed, then smooth with a medium or large round brush on medium heat.
- Finish with a cool shot on each section and a light serum or cream to lock in shine.
Thick, coarse, or curly hair
Thick or highly textured hair usually holds onto moisture and frizz, so strong airflow and advanced smoothing technology help significantly. Look for higher wattage, ionic and tourmaline or titanium components, and a narrow concentrator.
- Start with high speed to remove excess water, then switch to medium heat with a concentrator and a large round or paddle brush to smooth.
- Keep tension on the hair with the brush while directing airflow downward along the shaft to seal the cuticle.
Key Features Worth Paying Extra For
Not every premium feature is necessary, but certain upgrades can noticeably improve the quality of your blowouts and your styling experience. Consider spending more if you style several times a week or have demanding hair.
- Advanced temperature control: Some dryers monitor air temperature and adjust heat output automatically to prevent spikes. This keeps hair safer and shinier over time.
- Removable filter: A removable rear filter makes it easier to clean lint and dust, which helps maintain airflow and prolongs the life of the dryer.
- Long, swivel cord: A professional-length cord with a swivel joint reduces tangling and gives you freedom to move around while working on different angles.
When you factor in how often you use your dryer, a higher upfront investment can pay off through longer lifespan, faster styling, and fewer salon fixes for heat damage.
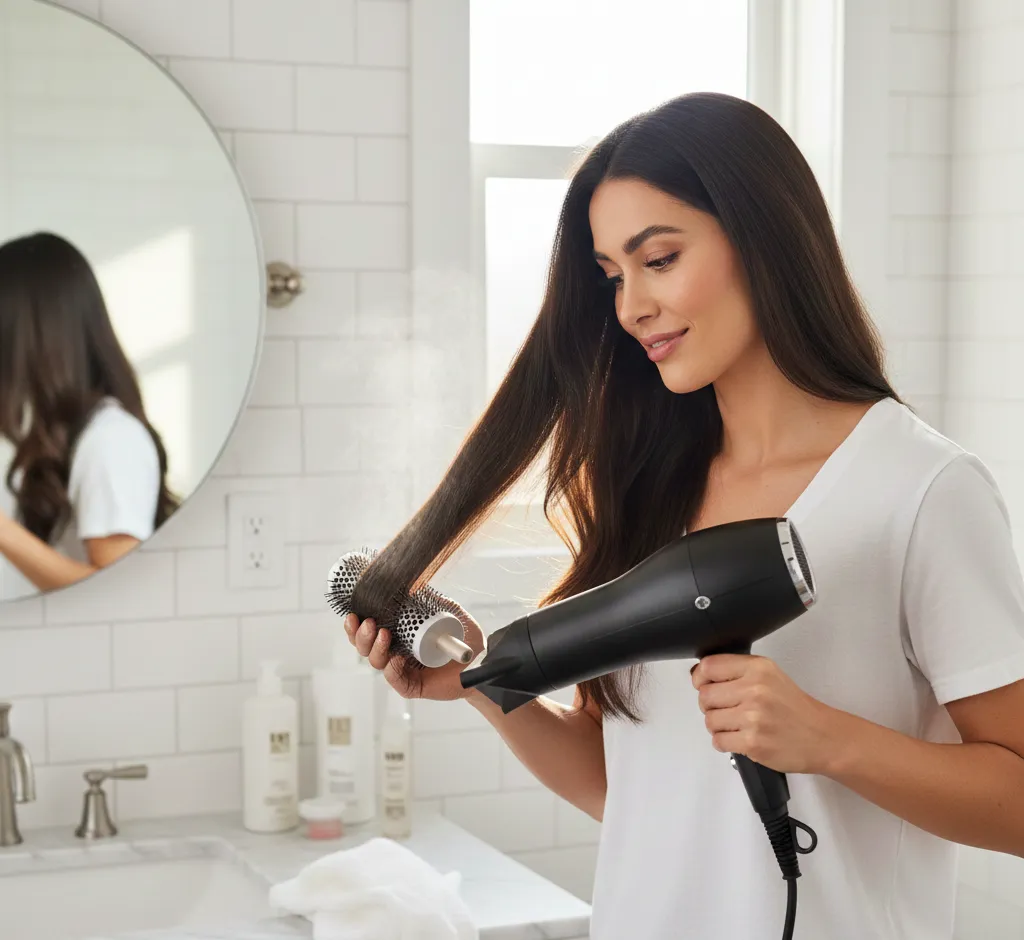
Simple Blowout Routine With Your New Dryer
Once you have chosen a dryer that suits your hair and goals, putting it to work with a consistent routine will make smooth blowouts much easier and more predictable. Think of each blowout as a sequence: prep, rough-dry, smooth, then set.
- Prep: Towel-dry gently by blotting, not rubbing. Apply heat protectant and any smoothing or volumizing products appropriate for your hair type.
- Rough-dry: Using medium heat and high speed without a brush, dry until hair is about 60–70% dry. Focus on directing airflow from roots to ends.
- Section: Divide hair into 3–6 sections depending on thickness: bottom, middle, and top layers, plus front or bang sections.
- Smooth: Attach the concentrator. Working section by section with a round or paddle brush, pull the hair taut while directing airflow down the shaft. Use medium heat and adjust speed as needed for control.
- Set with cool air: Once a section is smooth and dry, hit it with the cool shot for several seconds while keeping it wrapped around the brush or laying in the shape you want.
- Finish: When all sections are smooth, do a quick pass with cool air over the whole head to close the cuticle. Add a tiny amount of serum or cream to the ends only for extra shine.
Practiced consistently with the right dryer, this routine can give you polished, salon-like results at home without excessive heat or time.
Final Checklist Before You Buy
Before clicking “add to cart,” run through a quick checklist to make sure the dryer you are considering matches your hair, lifestyle, and styling habits. This helps avoid disappointment and ensures your investment really supports your blowout goals.
- Does the wattage match your hair thickness and length?
- Does it offer at least two speeds, multiple heat settings, and a cool shot button?
- Does it use ceramic, ionic, tourmaline, or titanium technology that makes sense for your hair type?
- Are a concentrator (and diffuser if needed) included and compatible?
- Is the weight comfortable for you if you imagine holding it for 20–30 minutes?
- Are the cord length and placement of buttons practical for how and where you style?
Choosing the right hair dryer is one of the most impactful upgrades you can make to your styling routine. With the proper wattage, technology, attachments, and technique, smooth blowouts become easier, faster, and far more consistent—so your hair can look just as polished on a Tuesday morning as it does after a salon visit.