How to Propagate Raspberries from Cuttings: A Complete Step-by-Step Guide
Learn how to propagate raspberries from cuttings with this easy step-by-step guide. Boost your garden yield affordably using simple tools and techniques for healthy, identical plants.
Introduction to Raspberry Propagation
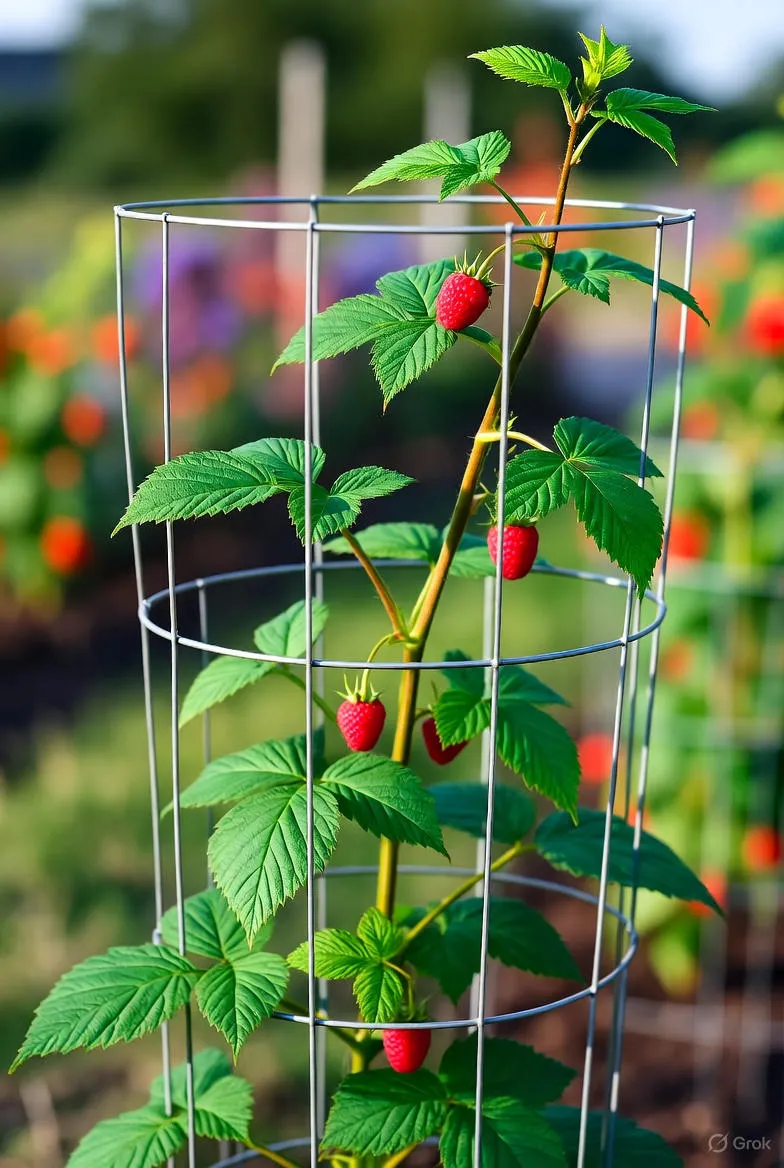
Raspberries are one of the most rewarding fruits to grow in a home garden. Their sweet-tart berries burst with flavor and are versatile in everything from fresh eating to jams and desserts. But did you know that you can easily multiply your raspberry plants without spending a fortune on new stock? Propagating raspberries from cuttings is a simple, cost-effective method that allows you to expand your berry patch quickly. This technique leverages the plant's natural ability to root from stem sections, giving you genetically identical clones of your favorite varieties.
Whether you're a seasoned gardener or just starting out, understanding how to propagate raspberries from cuttings can transform your garden. It's not only satisfying but also ensures you have healthy, disease-resistant plants tailored to your soil and climate. In this guide, we'll walk through everything you need to know, from selecting the right cuttings to nurturing new plants to maturity.
Why Choose Cuttings for Raspberry Propagation?
Before diving into the how-to, let's explore why cuttings are a preferred method for raspberries. Unlike seeds, which can lead to variable offspring and take years to fruit, cuttings produce exact replicas of the parent plant. This means you'll retain the exact taste, size, and vigor of your prized raspberry variety.
Rooting cuttings is also faster than other propagation techniques like division or layering. With proper care, you can have rooted plants ready to transplant in just a few months. Plus, it's eco-friendly—reducing the need to buy nursery stock and promoting sustainable gardening practices. Raspberries, belonging to the Rubus genus, are particularly vigorous rooters, making this method accessible even for beginners.
The Best Time to Take Raspberry Cuttings
Timing is crucial for successful propagation. The ideal window for taking raspberry cuttings is during the dormant season, typically late fall to early spring, depending on your climate zone. In temperate regions, aim for November through February when the plants are leafless and energy is stored in the roots and canes.
For softwood cuttings, which are more tender and root quicker, late spring to early summer works well—just after new growth has hardened slightly but before flowering. Hardwood cuttings, taken from mature canes, are sturdier and better suited for beginners. Always check your local frost dates; avoid cutting during extreme cold or heat to minimize stress on the parent plant.
Materials You'll Need for Propagation
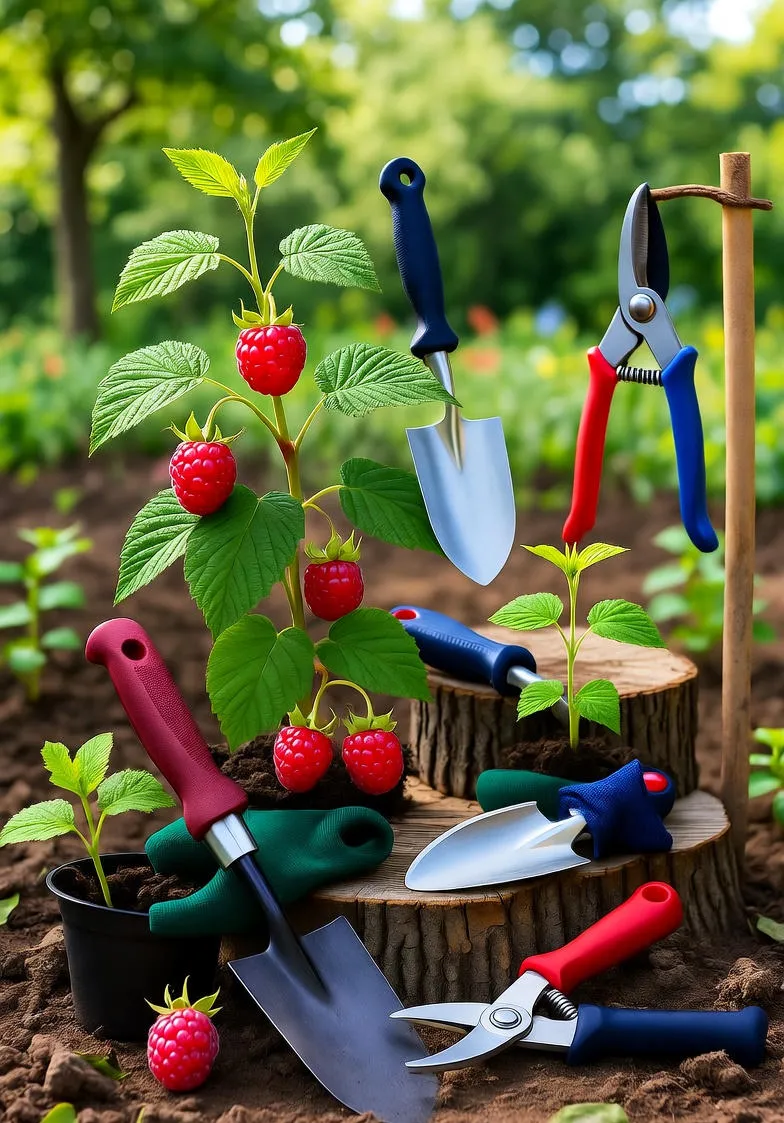
Gathering the right tools beforehand streamlines the process and boosts success rates. Here's a basic list to get you started:
- Sharp pruning shears or a knife for clean cuts
- Healthy raspberry canes from disease-free plants
- Rooting hormone powder or gel (optional but recommended)
- Well-draining potting mix or a sand-perlite blend
- Containers with drainage holes, such as 4-inch pots
- Clear plastic bags or a propagation tray with a dome for humidity
- Labels and a permanent marker
- Spray bottle for misting
Invest in quality materials; sterilized tools prevent fungal issues, and a good rooting medium ensures oxygen reaches the developing roots.
Step-by-Step Guide to Taking and Rooting Cuttings
Step 1: Select and Prepare the Parent Plant
Choose vigorous, healthy raspberry bushes that have fruited well in the previous season. Look for canes that are pencil-thick and free from pests or damage. For hardwood cuttings, select one-year-old canes (primocanes) that are dormant. In summer for softwood, pick non-flowering tips that are semi-ripe.
Water the parent plant a day before cutting to hydrate it fully. This reduces transplant shock and improves rooting.
Step 2: Cut the Stems
Using sharp shears, make a straight cut just below a node at the base of the cutting—nodes are where roots will emerge. For hardwood, aim for 6-8 inch lengths with 3-4 buds. Softwood cuttings should be 4-6 inches. Cut at a 45-degree angle to increase surface area for rooting. Take multiple cuttings to hedge against failures; 10-20 is a good start for a small batch.
Immediately place cut ends in water to prevent air bubbles from blocking water uptake.
Step 3: Apply Rooting Hormone
Dip the base of each cutting into rooting hormone. This synthetic auxin stimulates cell division at the cut end, speeding up root formation by up to 50%. Shake off excess to avoid overdose, which can inhibit growth. If you're going organic, willow water—a natural rooting tonic made by steeping willow branches—works wonders.
Step 4: Plant the Cuttings
Fill pots with moistened rooting medium. Make a hole with a pencil deeper than the cutting's length, then insert it so at least two nodes are buried. Firm the soil gently around the base. Space multiple cuttings 2 inches apart in a tray if propagating in bulk.
Water thoroughly to settle the medium, ensuring no air pockets.
Step 5: Create Optimal Rooting Conditions
Raspberries root best in a warm, humid environment. Place pots in indirect light—avoid direct sun to prevent scorching. Maintain soil temperature around 65-75°F (18-24°C) using a heat mat if needed. Cover with plastic to retain 70-80% humidity, venting daily to prevent mold.
Mist cuttings lightly every few days, but don't waterlog the soil. Roots typically form in 4-8 weeks; tug gently to check resistance.
Caring for Newly Rooted Raspberry Plants
Once roots are established—visible through clear pots or by gentle tugging—it's time to acclimate your babies. Gradually remove the plastic cover over a week to harden them off. Transplant to larger pots with garden soil mixed with compost for nutrients.
Keep in a sheltered spot for another month, watering consistently to keep soil moist but not soggy. Fertilize sparingly with a balanced 10-10-10 formula diluted to half strength every two weeks. Watch for yellowing leaves, a sign of overwatering or nutrient deficiency.
In late spring, harden off outdoors by exposing plants to increasing hours of outdoor conditions. Plant in the garden when frost risk passes, spacing 2-3 feet apart in rows 6-8 feet wide. Mulch with straw or wood chips to retain moisture and suppress weeds.
Common Mistakes to Avoid in Raspberry Propagation
Even with the best intentions, pitfalls can derail your efforts. Overwatering is a top culprit, leading to rot—always use pots with drainage. Ignoring sterility invites damping-off fungus; wipe tools with alcohol between cuts.
Don't rush transplanting; weak roots snap easily. And remember, not all varieties root equally—summer-bearing types like 'Heritage' excel, while everbearing might need tweaks. Patience is key; some cuttings take longer to show signs of life.
Advanced Tips for Successful Raspberry Cuttings
To elevate your propagation game, consider these pro hacks. Use bottom heat to jumpstart rooting in cooler climates—heat mats maintain steady warmth without overhead drying. Experiment with LED grow lights for consistent light if natural conditions falter.
Track your success by journaling dates, varieties, and outcomes. This data refines your technique over seasons. For larger scales, try mist propagation systems to automate humidity control.
Incorporate companion planting post-transplant; garlic or marigolds deter pests naturally. And prune parent plants post-cutting to encourage new growth, sustaining your propagation source.
Troubleshooting Propagation Problems
If cuttings wilt, check for bacterial wilt—discard affected ones and sterilize. Wilting from underwatering? Increase misting frequency. Slow rooting? Boost hormone concentration slightly or extend warmth.
Pest issues like aphids on softwood? Neem oil spray nips them early. Fungal spots? Improve air circulation. Most problems stem from environmental mismatches, so monitor closely the first few weeks.
Harvesting and Long-Term Maintenance
Your propagated plants will fruit in 1-2 years, depending on type. Summer-bearing yield on second-year canes; everbearing on new growth. Harvest when berries slip easily from cores, typically July-August.
Annual pruning keeps bushes productive: remove spent floricanes post-harvest, thin primocanes to 4-6 per foot. This prevents overcrowding and disease. With consistent care, your cuttings will yield bountiful crops for 10+ years.
Conclusion: Expand Your Berry Bounty Today
Propagating raspberries from cuttings demystifies plant multiplication, empowering you to curate a thriving garden. From selecting sturdy stems to nurturing tender roots, each step builds toward a sweeter harvest. Embrace this hands-on hobby—your future self will thank you with armfuls of homegrown berries. Start small, learn as you go, and soon you'll be sharing cuttings with neighbors, perpetuating the cycle of growth and abundance.
This method not only saves money but deepens your connection to nature. Whether expanding a backyard plot or gifting starts, raspberry propagation fosters self-sufficiency and joy. Happy gardening!