How to Test and Optimize Soil for Thriving Raspberry Plants: A Complete Guide
Discover how to test soil pH and nutrients for raspberries with DIY and lab methods. Step-by-step guide to ideal conditions (pH 5.5-6.5), amendments, and maintenance for healthy plants and bigger harvests.
Introduction
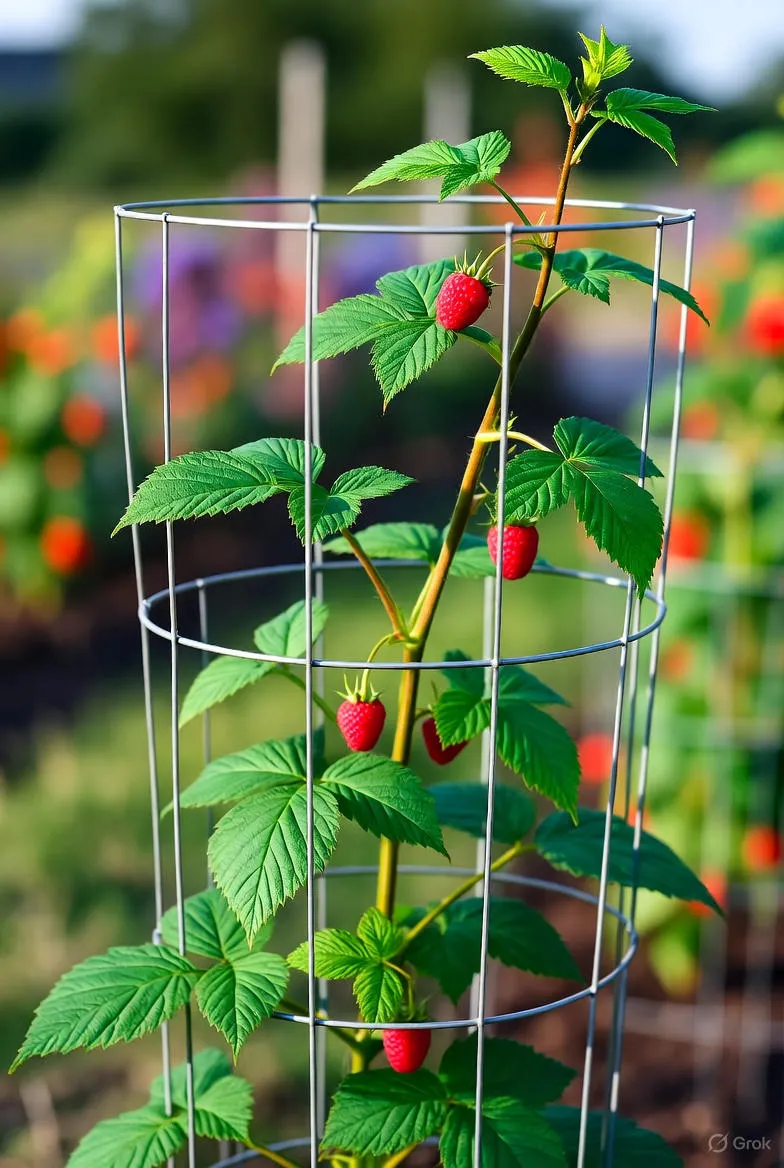
Raspberries are a delightful addition to any garden, offering juicy, flavorful berries that can be enjoyed fresh, in desserts, or preserved for year-round use. However, achieving a bountiful harvest starts with one crucial step: testing and preparing the soil. Raspberries are particular about their growing conditions, thriving in slightly acidic, well-drained soil rich in essential nutrients. Without proper soil testing, you risk stunted growth, poor yields, or even plant diseases that can wipe out your crop.
This guide will walk you through everything you need to know about testing raspberry soil, from simple DIY methods to professional lab analysis. We'll cover why testing matters, what ideal conditions look like, step-by-step testing processes, interpreting results, and ongoing maintenance tips. By the end, you'll be equipped to create the perfect environment for your raspberry plants to flourish.
Why Test Soil for Raspberries?
Soil testing isn't just a one-time chore—it's the foundation of successful raspberry cultivation. Raspberries have specific needs that differ from other plants. For instance, they prefer a pH between 5.5 and 6.5, where nutrients like iron and phosphorus are most available. If the pH is too high or low, your plants may show signs of nutrient deficiencies, such as yellowing leaves or weak canes, even if the soil contains plenty of those nutrients.
Beyond pH, testing reveals levels of key macronutrients—nitrogen (N) for leafy growth, phosphorus (P) for root and fruit development, and potassium (K) for overall vigor and disease resistance. Micronutrients like magnesium and calcium also play roles in preventing issues like blossom end rot. Regular testing helps you avoid over-fertilizing, which can lead to environmental runoff or plant burn, and under-fertilizing, which starves your raspberries.
Testing also assesses soil texture and organic matter content, ensuring good drainage to prevent root rot—a common killer of raspberry plants in waterlogged conditions. In short, soil testing saves time, money, and effort while maximizing your harvest. Experts recommend testing before planting and every 1-3 years thereafter, depending on your soil's fertility.
Understanding Ideal Soil Conditions for Raspberries
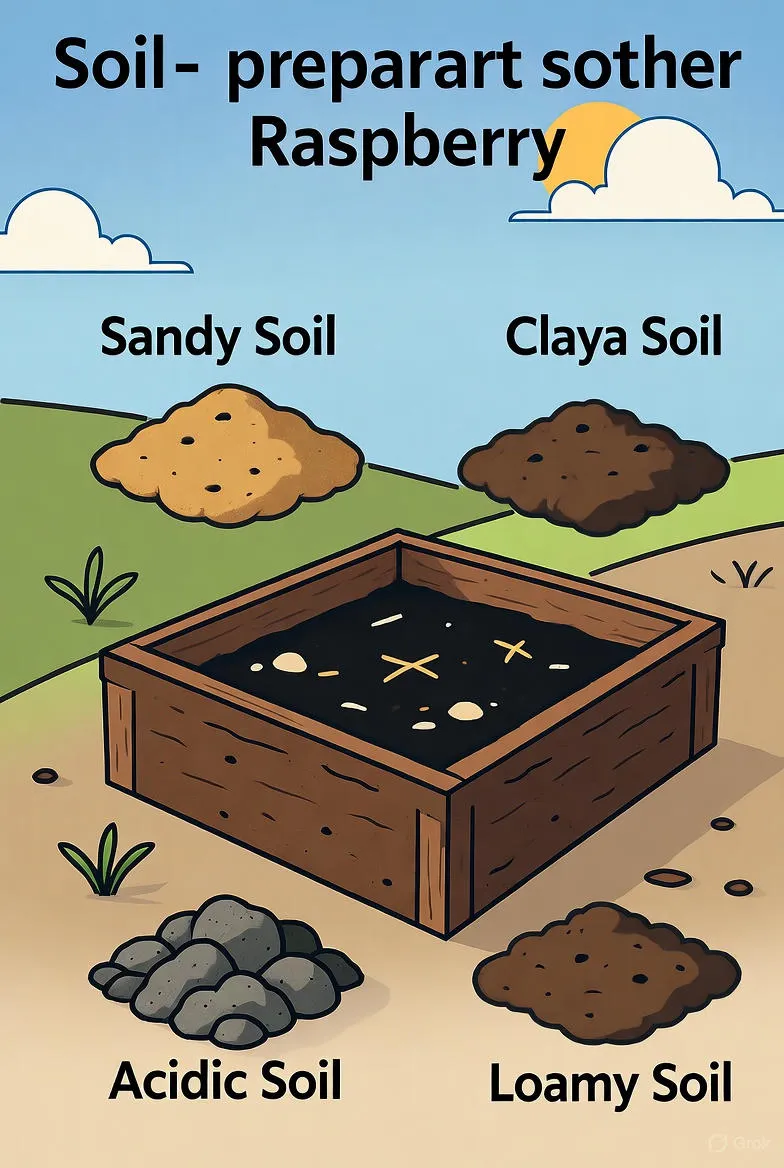
To test effectively, you first need to know what you're aiming for. Raspberries aren't overly fussy, but they do best in loamy soil—a balanced mix of sand, silt, and clay that provides excellent drainage while retaining moisture and nutrients.
Optimal pH Levels
The sweet spot for raspberry soil pH is 5.5 to 6.5, slightly acidic. This range ensures that essential elements are accessible without toxicity risks. At pH above 7.0, iron and manganese become unavailable, leading to chlorosis (yellow leaves with green veins). Below 5.0, aluminum toxicity can harm roots. Most garden soils fall between 6.0 and 7.0, so minor adjustments are often needed.
Nutrient Requirements
Raspberries are moderate feeders, but they demand a steady supply of NPK:
- Nitrogen (N): Promotes vigorous cane growth and lush foliage. Aim for 50-80 lbs per acre annually, split into applications.
- Phosphorus (P): Builds strong roots and supports fruit set. Low levels (below 20 ppm) require pre-plant amendments.
- Potassium (K): Enhances fruit quality, size, and shelf life. Sandy soils often need more, up to 100 ppm.
Secondary nutrients like calcium (for cell wall strength) and magnesium (for photosynthesis) should be at least 1,000 ppm and 100 ppm, respectively. Organic matter should comprise 3-5% of the soil to improve structure and microbial activity.
Soil Texture and Drainage
Loamy soil is ideal: 40% sand for drainage, 40% silt for moisture retention, and 20% clay for nutrient holding. Test texture with the jar method—fill a jar with soil and water, shake, and let settle to see layers. Good drainage is non-negotiable; raspberries hate wet feet. If your site is heavy clay, raised beds or amendments can help.
Methods to Test Your Raspberry Soil
You have options ranging from quick-and-dirty DIY tests to precise lab analyses. Choose based on your needs—DIY for spot checks, labs for comprehensive baselines.
DIY pH Testing
A simple vinegar-baking soda test gives a rough pH idea using household items:
- Collect 1 cup of moist soil from 4-6 inches deep.
- Split into two samples.
- Add ½ cup vinegar to the first—if it fizzes, your soil is alkaline (pH >7).
- Add ½ cup water and ½ cup baking soda to the second—if it fizzes, your soil is acidic (pH <7).
- No fizz? Neutral pH (around 7).
For more accuracy, use litmus strips or a digital pH meter. Mix soil with distilled water (1:1 ratio), stir, let settle for 30 minutes, then dip the strip or probe. These tools cost $5-20 and are available at garden stores.
DIY Nutrient Testing
Basic nutrient kits test NPK with color-changing reagents. Follow kit instructions: mix soil slurry, add drops, compare to a chart. Results are approximate but useful for home gardeners. For texture, the jar test works well—after settling, measure layers against total height.
Organic matter can be estimated by the "wet sieve" method: dry soil, weigh, soak in water with dispersant, sieve out sand, dry and reweigh residue. But for precision, leave this to labs.
Professional Lab Testing
For the gold standard, send samples to a university extension or private lab (e.g., via Cornell or UMN). Costs $15-50 per sample, including detailed reports with recommendations. Tests cover pH, NPK, micronutrients, and sometimes texture or contaminants.
Step-by-Step Guide to Collecting Soil Samples
Accurate results start with proper sampling. Do this in fall or spring, when soil is moist but not wet.
- Choose your area: Sample the top 6-8 inches where roots grow, avoiding recent fertilizer spots or weeds.
- Gather tools: Clean trowel, bucket, plastic bag, labels.
- Take subsamples: Dig 10-15 holes in a zigzag pattern across your raspberry patch (at least 100 sq ft). Take a 1-cup scoop from each sidewall, mix in bucket.
- Prepare sample: Remove debris, air-dry if clumpy (don't oven-dry). Mix thoroughly, take 1 cup for testing.
- Submit: For labs, follow their guidelines—some need fresh, others dried. Include site details like previous crops.
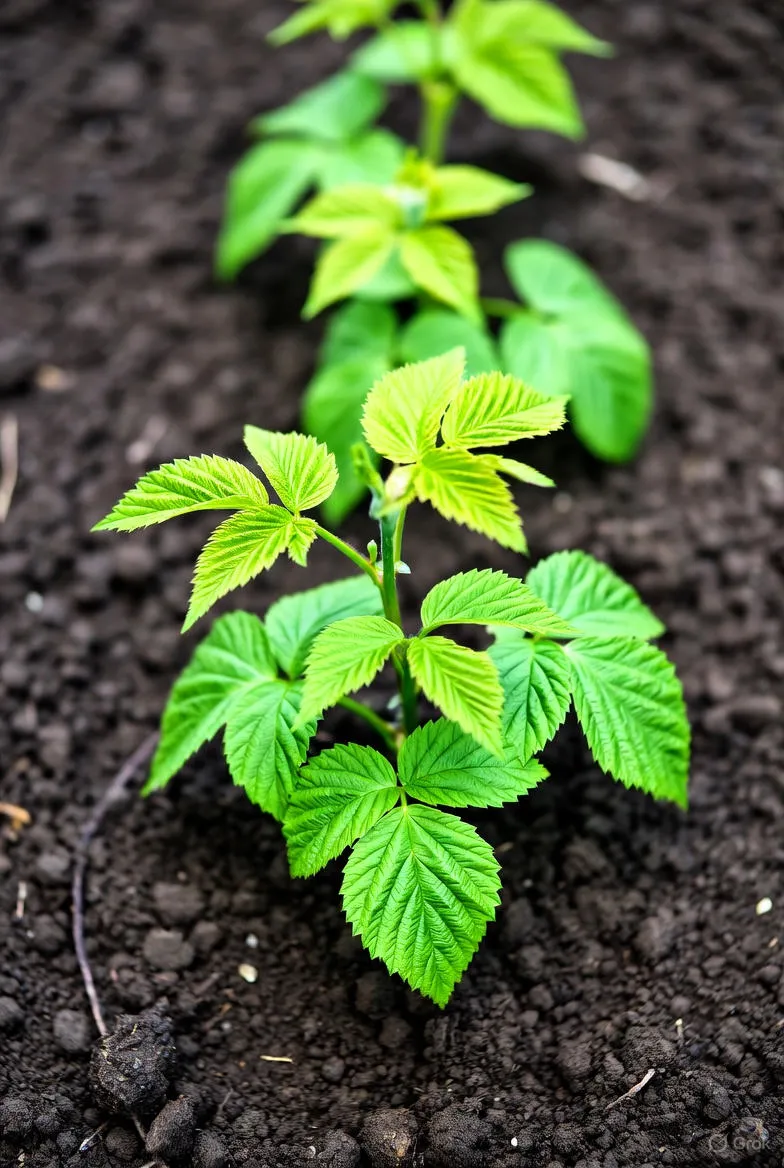
Pro tip: Test new sites 6-12 months before planting to allow amendment time.
Interpreting Test Results and Making Adjustments
Your report will categorize levels as low, medium, high, or optimal. Here's how to act.
pH Adjustment
If pH is below 5.5, raise it with lime (dolomitic for magnesium boost). Apply 2-5 lbs per 100 sq ft, tilled into top 6 inches, 3-6 months pre-plant. For high pH (>6.5), use elemental sulfur at 1-2 lbs per 100 sq ft—it lowers pH slowly via soil bacteria. Retest after 3 months.
Organic options: Wood ashes (up to 10 lbs/100 sq ft) for raising pH and adding K; pine needles or peat moss for slight acidification.
Nutrient Amendments
Use tables like these for guidance (based on standard reports):
| Nutrient | Low Level Action | Medium | High |
|---|---|---|---|
| Phosphorus (P) | Apply 2-3 oz P₂O₅/100 sq ft pre-plant (e.g., 10 oz superphosphate) | 1 oz | None |
| Potassium (K) | 1.5-3 oz K₂O/100 sq ft (e.g., 2.5-5 oz potash) | 1-1.5 oz | None |
| Nitrogen (N) | Side-dress 1-2 oz/100 ft row post-plant | Monitor | Avoid excess |
For N, apply in splits: new plants get 1 oz/100 ft at 4 weeks and August; established get 1.5-3 oz in May/June. Use urea (46-0-0) or blood meal (12-0-0) based on speed needed.
Incorporate organics like composted manure (2-4 inches deep) for slow-release nutrients and better soil structure. Avoid fresh manure—it can burn roots or introduce pathogens.
Maintaining Soil Health Over Time
Soil isn't set-it-and-forget-it. Annual mulching with 2-3 inches of straw or wood chips conserves moisture, suppresses weeds, and adds organic matter as it breaks down. Rotate amendments: alternate compost with cover crops like clover to fix N naturally.
Monitor for issues—yellow tips may signal low K, purple leaves low P. Foliar tests (mid-summer leaf samples) complement soil tests for real-time nutrient status. Irrigate deeply but infrequently (1 inch/week) to encourage deep roots, and test irrigation water if using well sources, as high salts can alter pH.
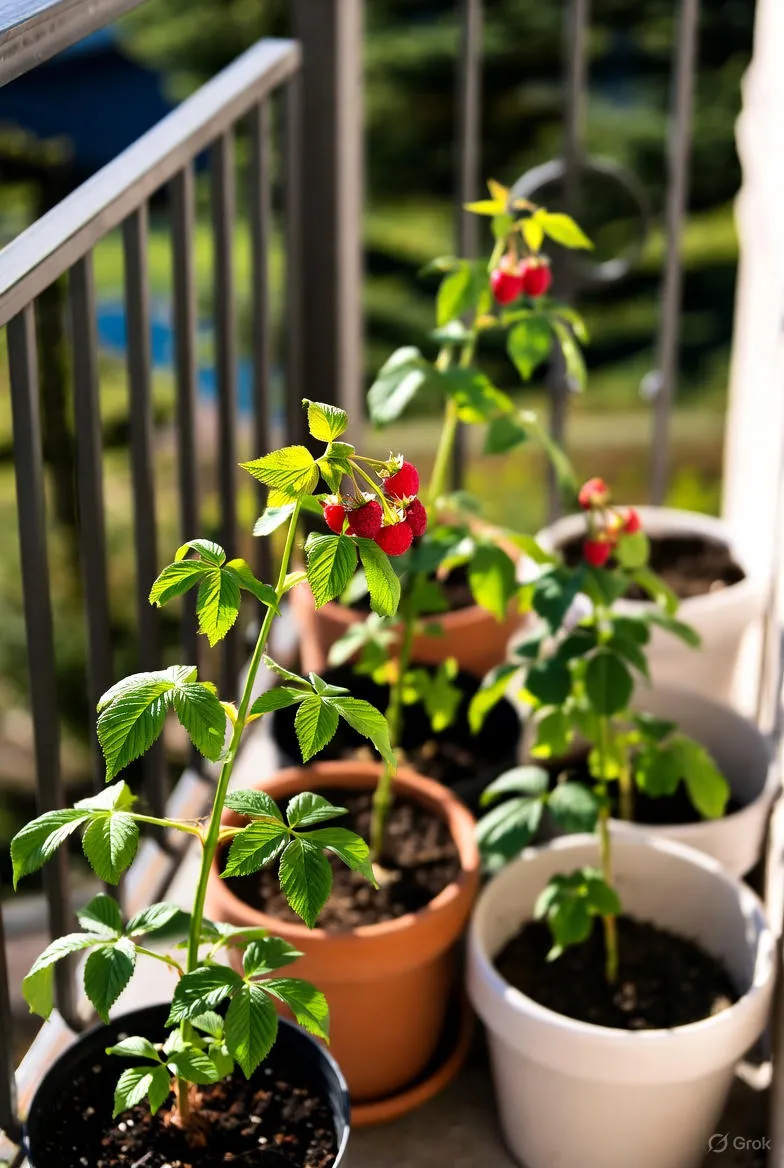
Sustainable practices pay off: Beneficial microbes from compost reduce disease risk, and balanced fertility minimizes leaching. In high tunnels or containers, test more frequently due to faster nutrient depletion.
Common Mistakes to Avoid
- Skipping the composite sample: Testing one spot skews results—always mix subsamples.
- Over-liming: Excess raises pH too high, locking out iron. Start small and retest.
- Ignoring drainage: Even perfect nutrients fail in soggy soil. Test percolation: dig a hole, fill with water; it should drain in 1-2 hours.
- Forgetting organics: Chemicals alone deplete soil life—aim for 4% organic matter.
- Late adjustments: Amend 6+ months before planting for full effect.
Conclusion
Testing your raspberry soil is an empowering step toward a productive garden. By understanding and meeting the needs for pH, nutrients, and structure, you'll set your plants up for robust growth and delicious rewards. Start with a simple DIY test today, or invest in a lab report for long-term success. With consistent care, your raspberry patch will yield handfuls of sun-ripened berries season after season. Happy gardening!