Mastering Raspberry Soil Preparation: Essential Techniques for Thriving Berries
Discover essential raspberry soil preparation techniques for optimal growth and bountiful harvests. Learn pH adjustment, drainage tips, and nutrient balancing to thrive in acidic, well-drained soil.
Why Soil Preparation Matters for Raspberry Success
Raspberries are among the most rewarding fruits to grow in home gardens, offering juicy, flavorful harvests that can be enjoyed fresh, in jams, or baked into desserts. However, achieving a bountiful yield starts long before the first cane emerges from the ground. The foundation of healthy raspberry plants lies in meticulous soil preparation. Proper soil conditions ensure robust root development, disease resistance, and optimal nutrient uptake, directly translating to sweeter, more abundant berries.
Neglecting soil prep can lead to stunted growth, poor fruit quality, or even plant failure. Raspberries are perennial crops that can produce for 10-15 years, so investing time upfront pays dividends season after season. This guide dives deep into the techniques that will set your raspberry patch up for long-term success, from testing to tilling and beyond.
Understanding the Ideal Soil Profile for Raspberries
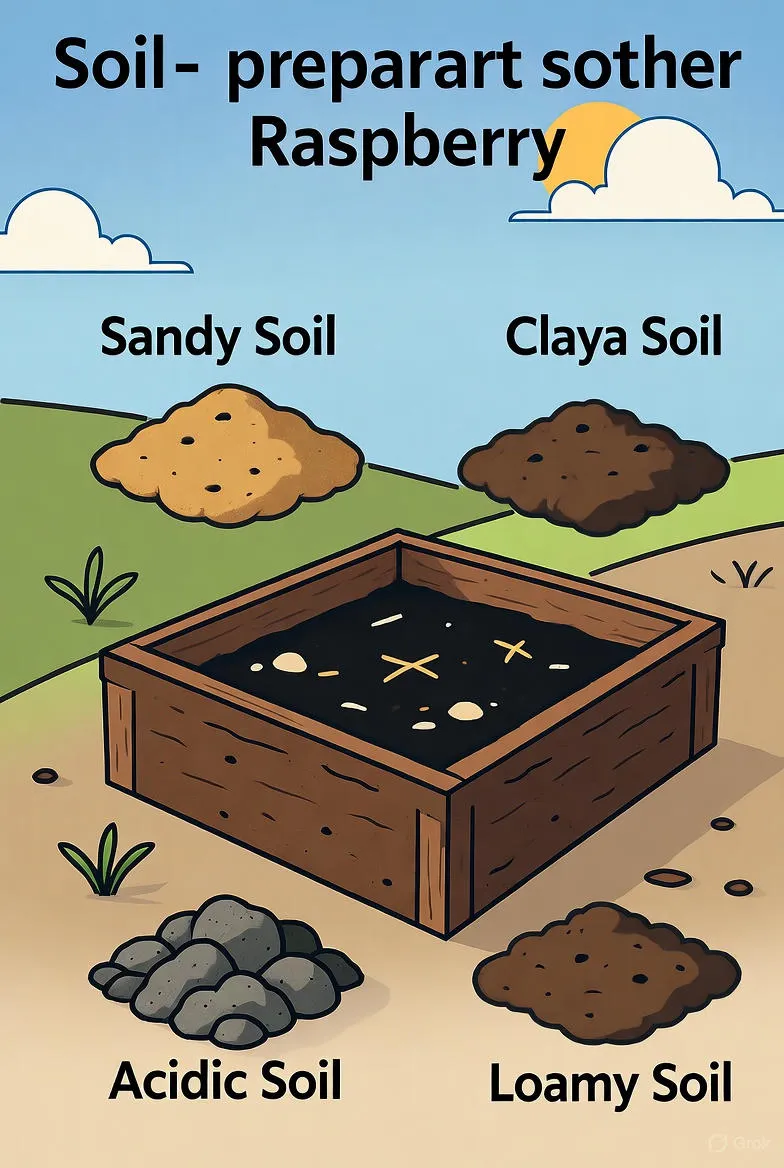
Before you dig in, it's crucial to know what raspberries crave. These brambles thrive in slightly acidic soil with a pH range of 5.5 to 6.5. This acidity mimics their native woodland habitats, where leaf litter naturally acidifies the ground. Soil texture should be loamy— a balanced mix of sand, silt, and clay that provides both drainage and moisture retention.
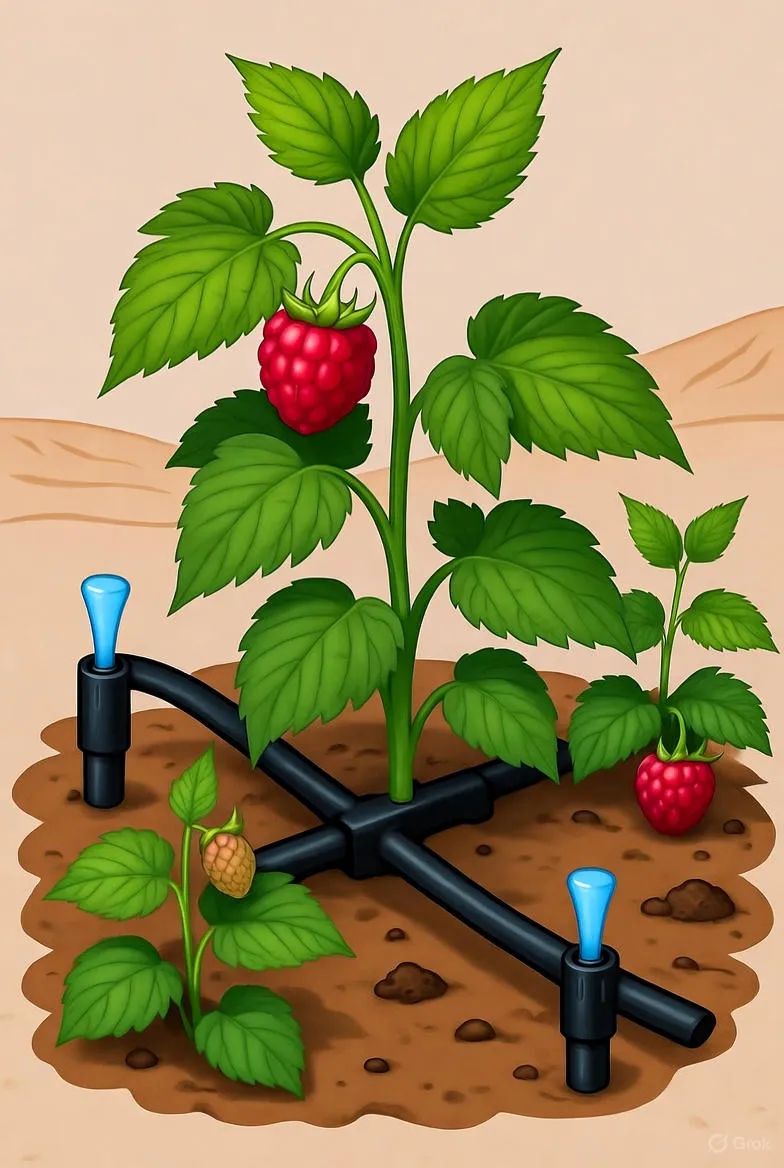
Drainage is non-negotiable; raspberries detest 'wet feet,' which can cause root rot from pathogens like Phytophthora. Aim for soil that allows water to percolate at about 1 inch per hour. Nutrient-wise, they demand moderate fertility: high in organic matter (at least 4-5%), with balanced levels of nitrogen (N), phosphorus (P), and potassium (K). Micronutrients like magnesium and boron also play supporting roles.
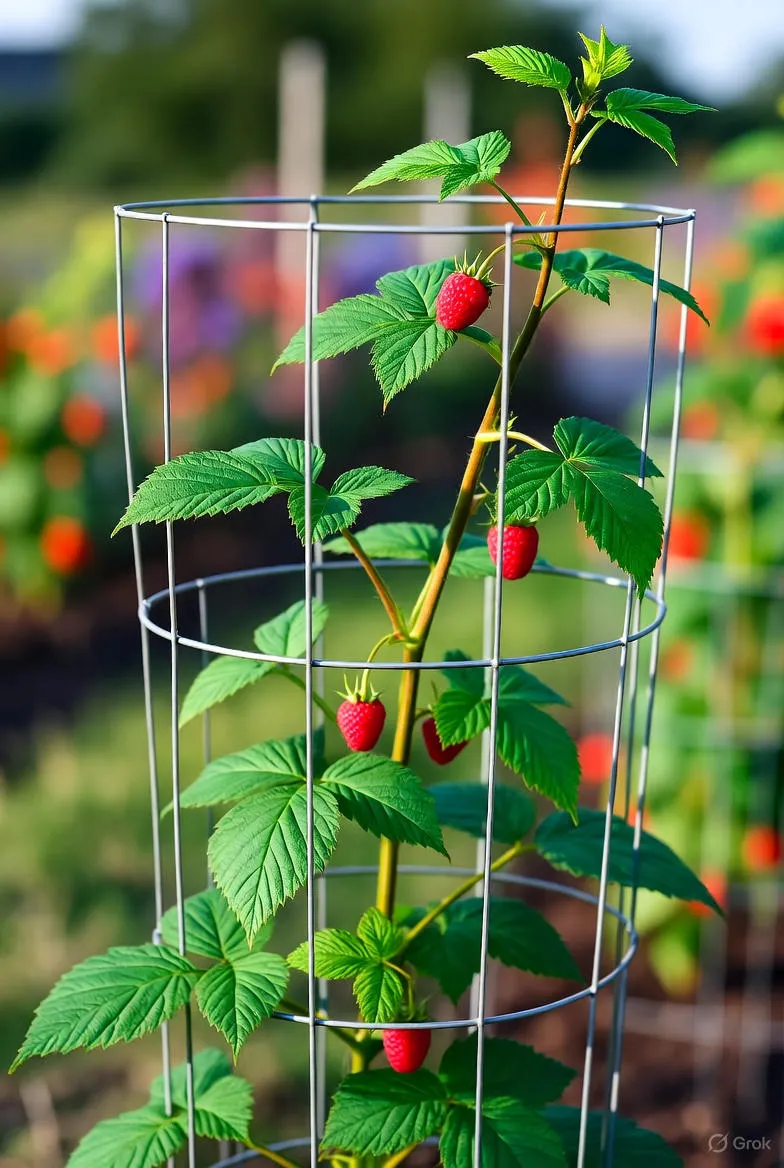
Site selection ties into this profile. Choose a sunny spot (6-8 hours of direct light daily) on a gentle slope to aid drainage. Avoid low-lying areas prone to frost pockets, as raspberries bloom early and are susceptible to spring frosts.
Step 1: Conducting a Comprehensive Soil Test
The journey begins with knowledge. A soil test is your roadmap, revealing pH, nutrient levels, and organic content. Collect samples from multiple spots in your intended planting area—about 6-8 inches deep, where roots will concentrate. Mix them in a clean bucket and send to a local extension service or use a home kit for preliminary insights.
Professional tests, often costing $15-30, provide precise recommendations tailored to raspberries. Look for reports that include exchangeable cations (like calcium and magnesium) and cation exchange capacity (CEC), which indicates soil's nutrient-holding power. Test in late summer or early fall, allowing time for amendments before spring planting.
Interpreting results: If pH is above 7.0, it's too alkaline; below 5.0, overly acidic. Nutrient deficiencies might show low phosphorus (under 20 ppm) or potassium (under 100 ppm). Armed with this data, you can proceed confidently, avoiding guesswork that wastes time and resources.
Step 2: Fine-Tuning Soil pH for Optimal Acidity
pH adjustment is a cornerstone of raspberry soil prep. For alkaline soils (pH >6.5), incorporate elemental sulfur or aluminum sulfate. Sulfur oxidizes slowly via soil bacteria, lowering pH over months—apply 1-2 pounds per 100 square feet for every 0.5 pH unit reduction, then retest after 3-6 months.
Aluminum sulfate acts faster but can build up aluminum toxicity if overused; use it sparingly, about 1 pound per 100 square feet. For acidic soils (pH <5.5), lime is the remedy. Dolomitic lime adds both calcium and magnesium, ideal for sandy soils low in these elements. Apply 2-5 pounds per 100 square feet, depending on the deficit, and till it in deeply.
Timing matters: Amend in fall for spring planting, as changes take time. Water thoroughly after application to kickstart reactions. Remember, pH influences nutrient availability—too high, and iron becomes locked away, causing yellowing leaves (chlorosis); too low, and manganese toxicity can brown edges.
Step 3: Boosting Soil Structure and Drainage
Raspberry roots need air as much as water, so enhancing structure prevents compaction. If your soil is heavy clay, which holds water like a sponge, incorporate coarse sand or grit at 20-30% by volume. However, add it alongside organic matter to avoid creating a concrete-like mix.
For sandy soils that drain too quickly, the goal is retention. Raised beds are a game-changer here—build 8-12 inches high with untreated wood or stone, filling with a custom blend: 60% topsoil, 30% compost, 10% perlite or vermiculite. This elevates roots above waterlogged subsoil and warms faster in spring.
Tilling comes next. Use a rototiller or garden fork to loosen soil to 12-18 inches deep, breaking up clods and incorporating amendments. Avoid over-tilling, which destroys soil structure and beneficial microbes. Work when soil is moist but not wet—squeeze a handful; it should crumble, not form a ball.
- Pro Tip: In areas with high water tables, install French drains: 6-inch perforated pipes buried 18 inches deep, sloped 1% away from the bed, wrapped in landscape fabric to prevent silt clogging.
- Alternative: Hugelkultur mounds—pile logs and branches, top with soil—for natural drainage and slow-release nutrients.
Step 4: Enriching with Organic Matter
Organic matter is the lifeblood of raspberry soil, feeding microbes that cycle nutrients and improve tilth. Aim for 2-4 inches of compost, well-rotted manure, or leaf mold spread across the surface, then tilled in. Pine needles or oak leaves are excellent for acidity-loving raspberries, adding tannins that gently lower pH.
Compost quality counts: Home-brewed batches from kitchen scraps and yard waste are ideal, but ensure they're fully decomposed to avoid nitrogen drawdown. Commercial options like mushroom compost work well, rich in lignin for structure. Avoid fresh grass clippings or unsterilized manure, which can harbor weeds or pathogens.
Beyond incorporation, use organic mulches post-planting: 3-4 inches of wood chips or straw suppresses weeds, conserves moisture, and decomposes into humus. Refresh annually, keeping mulch away from canes to prevent rot. Over time, this builds a friable, fertile medium that supports extensive root systems—raspberries can spread 3-6 feet wide.
Step 5: Balancing Nutrients Through Targeted Fertilization
Soil tests guide fertilization, but raspberries have specific hungers. Nitrogen fuels vegetative growth—apply 2-4 pounds of actual N per 100 feet of row in split doses: half in early spring, half post-harvest. Use blood meal or cottonseed meal for organic sources, slow-release to prevent leaching.
Phosphorus builds roots and flowers; if deficient, add bone meal at 5-10 pounds per 100 square feet, worked into the top 6 inches. Potassium enhances fruit quality and disease resistance—wood ashes or greensand provide it organically, at 1-2 pounds per 100 feet.
Micronutrients: Epsom salts (magnesium sulfate) at 1 tablespoon per gallon of water as a foliar spray corrects deficiencies. Foliar feeding bypasses soil issues, delivering quick boosts. Always water deeply after granular applications to drive nutrients to roots. In subsequent years, side-dress with compost tea for gentle, ongoing feeding.
- Pre-plant: Broadcast a balanced 10-10-10 fertilizer at half rate, based on test results.
- Post-plant: Monitor leaves for signs—pale for N lack, purple veins for P shortage.
- Long-term: Rotate amendments to prevent imbalances; cover crops like clover add N naturally.
Step 6: Finalizing the Planting Site
With amendments in place, shape your site. For rows, space 6-8 feet apart, with plants 2-3 feet within rows. Dig holes twice as wide as the root ball, 6-8 inches deep, backfilling with amended soil. For black or purple varieties, which are more vigorous, widen spacing to 3 feet.
Incorporate mycorrhizal fungi inoculants at planting—they form symbiotic networks, boosting phosphorus uptake by 20-30%. Water-in thoroughly, then mulch immediately. Trellising prep: Install wires or posts now, as soil work disturbs less later.
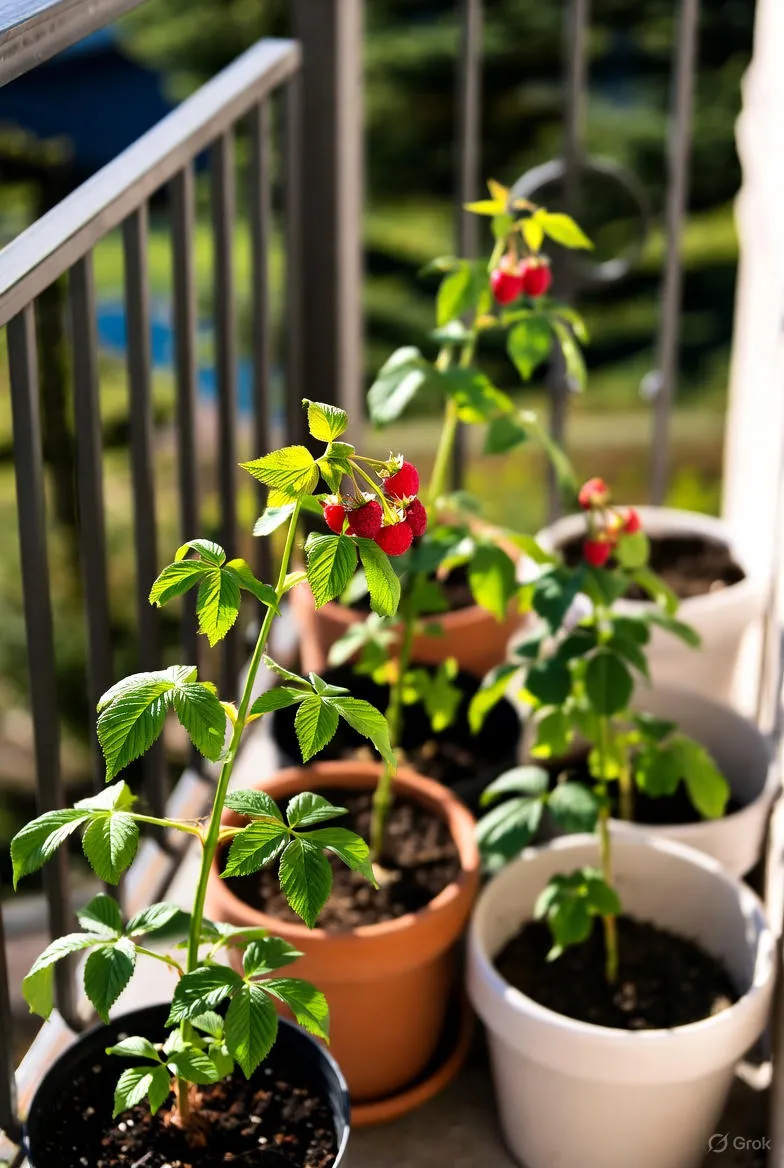
For container growing, use 5-gallon pots minimum with a mix of 50% potting soil, 30% compost, 20% perlite. This suits small spaces but requires annual repotting as roots fill out.
Common Pitfalls in Raspberry Soil Preparation
Even seasoned gardeners stumble. Over-liming alkaline soils? It locks out iron, starving plants. Ignoring drainage leads to Phytophthora root rot, wiping out patches overnight. Fresh manure burns roots with excess ammonia—compost it first.
Shallow tilling leaves hardpan below, restricting roots. And forgetting re-testing: Soil pH drifts with rain and amendments. Annual checks keep things dialed in. Weed pressure? Pre-emergent mulches or solarization (clear plastic over moist soil for 4-6 weeks in summer) curb them without chemicals.
Sustainable Practices for Eco-Friendly Prep
Go green with worm castings for nutrient-rich boosts or biochar to sequester carbon and improve retention. Native plants around borders attract pollinators, essential for berry set. Rainwater harvesting irrigates amendments efficiently, reducing runoff.
These methods not only yield better raspberries but foster soil health for generations, aligning with regenerative gardening principles.
Conclusion: Harvest the Rewards of Prepared Soil
Mastering raspberry soil preparation transforms a simple patch into a productive powerhouse. From testing to mulching, each step builds resilience against pests, weather, and time. As your canes flourish and berries ripen, you'll taste the fruits of your labor—literally. Start this fall, and by next summer, enjoy the sweetest payoff. Happy gardening!