Raspberry Jam Canning Basics: A Beginner's Guide to Preserving Summer's Sweetness
Learn the essentials of canning raspberry jam at home with this beginner's guide. Step-by-step recipe, safety tips, equipment, and storage advice for delicious, shelf-stable preserves.
Why Preserve Raspberry Jam at Home?
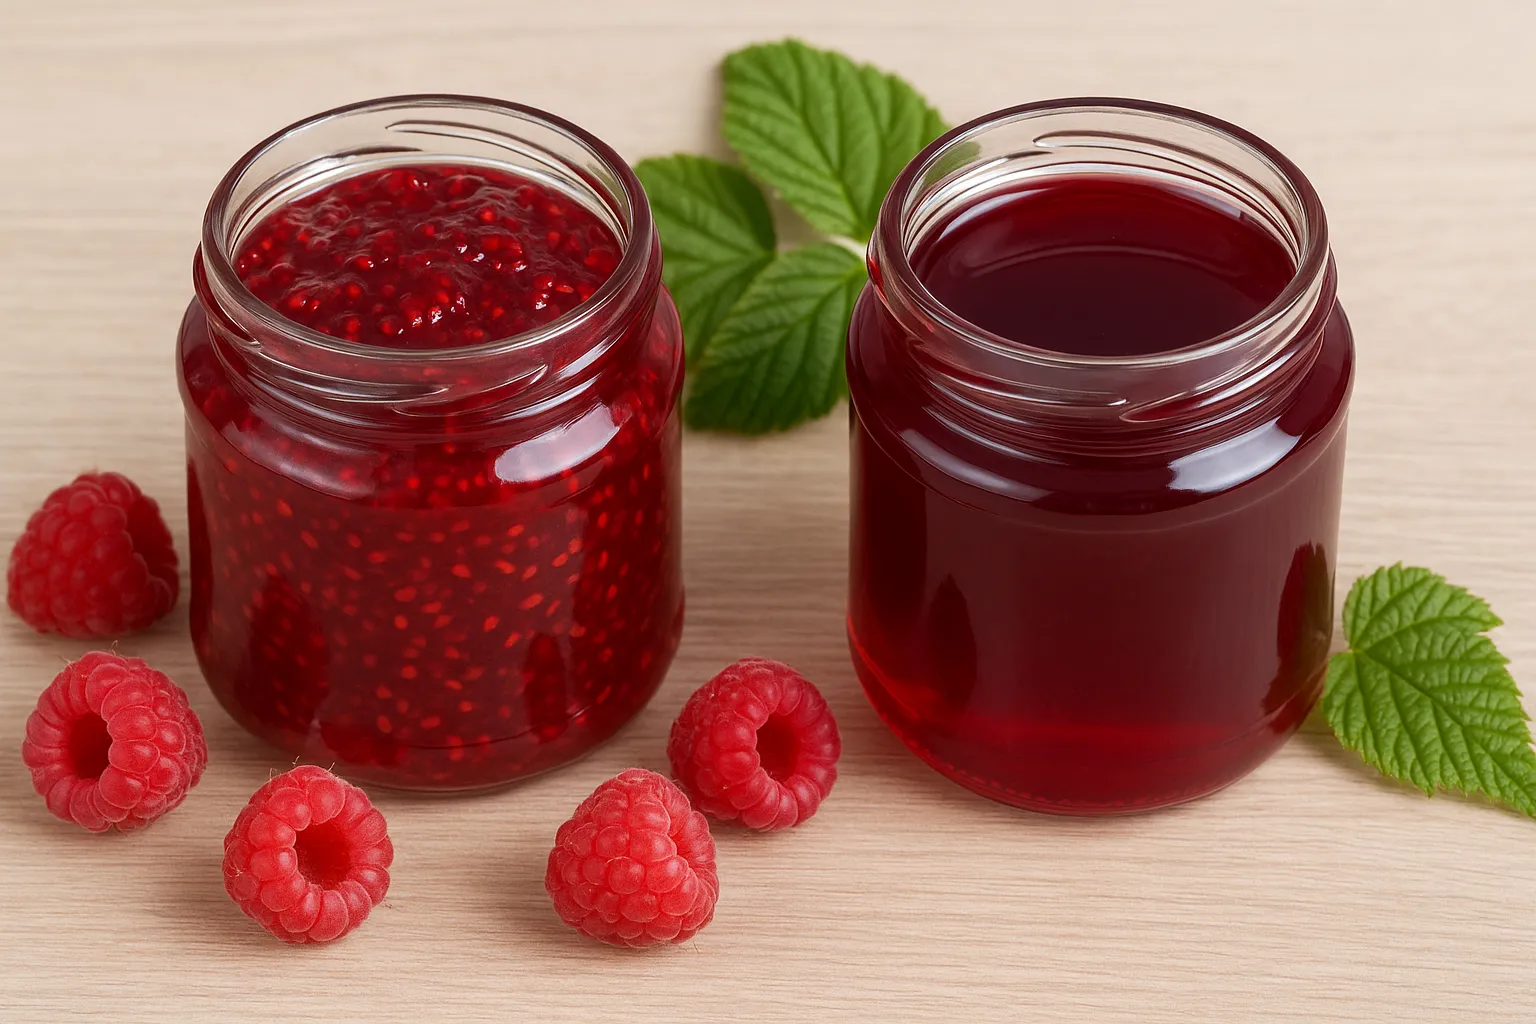
Raspberries burst with flavor during their short summer season, offering a tart-sweet taste that's perfect for spreading on toast, swirling into yogurt, or gifting to friends. But what if you could capture that essence and enjoy it through the long winter months? Home canning raspberry jam is not just a practical skill—it's a delightful way to connect with tradition, reduce food waste, and customize your preserves with just the right balance of sweetness and fruitiness. Whether you're a novice in the kitchen or looking to refine your technique, mastering the basics of canning ensures safe, delicious results every time.
The beauty of raspberry jam lies in its simplicity. Unlike more complex recipes, it requires minimal ingredients and equipment, yet yields jars of vibrant, jewel-toned goodness. Canning extends the shelf life dramatically, turning a single flat of fresh berries into months of pantry staples. Plus, there's something deeply satisfying about hearing the 'pop' of sealing lids—a sound that promises summer in every spoonful.
Gathering Your Ingredients
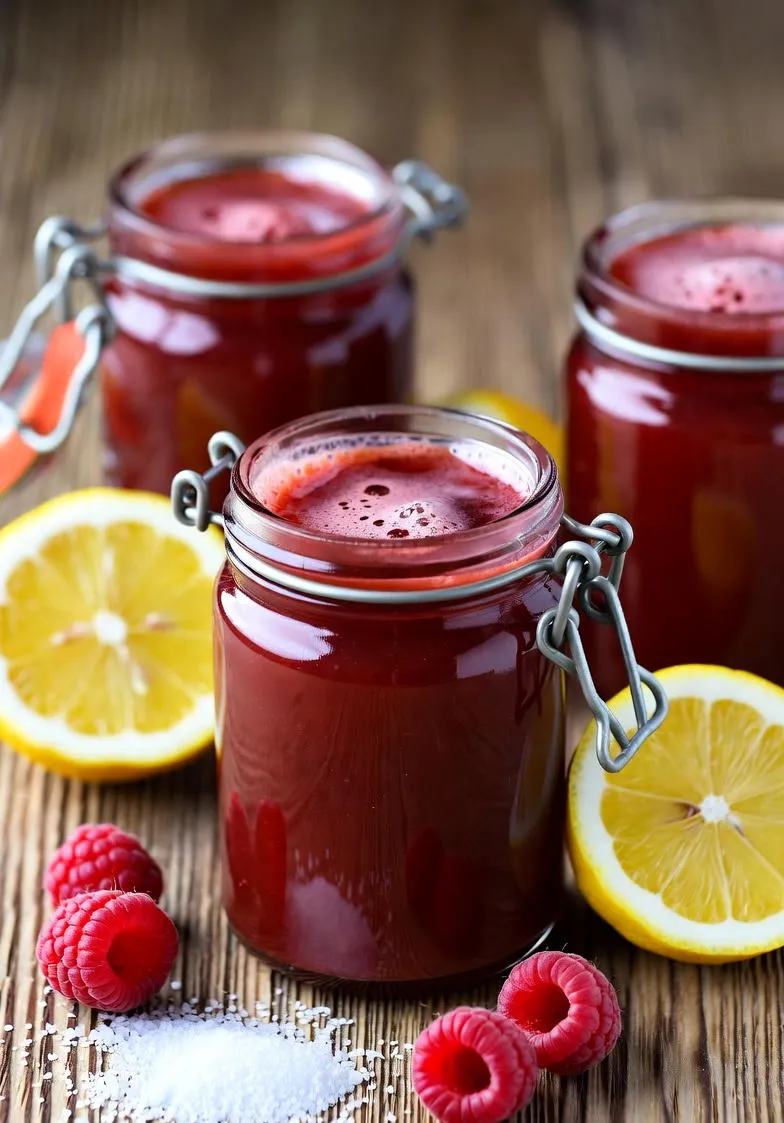
Start with high-quality raspberries; fresh, ripe ones are ideal, but frozen works well too if they're picked at peak ripeness. For a standard batch yielding about six half-pint jars, you'll need around 4 to 5 pounds of raspberries. This amount accounts for the natural volume reduction during cooking. Opt for organic if possible to avoid pesticides, and gently sort through them, discarding any moldy or underripe berries.
Sugar is the next essential—use granulated white sugar for a clear, classic jam, or experiment with cane sugar for subtle molasses notes. The ratio is typically 1:1 by weight with the fruit, but you can reduce it slightly for a less sweet version, keeping in mind that sugar also acts as a preservative. Fresh lemon juice or bottled lemon juice (for consistent acidity) adds brightness and helps set the jam; about 1/4 cup per batch does the trick. If you're aiming for a low-sugar option, consider pectin, a natural thickener derived from fruit, which allows you to cut sugar by up to 50% without compromising texture.
Don't overlook the role of pectin in your recipe. Raspberries are naturally low in pectin, so without it, your jam might end up more like a sauce than a spread. Commercial pectin comes in powdered or liquid forms—both reliable, but powdered is more versatile for adjustments. Always follow the package instructions for the exact amount, as overdoing it can lead to a rubbery consistency.
Essential Equipment for Canning Success
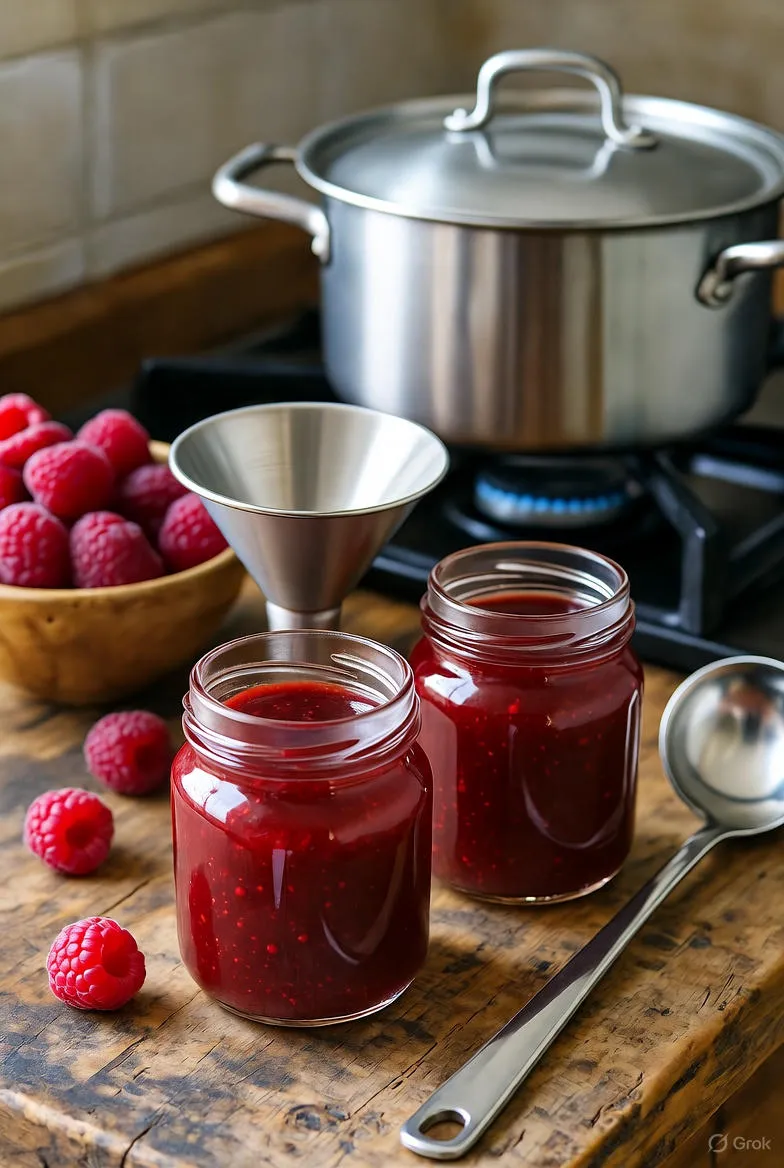
Investing in the right tools makes the process smooth and safe. At the heart is a water bath canner—a large pot with a rack that holds jars submerged in boiling water. If you don't have one, a regular stockpot works as long as it's deep enough to cover jars by at least an inch of water. You'll need canning jars (half-pint or pint sizes are perfect for jam), new lids (to ensure a proper seal), and bands to secure them.
Other must-haves include a jar lifter for safely removing hot jars, a wide-mouth funnel to fill without spills, a bubble remover or non-metallic spatula to release trapped air, and a lid lifter or magnet wand for handling lids. A candy thermometer isn't strictly necessary but helps monitor the jam's setting point. For sterilizing, your dishwasher's sanitize cycle or a pot of simmering water will do. Remember, all equipment should be clean and heat-resistant to prevent contamination.
Step-by-Step Raspberry Jam Recipe
Begin by preparing your workspace: Wash all jars, lids, and utensils in hot, soapy water, then sterilize the jars by boiling them for 10 minutes or running through a hot dishwasher cycle. Keep them warm until ready to fill—this prevents thermal shock.
In a large, heavy-bottomed pot, combine your raspberries and sugar. Let them sit for 15-30 minutes to draw out juices, creating a syrupy base. Mash the berries lightly with a potato masher for a chunkier texture or blend for smoothness. Stir in the lemon juice and pectin if using. Bring the mixture to a full rolling boil over medium-high heat, stirring constantly to prevent scorching. This stage is crucial; the boil should be vigorous enough that stirring doesn't stop it from bubbling.
Once boiling, add any remaining sugar (if using a two-stage method for pectin) and boil for exactly one minute—this is the 'soft ball' stage at around 220°F (104°C) if you're using a thermometer. Test for set by placing a small plate in the freezer beforehand; drop a teaspoon of jam on it, chill for a minute, and run your finger through—if it wrinkles, it's ready. If not, boil a bit longer and retest.
Remove from heat and skim off any foam with a spoon for a clearer jam. Ladle the hot jam into prepared jars, leaving 1/4-inch headspace. Wipe rims clean, apply lids and bands fingertip-tight, and process in the water bath for 10 minutes (adjust for altitude: add 5 minutes over 1,000 feet, 10 over 3,000, and so on).
Mastering the Water Bath Canning Method
Water bath canning is ideal for high-acid foods like fruit jams, where the acidity (pH below 4.6) prevents bacterial growth. Fill your canner halfway with water, heat to a simmer, and place the filled jars on the rack using your jar lifter. Ensure jars are covered by at least one inch of water; add more if needed. Bring to a rolling boil and start timing once the water reaches that point.
After processing, turn off the heat and let jars sit in the water for 5 minutes before lifting out to a towel-lined surface. The cooling process can take 12-24 hours; you'll hear the lids pop as they seal, creating a slight indentation in the center. Check seals by pressing down—if it doesn't flex, it's good. Any that don't seal should be refrigerated and used within a month.
This method is straightforward but requires attention to detail. Always use the most current guidelines from reliable sources like the USDA or National Center for Home Food Preservation to stay safe. Altitude adjustments are key, as boiling point decreases with elevation, affecting processing time.
Safety First: Key Canning Tips
Safety is paramount in home canning to avoid risks like botulism, though rare in acidic jams. Maintain proper acidity by using tested recipes—never alter proportions drastically. Use only recommended jar sizes; larger ones may not heat evenly. Inspect jars for cracks before use, and discard any with chips.
Label your jars with the date and contents; even sealed jam is best used within a year for optimal flavor. If you notice signs of spoilage—bulging lids, leaks, or off odors—discard immediately without tasting. For beginners, start small to build confidence, and consider taking a local extension service class for hands-on practice.
Hygiene extends beyond equipment: Wash your hands frequently, and avoid letting pets or children near the hot workspace. If you're new to pectin, practice a small test batch to dial in the sweetness and set.
Troubleshooting Common Canning Challenges
Not every batch is perfect, but most issues are fixable. If your jam didn't set, it might need recooking: Reboil with additional pectin and reprocess, or embrace it as freezer jam. Weeping jars (liquid separating) often stem from overprocessing—reduce time next batch. Cloudy jam? Usually from impure sugar or overcooking; use fresh ingredients and watch the boil.
Siphoning, where jam level drops post-processing, happens from rapid cooling—let jars cool undisturbed. Fruit floats to the top? Stir less during cooking or use firmer berries. By noting what went awry, you'll refine your technique over time, turning mishaps into mastery.
Storing and Enjoying Your Jam
Store sealed jars in a cool, dark place like a pantry, away from direct sunlight or heat sources. They'll keep for up to a year, though the flavor peaks in the first six months. Once opened, refrigerate and consume within three weeks. For gifting, tie ribbons around the lids and include usage ideas like thumbprint cookies or cheese pairings.
Beyond breakfast, raspberry jam shines in glazes for meats, fillings for tarts, or mixed into cocktails. Its versatility makes canning worthwhile, providing a taste of homegrown abundance anytime.
Creative Variations to Try
Once basics are down, experiment! Add a vanilla bean during cooking for aromatic depth, or infuse with basil for a herbaceous twist. For heat, stir in chili flakes. Mix with blackberries for a mixed-berry blend, or go alcohol-infused with a splash of Chambord. Low-sugar versions pair well with chia seeds for a healthier spread. Each variation keeps the core process intact while sparking creativity.
Seasonal twists abound: In fall, incorporate apples for natural pectin boost. For holidays, swirl in chocolate or nuts post-cooking. Document your trials in a canning journal to replicate favorites.
Embracing the Joy of Preserving
Canning raspberry jam is more than a recipe—it's a ritual that slows time, harnessing nature's bounty into something enduring. With practice, you'll develop an intuitive feel for the boil, the set, the seal. Share your jars at potlucks or family gatherings, spreading not just jam but stories of sun-ripened fields. In a world of convenience, this hands-on craft reconnects us to roots, one bubbling pot at a time. So roll up your sleeves, gather your berries, and let the preserving begin—summer's sweetness awaits your touch.