The Ultimate Guide to Cleaning Fresh Corn on the Cob: Shucking, Silking, and Washing Mastery
Master the art of cleaning fresh corn on the cob with this ultimate guide. Learn expert shucking, de-silking, and washing techniques, including the game-changing microwave method, for perfectly smooth, silk-free corn every time.
🌽 The Ultimate Guide to Cleaning Fresh Corn on the Cob
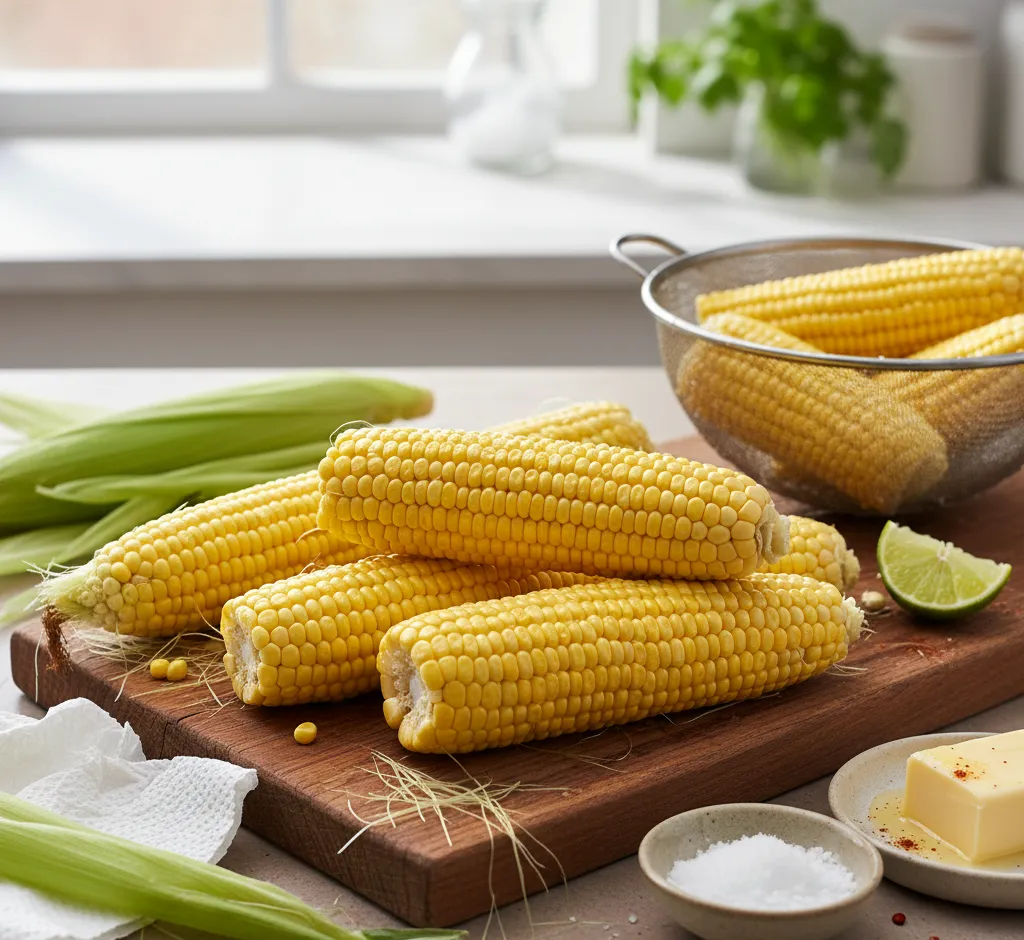
Summer means fresh, sweet corn, a quintessential seasonal treat. However, the joy of biting into a perfectly cooked ear is often preceded by the messy, sometimes frustrating, task of cleaning it. The stubborn husks and that notorious, thread-like corn silk—the “glitter” of the vegetable world—can turn prep work into a chore. But fear not! Mastering the art of cleaning fresh corn on the cob is simple once you know the right techniques. This comprehensive guide will take you through every step, from selecting the best ears to multiple methods for achieving a perfectly smooth, silk-free cob, ready for your pot, grill, or oven.
Selecting the Perfect Ear: The Foundation of Clean Corn
The cleaning process begins long before you get to the sink. Selecting high-quality, fresh corn is the first and most crucial step. A good ear will shuck and silk more easily, making your job significantly simpler.
- The Husk Test: Look for husks that are bright green, firm, and tightly wrapped around the ear. Avoid any ears where the husks are dry, pale, yellowing, or loose—these are signs of age and moisture loss.
- The Silk Test: The silk tassel at the top should be present, feel soft, and be a pale yellow or light golden-brown color. If the silk is dry, slimy, or black, the corn is likely past its prime. A moist, sticky silk is a good indicator of freshness.
- The Feel Test: Gently grasp the ear through the husk. It should feel heavy for its size, firm, and plump. A light or squishy ear suggests dry or missing kernels. Resist the urge to peel back the husks for a peek—this exposes the kernels to air, causing them to dry out and lose sweetness faster.
Storage Tip: Keep corn in its husk, wrapped tightly in a plastic bag, and refrigerate until you are ready to use it. This retains moisture and sweetness. Clean it just before cooking for the best flavor.
The Traditional Method: Shuck, Strip, and Scrub
The classic, hands-on approach is incredibly effective, especially for smaller batches. It involves a systematic process of removing the main layers, followed by targeted removal of the persistent silk.
1. The Initial Shucking: Removing the Husk
- Prepare Your Area: Corn shucking can be messy. Work over a large trash can, a designated cutting board, or an outdoor space to contain the husks and silks.
- Peel the Outer Leaves: Start at the top (the silk tassel end). Peel back the thick, green outer layers of the husk, pulling them down towards the base of the cob.
- The Grasp-and-Pull Technique: Once the outer layers are peeled, grab the remaining inner leaves and the entire silk tassel firmly in one hand. Hold the base of the cob with your opposite hand. Pull down sharply and cleanly in one swift motion. The goal is to strip the leaves and most of the silk off the cob in a single 'unzip' action.
- Snap and Discard: Gather the pulled-back husks and silk and snap them off at the base of the cob.
2. The Silking Challenge: Getting Rid of the Strands
After the initial shuck, you will inevitably be left with fine strands of silk clinging to the rows of kernels. Here are a few reliable techniques to get them off:
Technique A: The Dry Rub (Best for Stubborn Silks)
Using a dry surface provides the necessary friction to catch the wispy strands.
- The Paper Towel/Dry Cloth Method: Take a clean, slightly damp or completely dry paper towel or kitchen cloth. Wrap it around the cob and rub gently but firmly in a back-and-forth motion, moving from the top of the ear to the stem end. The towel's surface will grab the silks.
- The Stiff Brush Method: For deeply embedded silks, a clean, stiff-bristled vegetable brush or even a clean toothbrush works wonders. Lightly brush the cob, moving along the rows of kernels.
Technique B: The Rinse and Rub
Water helps wash away the loosened dirt and remaining silk fragments.
- Cold Running Water: Hold the shucked cob under a stream of cold, running water. Use your thumb or fingers to gently rub and flick away any visible silk remnants and dirt particles. The combination of water pressure and friction is highly effective.
The Low-Effort Microwave Method: Silk-Free Corn in Minutes
For a truly effortless way to shuck and clean corn, the microwave method is a game-changer. It uses steam to loosen the silks and husks from the cob's base.
- Preparation: Leave the ear of corn completely intact in its husk. Do not cut the top tassel end.
- The Cook: Place the whole ear in the microwave. Cook on high for approximately 2 to 4 minutes (2 minutes for a single ear, add about 1.5 minutes for each additional ear). You will hear the corn steaming inside the husk.
- The Cut: Using a pot holder or kitchen towel (the ear will be hot!), place the corn on a cutting board. Carefully use a sharp knife to cut off the very base of the cob—the thick, hard stem end. Cut through about $1/4$ to $1/2$ inch of the cob, ensuring you slice through the last row of kernels.
- The Squeeze: Hold the ear from the tassel end and gently squeeze. The perfectly cooked, silk-free ear of corn will slide right out of the husk! The husk and silk are left behind in a neat, contained package.
The Crucial Step: Final Washing and Sanitation
Whether you choose the traditional or microwave method, a final wash is essential for food safety and optimal enjoyment.
1. The Rinsing Protocol
After all the silks are removed, a thorough rinse is necessary to wash away any residual dirt, dust, or small silk pieces. The FDA and USDA recommend washing produce, even when it is going to be cooked.
- Cold Water Bath: Fill a large bowl or a clean sink with cold water. Submerge the shucked, de-silked cobs completely. Swish them around gently. This helps any leftover debris sink or float away.
- Final Running Water Rinse: Remove the cobs from the bowl and give each one a quick final rinse under cool, running water one last time before cooking.
2. Optional: The Baking Soda Soak (Addressing Pesticide Residue)
While cooking methods like boiling or grilling significantly reduce microbes, an optional baking soda soak can help break down pesticide residues, especially if your corn is not organic. This is a common practice for many types of produce.
The Formula: Mix a large bowl of cold water with about 1 tablespoon of baking soda for every gallon of water. Submerge the shucked cobs and let them soak for 5 to 10 minutes. Follow this soak with a thorough rinse under cold running water.
Troubleshooting and Pro-Tips for Perfect Corn Prep
Even with the best techniques, corn can sometimes be difficult. Here are some expert solutions to common cleaning frustrations:
The Dreaded “Glitter” Corn Silk
- Rubber Gloves: Putting on a pair of clean rubber kitchen gloves before shucking and silking can be a lifesaver. The rubber material offers excellent grip and static, making it much easier to pull off the wispy silks that elude bare fingers.
- Small Tweezers: For the absolute perfectionist who can't stand a single strand, a clean, dedicated pair of food-grade tweezers can be used to pluck out the last few stubborn, embedded silks.
Dealing with Damaged or Dry Kernels
If the tip of the cob has dry, damaged, or brown kernels:
- Simply Cut It Off: Use a sharp chef's knife to slice off the tip of the cob. This is a common and easy way to prepare the corn for cooking, especially if you are boiling or steaming, where a flat end is helpful.
Prepping for Specific Cooking Methods
The cleaning method may vary slightly depending on how you plan to cook the corn:
- Grilling in the Husk: If you plan to grill the corn in its husk, you only need to remove the outermost, tougher husk layers. Pull back the inner, softer layers, remove the silk, add seasoning (butter/oil/spices), then pull the husks back up around the cob. This helps retain moisture and gives a smoky flavor.
- Boiling/Steaming: For these wet methods, shucking and de-silking completely is the standard practice. A clean cob ensures no debris is transferred to your cooking water.
Conclusion: Enjoying Your Perfectly Clean Corn
Cleaning fresh corn on the cob doesn't have to be a battle. By focusing on selecting the freshest ears, employing the effective grasp-and-pull shucking technique, and using simple tools like a dry towel or the power of the microwave, you can streamline the process. A final, thorough cold water rinse ensures your cobs are clean, safe, and ready to be transformed into a delicious, silky-smooth summer meal.
Whether slathered in butter and sea salt, sprinkled with chili powder and lime for elote, or sliced off the cob for a fresh salsa, your perfectly cleaned corn is the star of any summer gathering. Happy shucking, and enjoy the fruits of your labor!