Ultimate Guide: How to Define Curly Hair for Bouncy, Lasting Curls
Master the art of defining curly hair with our comprehensive guide. Learn essential products, step-by-step techniques like plopping and finger coiling, and tips for frizz-free, bouncy curls that last all day.
Understanding Curly Hair: The Basics
Curly hair is a beautiful, unique texture that comes in various patterns, from loose waves to tight coils. But defining those curls—making them springy, separated, and frizz-free—can sometimes feel like a mystery. If you've ever washed your curls only to watch them turn into a fluffy, undefined mess, you're not alone. The key to achieving defined curls lies in understanding your hair's natural structure and responding to its needs with the right care routine.
Curly hair types are often categorized using the Andre Walker system, which ranges from Type 2 (wavy) to Type 4 (coily). Type 2A has loose S-shaped waves, while Type 4C features tight, zigzag coils. Each type requires slightly different approaches to definition, but the principles remain similar: hydration, gentle handling, and product application techniques that encourage curl clumps to form without weighing them down.
Why bother defining your curls? Well, beyond the aesthetic appeal of bouncy, touchable ringlets, defined curls are healthier. They help distribute natural oils from the scalp to the ends, reduce breakage, and minimize frizz caused by environmental factors like humidity. In this guide, we'll dive deep into the methods, products, and habits that will transform your curl routine.
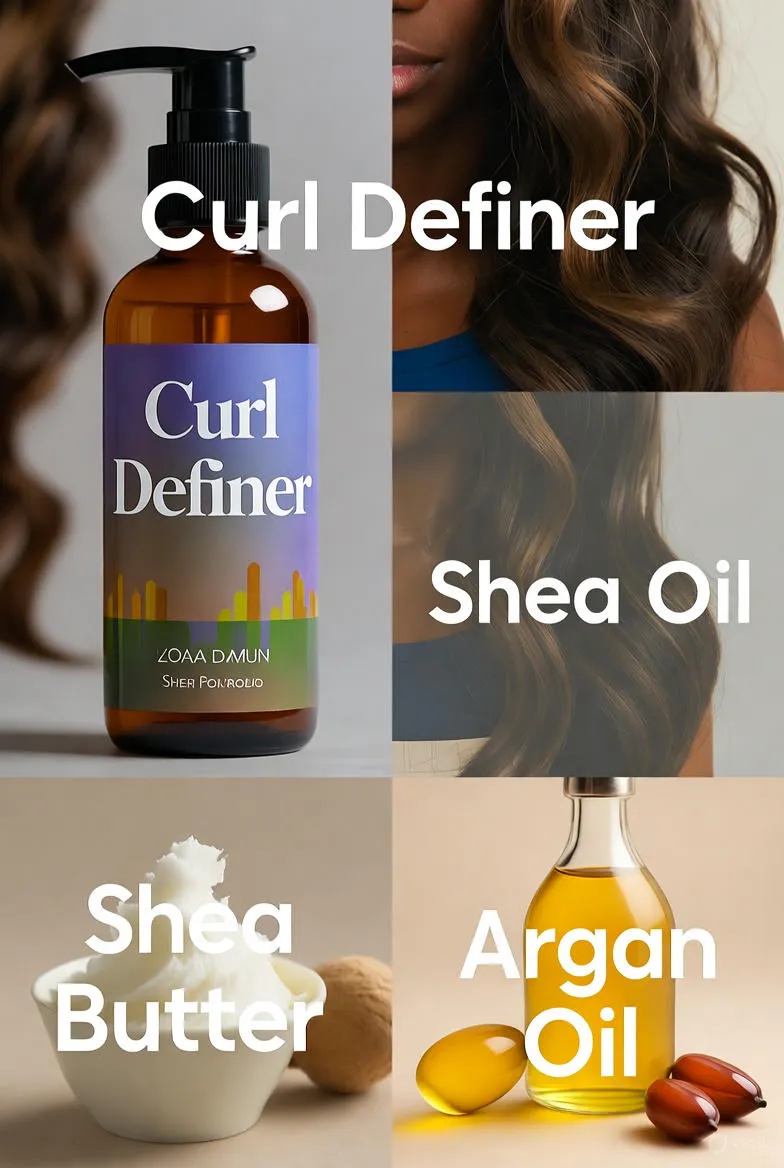
Essential Products for Defining Curly Hair
Before you start twisting and scrunching, stock your bathroom cabinet with curl-friendly essentials. The right products act as the foundation for definition, providing moisture, hold, and shine without crunchiness.
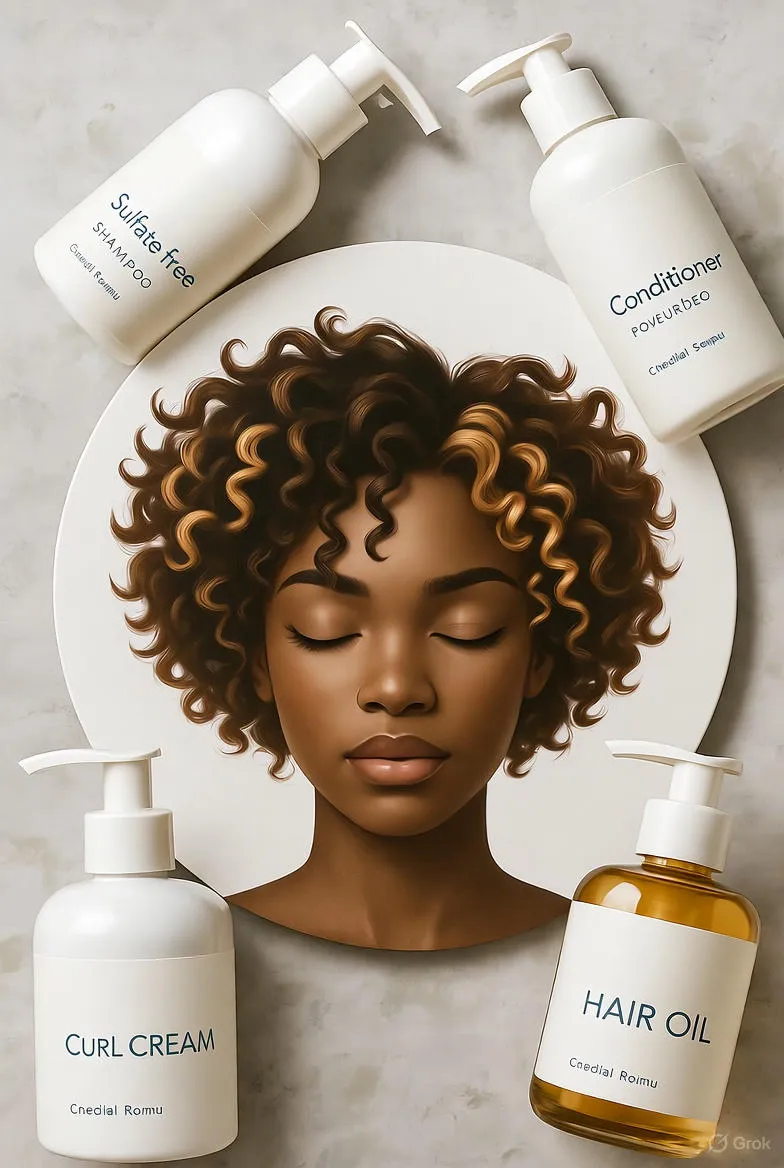
- Sulfate-Free Shampoo: Harsh sulfates strip natural oils, leading to dry, undefined curls. Opt for a gentle, hydrating formula that cleanses without over-drying.
- Conditioner: A rich, moisturizing conditioner is non-negotiable. Look for ones with shea butter, coconut oil, or aloe vera to detangle and soften.
- Leave-In Conditioner: This lightweight hero adds extra hydration post-shower and serves as a base for styling products.
- Curl Cream or Gel: For hold and definition, choose a cream for softer curls or a gel for tighter patterns. Ingredients like flaxseed or aloe provide flexible hold.
- Oil or Serum: A drop of argan or jojoba oil seals in moisture and tames flyaways.
- Microfiber Towel or T-Shirt: Ditch the terrycloth towel; it causes friction and frizz. A soft cotton T-shirt or microfiber absorbs water gently.
Pro tip: Always check for 'curly girl method' approved products if you're following that popular routine, which emphasizes no silicones, sulfates, or drying alcohols.
Step-by-Step Guide: Washing and Prepping Your Curls
A solid definition starts in the shower. Follow these steps to prep your hair for maximum curl potential.
- Wet Thoroughly: Under lukewarm water, saturate every strand. Hot water opens the cuticle too much, leading to more frizz.
- Shampoo Sparingly: Apply a dime-sized amount to your scalp only, massaging gently. Let the suds rinse through the lengths—over-shampooing dries out curls.
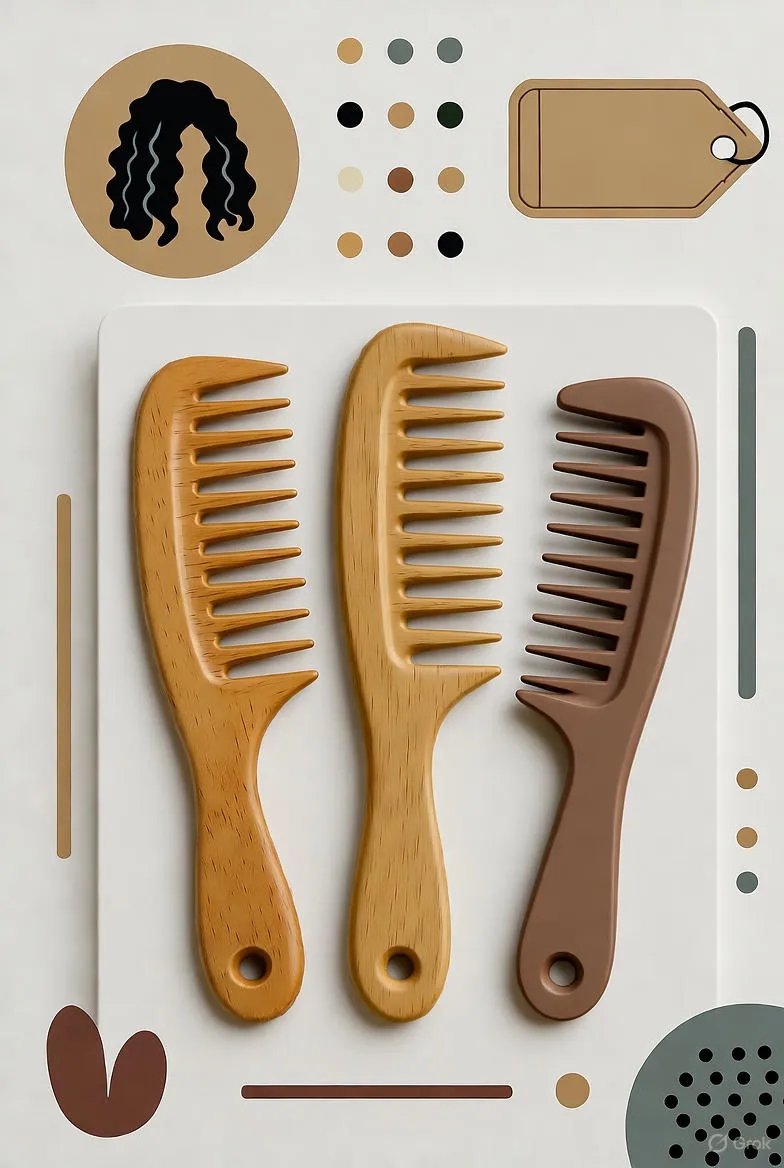
- Deep Condition: After shampooing, apply conditioner from mid-lengths to ends. Use a wide-tooth comb to detangle while it's wet. Leave it on for 5-10 minutes under a shower cap for better absorption.
- Rinse with Cool Water: This seals the cuticle, locking in moisture and enhancing shine.
Frequency matters too: Wash every 3-5 days to preserve oils, depending on your scalp's needs. Over-washing is a common pitfall that leaves curls limp and undefined.
Techniques to Define Your Curls Post-Wash
Now comes the fun part—styling! These techniques will help your curls take shape and hold their form throughout the day.
The Scrunch Out the Crunch (SOTC) Method
This is a staple for gel users. After applying your styling products (we'll cover that next), let your hair air-dry or diffuse on low heat. Once dry, apply a small amount of oil or leave-in to your palms, then scrunch upwards from ends to roots. This breaks the gel cast, revealing soft, defined curls without residue.
Finger Coiling
Ideal for Type 3 and 4 curls, this hands-on technique involves sectioning damp hair and wrapping small strands around your finger in the direction of the curl pattern. Apply curl cream as you go for extra definition. It's time-intensive but yields uniform, bouncy coils that last.
Plopping
Plopping is a game-changer for waves and loose curls. After product application, lay a cotton T-shirt flat on a surface, flip your head onto it, and wrap the fabric around your hair like a turban. Leave it for 20-40 minutes. This encourages curl formation by reducing gravity's pull and minimizing frizz.
Diffusing
If you prefer heat, use a diffuser attachment on your blow dryer set to low heat and speed. Cup sections of hair in the diffuser bowl and lift towards the roots in short bursts. Keep moving to avoid overheating, which can cause reversion.
Experiment with these; what works for a 3B curl might overwhelm a 2C wave. Start simple and build from there.
Product Application: Layering for Perfect Definition
Layering products is an art. Apply them to soaking wet hair for even distribution—water helps them penetrate better.
- Leave-In Conditioner: Squeeze out excess water with your T-shirt, then spritz or smooth on leave-in from roots to tips.
- Curl Enhancer: Rake through a curl cream or mousse, using your fingers to encourage curl clumps. Scrunch upwards to set the pattern.
- Gel for Hold: For stronger definition, 'pray' hands (palms together, sliding down sections) gel into place, then flip your head and scrunch again.
- Seal with Oil: Once dry, a light mist of oil prevents halo frizz around the hairline.
Avoid silicones if your hair is fine; they build up and weigh curls down. For thick hair, more product is often better—don't fear the 'wet look' during application; it dries bouncy.
Overnight Protection and Refreshing Defined Curls
Defined curls shouldn't end at bedtime. Protect them with a silk or satin bonnet or pillowcase to reduce friction and maintain moisture overnight.
To refresh on day two (or three), spritz with a water and leave-in mix, then gently scrunch out any crunch. Pineapple your hair—gathering it high in a loose, scrunchie-free ponytail—to preserve the shape while sleeping.
Common Mistakes to Avoid When Defining Curls
Even seasoned curlies slip up. Here's what not to do:
- Touching Too Much: Hands in wet hair cause frizz; work quickly and cleanly.
- Skipping Detangling: Knots lead to breakage and uneven definition—always detangle conditioned hair.
- Using Heat Tools Incorrectly: Flat irons or curling wands can damage if not heat-protected, and they often revert curls in humidity.
- Ignoring Humidity: In high-humidity areas, opt for anti-humectant products to prevent hygroscopic swelling.
- Not Trimming Regularly: Split ends disrupt curl patterns; trim every 8-12 weeks.
Patience is key. It might take a few weeks to find your perfect routine, but the results—vibrant, healthy curls—are worth it.
Advanced Tips for Long-Lasting Curl Definition
Once basics are down, level up with these pro hacks:
- Loc Method: Liquid Oil, Cream, Oil—layer for locked-in moisture.
- Canopy Technique: Style the top layer last to avoid flattening.
- DIY Refresh Spray: Mix water, aloe vera juice, and a dash of honey for a natural refresher.
- Seasonal Adjustments: In winter, amp up oils; in summer, lighten up on heavy creams.
For color-treated curls, use protein treatments monthly to rebuild strength without stiffness.
Embracing Your Curls: Beyond Definition
Defining curls is empowering—it's about celebrating your texture, not conforming to straight ideals. Join online communities for support, share your journeys, and remember: healthy hair is defined hair.
With consistent care, your curls will not only look amazing but feel incredible too. Start small, stay hydrated (inside and out), and watch your confidence spiral upwards with every twist.
(Word count: 1,248)