Ultimate Guide: How to Transplant Raspberry Bushes for a Thriving Garden
Discover expert tips on how to transplant raspberry bushes successfully. Step-by-step guide covering timing, preparation, planting, and aftercare for healthy, productive plants.
Introduction to Transplanting Raspberry Bushes
Raspberry bushes are a delightful addition to any home garden, offering sweet, juicy berries throughout the summer months. However, as your garden evolves, you may find the need to relocate these productive plants. Whether you're expanding your berry patch, improving soil conditions, or simply reorganizing your space, transplanting raspberry bushes can breathe new life into your garden. Done correctly, this process ensures your plants continue to flourish, producing abundant harvests year after year. In this comprehensive guide, we'll walk you through every step, from preparation to post-transplant care, so you can achieve success with confidence.
Understanding the basics of raspberry growth is key before diving into the transplanting process. Raspberries are perennial plants that spread through underground runners, forming primocanes (new shoots) and floricanes (fruit-bearing canes). They thrive in well-drained, slightly acidic soil with full sun exposure. Transplanting disrupts their root system temporarily, so timing and technique are crucial to minimize stress and promote quick recovery.
Why Transplant Raspberry Bushes?
There are several compelling reasons to consider transplanting your raspberry bushes. Over time, these vigorous growers can become overcrowded, leading to reduced yields and increased susceptibility to pests and diseases. By moving them to a new location, you give the roots more room to expand, access to fresher soil nutrients, and better sunlight distribution. Additionally, if your current site has become shaded by taller plants or structures, relocation can restore optimal growing conditions.
Another benefit is rejuvenation. Older raspberry patches may show signs of decline, such as smaller berries or fewer canes. Transplanting allows you to divide the plants, propagating new bushes while discarding any diseased or weak sections. This not only revitalizes your existing garden but also provides an opportunity to share divisions with fellow gardeners, fostering a sense of community.
Environmental factors also play a role. Poor drainage, soil compaction from foot traffic, or proximity to competing plants might necessitate a move. In regions with harsh winters, transplanting to a more sheltered spot can protect roots from freeze damage. Ultimately, proactive transplanting keeps your raspberry garden healthy and productive for seasons to come.
Choosing the Best Time to Transplant
Timing is everything when it comes to transplanting raspberry bushes. The ideal window is during the plant's dormant period, which typically falls in late fall after the leaves have dropped or early spring before new growth emerges. In most temperate climates, aim for October to November or March to April. This dormant phase reduces shock to the plant, as it isn't actively photosynthesizing or fruiting.
Avoid transplanting during the active growing season, especially mid-summer when heat stress can exacerbate root damage. If you're in a milder climate, such as USDA zones 7-9, you might extend the window slightly into early winter. Always check your local frost dates; transplant at least two weeks before the ground freezes to allow roots to settle.
For summer-bearing varieties, which produce on second-year canes, fall transplanting is preferable to avoid disrupting next year's crop. Everbearing types, that fruit on both old and new canes, are more forgiving and can be moved in early spring without significant yield loss. Monitor weather forecasts closely—choose a cool, overcast day to keep the roots from drying out.
Selecting the Perfect New Location
Site selection is critical for long-term success. Raspberries demand full sun, at least six to eight hours daily, to maximize berry production and flavor. South-facing slopes are ideal in northern hemispheres, providing warmth and good air circulation to prevent fungal issues like anthracnose.
Soil preparation comes next. Test your soil pH, aiming for 5.5 to 6.5; amend with sulfur if it's too alkaline or lime if overly acidic. Ensure excellent drainage—raspberries hate wet feet. Raised beds or mounded rows work wonders in heavy clay soils. Incorporate organic matter like compost or aged manure to boost fertility and improve structure.
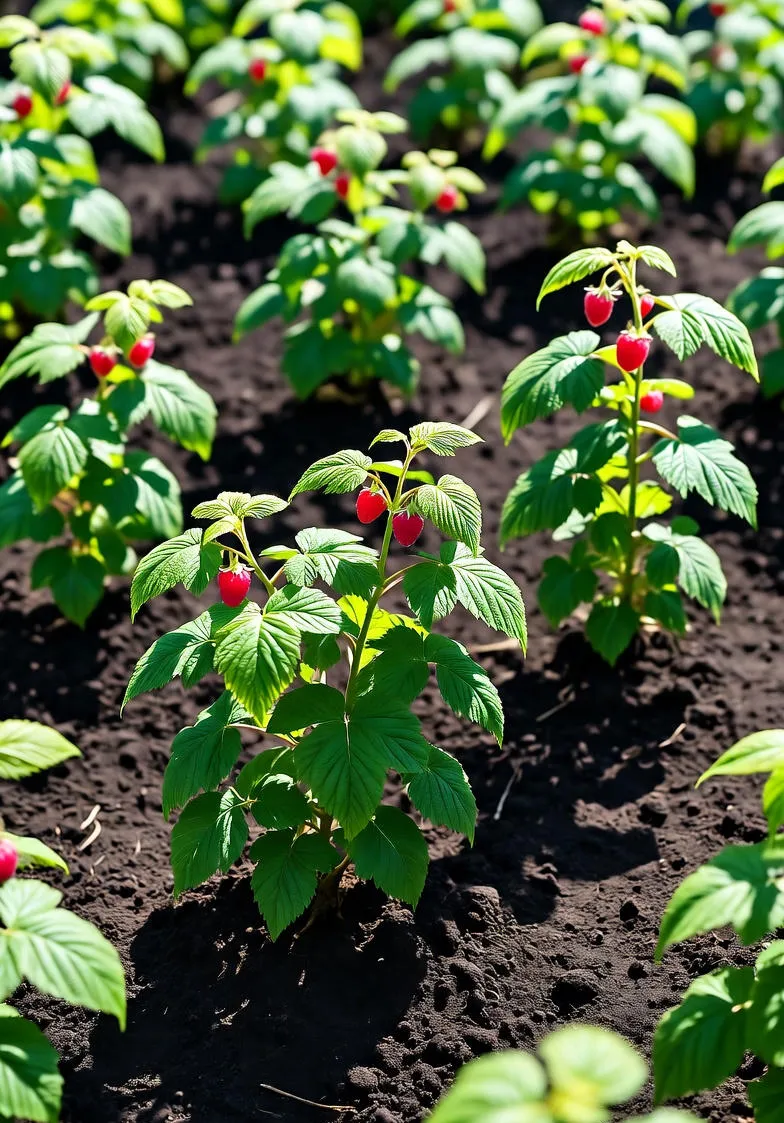
Spacing is non-negotiable. Plant bushes 2-3 feet apart in rows 6-8 feet apart to allow for air flow and easy harvesting. Consider wind protection; a fence or hedge can shield young transplants from strong gusts. Finally, scout for nearby wild brambles or diseased plants, as raspberries are prone to viruses like mosaic disease—maintain at least 300 feet separation.
Preparing Your Raspberry Bushes for Transplant
Preparation begins weeks in advance. Water the bushes deeply a few days before digging to hydrate the roots and ease extraction. Prune the canes selectively: for fall transplants, cut back to 6-8 inches above ground; in spring, remove only dead or damaged wood. This reduces transpiration and focuses energy on root establishment.
Gather your tools: a sharp spade or shovel, pruning shears, burlap or tarps for wrapping roots, and buckets for transport. Mulch the new site in advance with straw or wood chips to suppress weeds and retain moisture. If dividing, identify healthy suckers—vigorous shoots with their own roots—attached to the parent plant.
Inspect for pests or diseases. Remove any infested canes and treat the soil with neem oil if necessary. Healthy, disease-free stock is essential; discard anything suspicious to protect your entire garden.
Step-by-Step Guide to Digging Up Raspberry Bushes
Now, the hands-on work begins. Start by marking the perimeter of the root ball, extending 12-18 inches beyond the drip line to capture most fibrous roots. Dig a trench around the bush, about 12 inches deep, using a spade to sever lateral roots cleanly.
Gently loosen the soil at the base with a garden fork, then tilt the bush to lift it out. Shake off excess soil but retain a substantial root ball—aim for at least a 50-gallon size for mature plants. If dividing, use a sharp knife to separate suckers, ensuring each has 3-5 strong canes and a healthy root system.
Wrap the roots in damp burlap to prevent drying, and keep them shaded if transport is delayed. For large bushes, enlist a helper; these perennials can weigh 20-30 pounds once lifted.
The Transplanting Process
- Dig the New Hole: Excavate a hole twice as wide as the root ball and as deep as the root depth. Loosen the sides to encourage outward growth.
- Position the Plant: Place the bush so the crown sits at soil level—too deep invites rot, too shallow exposes roots.
- Backfill and Firm: Mix in compost, then fill with native soil, gently tamping to eliminate air pockets. Water thoroughly to settle the soil.
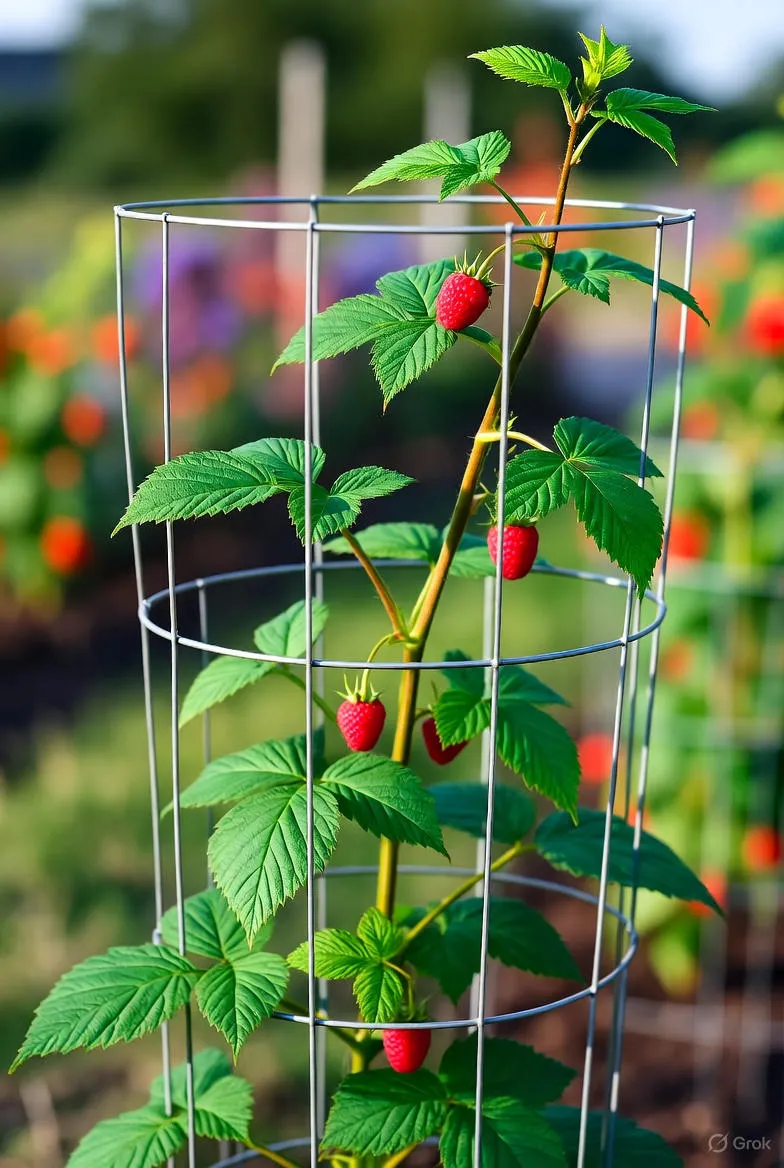
- Stake if Needed: For tall canes in windy areas, install stakes to support until established.
Repeat for each division, maintaining proper spacing. A trellis system—such as a simple T-post and wire setup—can be installed immediately to train canes as they grow.
Essential Aftercare for Transplanted Raspberries
Post-transplant care is where patience pays off. Water consistently for the first few weeks, providing 1-2 inches per week, more in dry spells. Mulch around the base with 2-3 inches of organic material to conserve moisture and regulate temperature.
Fertilize sparingly; a balanced 10-10-10 application in early spring suffices. Avoid high-nitrogen feeds that promote leafy growth over roots. Monitor for wilting—shade cloth can help during heatwaves.
Weed diligently, as competition saps vital resources. In the first year, pinch off any flower buds to channel energy into root development. By year two, expect a gentle harvest; full production resumes in year three.
Common Mistakes to Avoid
- Ignoring Timing: Transplanting in active growth leads to stunted recovery.
- Poor Site Prep: Skipping soil tests results in nutrient deficiencies or waterlogging.
- Rough Handling: Damaged roots struggle to reestablish, inviting decline.
- Overwatering: Soggy soil promotes root rot; let the top inch dry between waterings.
- Neglecting Support: Unsupported canes flop, breaking under fruit weight.
Learning from these pitfalls ensures smoother sailing. Remember, every gardener faces setbacks—view them as opportunities to refine your technique.
Advanced Tips for Raspberry Success
For seasoned growers, consider companion planting. Garlic or marigolds deter Japanese beetles, while alliums repel aphids. Rotate crops every 5-7 years to prevent soil-borne diseases.
Variety selection matters too. 'Heritage' everbearers adapt well to transplanting, while 'Boyne' excels in cooler climates. Keep a garden journal to track performance, noting transplant dates and yields for future reference.
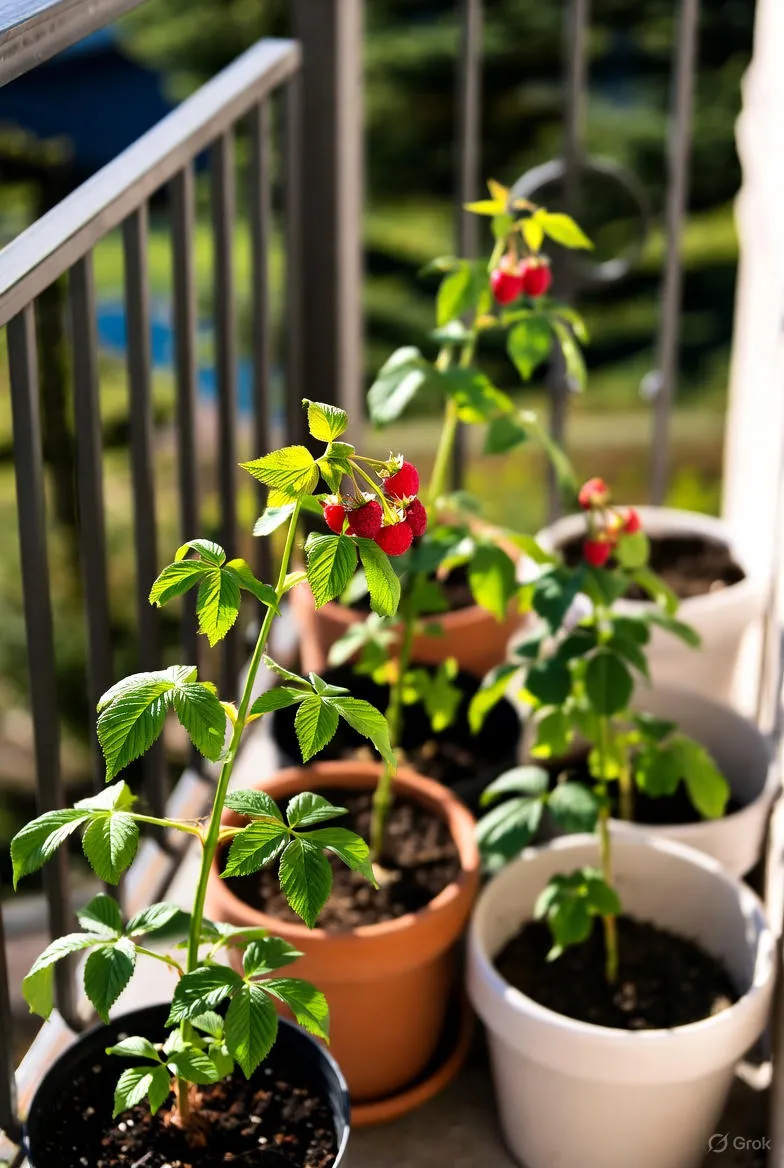
Sustainable practices enhance outcomes. Use rainwater collection for irrigation and organic mulches to build soil health. In urban settings, container transplanting offers flexibility—opt for 15-20 gallon pots with trellises.
Troubleshooting Post-Transplant Issues
Yellowing leaves signal nutrient imbalance; a soil test guides amendments. Wilting despite watering points to transplant shock—prune lightly and mist foliage. Pests like spider mites thrive on stressed plants; hose them off or apply insecticidal soap.
For fungal woes, ensure spacing and prune for airflow. If berries arrive sparse, assess sunlight—relocate again if shaded. Patience is key; full vigor returns with time and TLC.
Conclusion: Enjoy the Fruits of Your Labor
Transplanting raspberry bushes is a rewarding endeavor that revitalizes your garden and secures future bounties. By selecting the right time, preparing meticulously, and providing attentive care, you'll cultivate robust plants that yield delicious rewards. Whether you're a novice or a pro, this process deepens your connection to the soil and the simple joy of homegrown food. Roll up your sleeves, dig in, and watch your raspberry patch thrive anew.
(Word count: 1,248)