Ultimate Guide: How to Trellis Raspberry Bushes for Abundant Harvests
Discover a step-by-step guide on how to trellis raspberry bushes for better yields, disease resistance, and easy harvesting. DIY tips for beginners and pros alike.
Introduction to Trellising Raspberry Bushes
Raspberry bushes are a delightful addition to any home garden, offering sweet, juicy berries that can be enjoyed fresh, in jams, or baked into pies. However, without proper support, these vigorous growers can become tangled messes, leading to reduced yields, increased disease risk, and frustrating harvests. Trellising raspberry bushes not only keeps your plants organized and upright but also maximizes sunlight exposure, improves air circulation, and makes picking those ripe raspberries a breeze. In this comprehensive guide, we'll walk you through everything you need to know about trellising your raspberry patch, from selecting the right design to ongoing maintenance.
Why Trellis Your Raspberry Bushes?
Before diving into the how-to, let's explore the benefits. Raspberry canes—those long, thorny stems—grow tall and arching, often reaching 5 to 8 feet in height. Left unsupported, they sprawl across the ground, shading lower canes, trapping moisture that fosters fungal issues like anthracnose or verticillium wilt, and making it nearly impossible to access fruits without scratches. A sturdy trellis lifts the canes off the soil, promoting healthier growth and easier management.
- Enhanced Productivity: Supported canes produce more berries by ensuring even light distribution.
- Disease Prevention: Better airflow reduces humidity around foliage.
- Simplified Harvesting: Berries hang accessibly, speeding up picking time.
- Space Efficiency: Vertical growth saves precious garden real estate.
Whether you're a novice gardener or a seasoned horticulturist, investing time in a trellis pays dividends in bountiful, hassle-free harvests.
Understanding Raspberry Types and Their Trellis Needs
Not all raspberries are created equal, and your trellis design should align with your variety. Raspberries fall into two main categories: summer-bearing (floricanes) and everbearing (primocanes).
Summer-Bearing Raspberries
These produce one large crop in early to mid-summer on second-year canes. They grow vigorously and benefit from robust support like a V- or T-shaped trellis to handle their weighty fruit load. Expect canes to fruit and then die back, requiring annual pruning.
Everbearing Raspberries
Also known as fall-bearing, these yield two crops: a smaller one in summer and a larger one in fall on first-year canes. They're more compact but still need support to prevent flopping. A simple two-wire system often suffices, though a V-design works well for heavier producers.
Assess your plants' growth habit—upright or trailing—and climate. In windy areas, opt for sturdier posts; in milder zones, lighter materials like bamboo may do.
Choosing the Right Trellis Design
Several designs suit raspberry bushes, each with pros and cons based on space, budget, and effort.
The Classic V-Trellis
This fan-like structure uses angled wires to support canes spreading outward, ideal for summer-bearers. It provides excellent airflow and easy access from both sides.
The T-Trellis
Featuring horizontal arms atop vertical posts, this is great for longer rows and heavier crops. It's stable and scalable for larger patches.
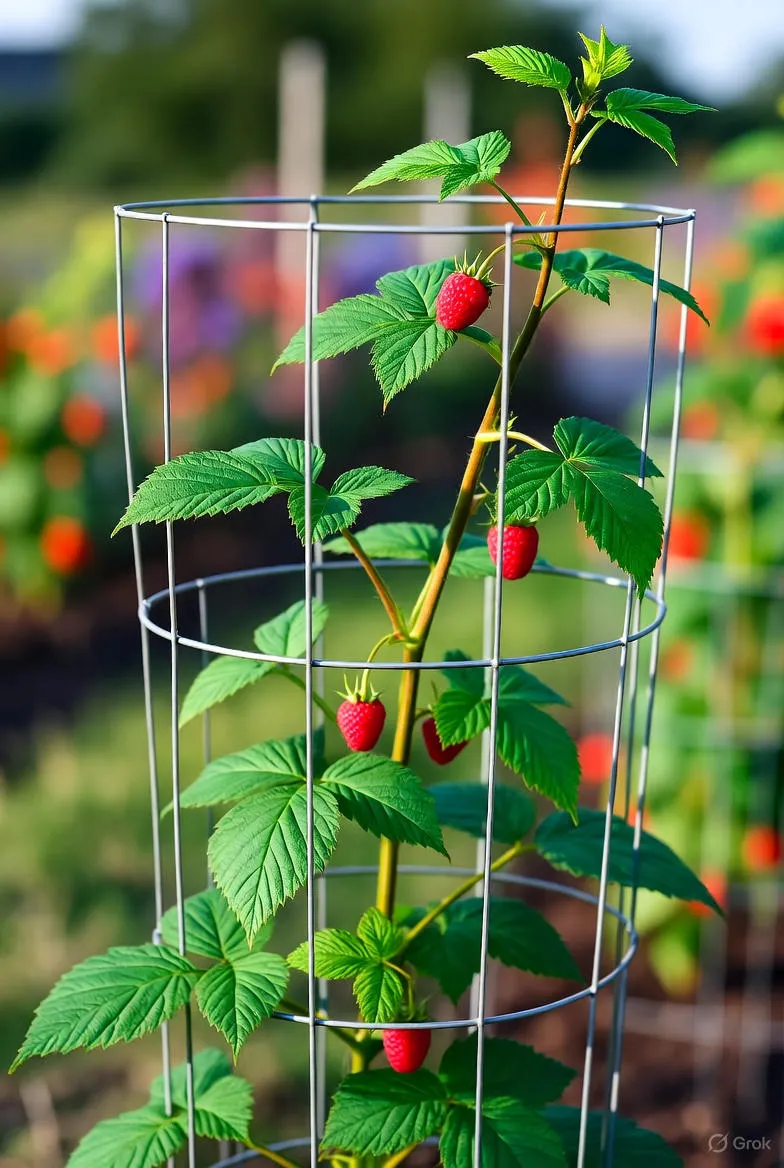
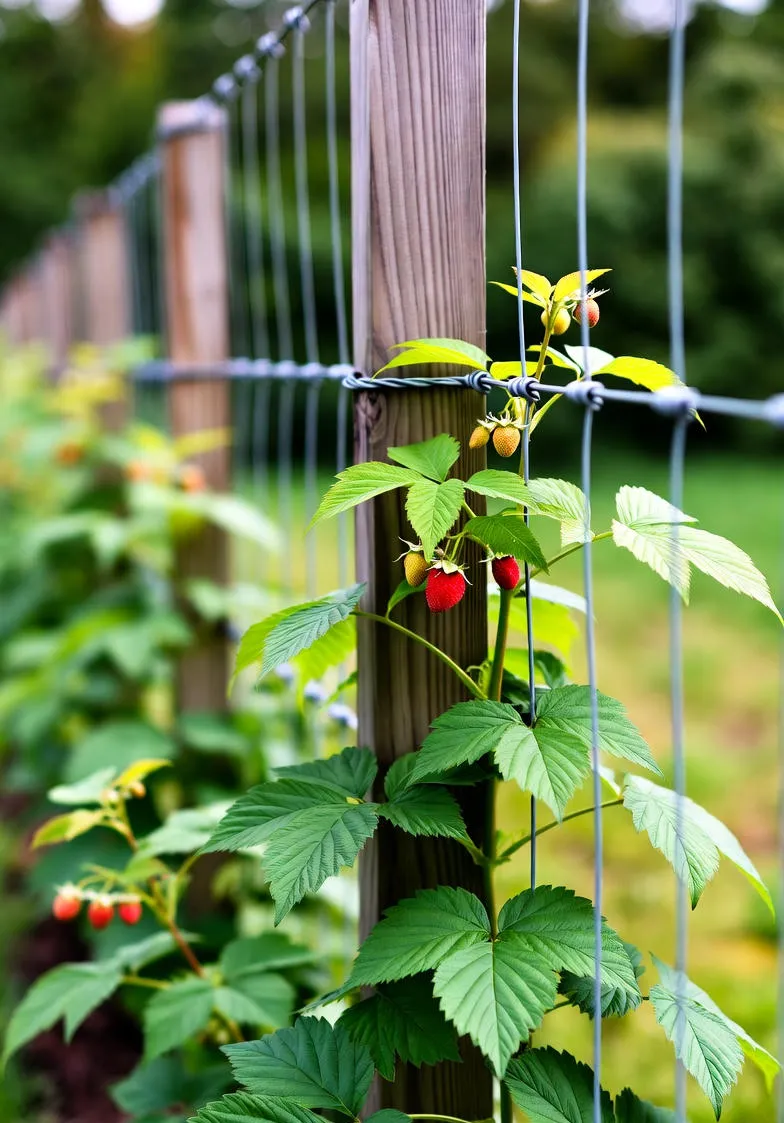
Simple Wire Fence Trellis
For smaller gardens or everbearers, stretch wires between posts at varying heights. It's inexpensive and quick to install but may need reinforcement for thorny varieties.
Consider your row length: for rows under 20 feet, a single-span V works; longer rows benefit from multiple T-supports.
Materials Needed for Your Raspberry Trellis
Gathering supplies upfront ensures a smooth build. Here's a basic list for a 10-15 foot row:
- 4-6 sturdy posts (4x4-inch treated lumber or metal T-posts, 6-8 feet long)
- Galvanized wire (12-14 gauge, 100-200 feet)
- Wire tensioners or turnbuckles (2-4)
- Heavy-duty staples or clips for securing wire
- Soft ties or twine for canes (avoid wire to prevent girdling)
- Post hole digger or auger
- Level and string line for alignment
Budget around $50-150 depending on scale and materials. Opt for rust-resistant options to withstand outdoor exposure.
Step-by-Step Guide: Building Your Raspberry Trellis
Now, the fun part—construction. Plan for a sunny, well-drained site with at least 6 hours of daily light.
Step 1: Mark and Prepare the Site
Choose a straight row orientation, ideally north-south for even sun. Space end posts 10-15 feet apart, matching your raspberry row length. Use stakes and string to outline the line, ensuring it's level.
Step 2: Install the Posts
Dig holes 2-3 feet deep, deeper in loose soil. For a V-trellis, angle end posts outward at 45 degrees, burying one-third of their length. Drive intermediate posts (if needed) straight down every 5-6 feet. Tamp soil firmly and backfill with gravel for drainage. Use a level to confirm plumb alignment.
Step 3: String the Wires
For a basic two-wire system: Attach the lower wire 2-3 feet from ground level and the upper at 4-5 feet. For V-design, run wires from each post's midpoint outward at angles. Secure with staples, leaving slack for tensioning. Install turnbuckles at one end to tighten later.
Step 4: Tension and Test
Pull wires taut using turnbuckles— they should sing when plucked but not sag under pressure. Walk the line, shaking posts to check stability. Add cross-bracing if wobbly.
Pro tip: Build in late winter or early spring before new growth emerges, allowing time for settling.
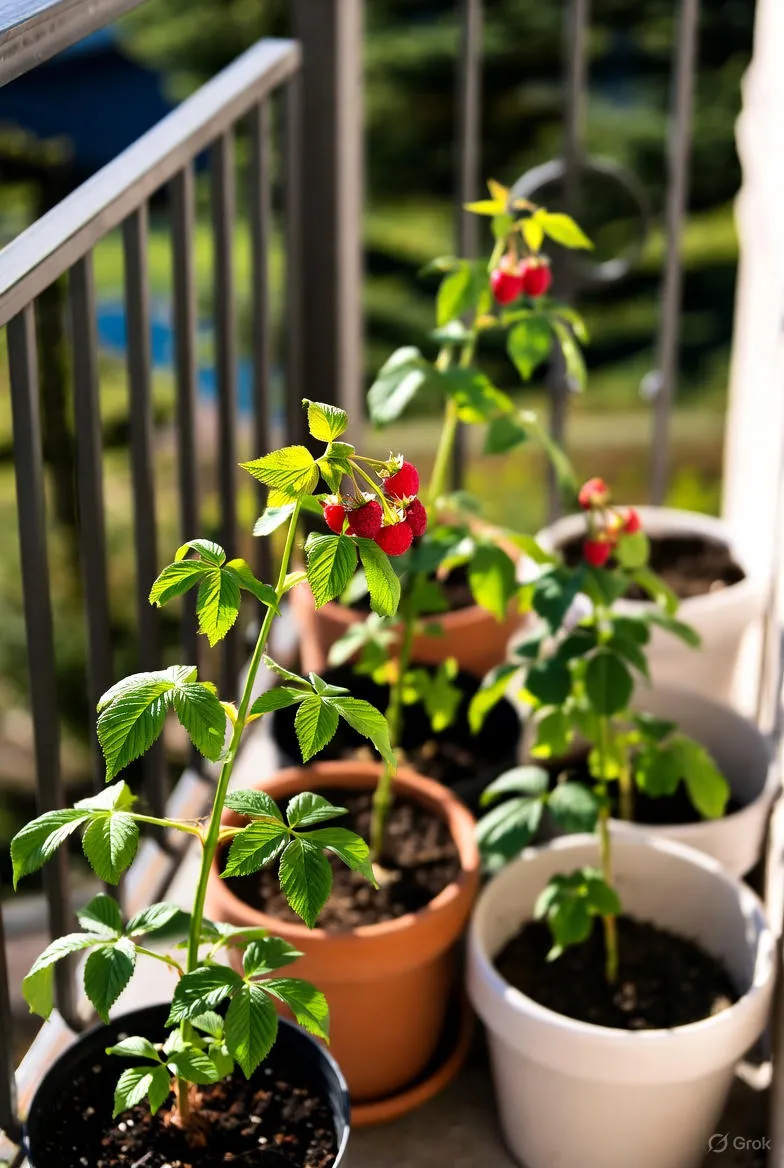
Planting Raspberries Alongside Your New Trellis
Timing is key—plant bare-root canes in early spring after frost danger passes, or container plants anytime.
Site Preparation
Amend soil with compost for pH 5.5-6.5. Space plants 2-3 feet apart in rows 6-8 feet from others to curb spread via suckers.
Planting Technique
Dig holes wide enough for roots to spread. For bare-root, soak in water first, then plant crowns 1-2 inches below soil line. Water deeply and mulch with 2-3 inches of organic material to retain moisture and suppress weeds.
Immediately train young canes loosely to wires using soft ties, avoiding tight binding that could damage tissue.
Training and Tying Raspberry Canes
As canes grow, regular training keeps them tidy.
- Early Growth: Gently weave new shoots through wires or tie horizontally.
- Mid-Season: Fan out fruiting canes on both sides of the V for balance.
- Securing: Use figure-eight ties: loop twine around wire and cane, crossing for support without constriction.
Tie every 6-12 inches, checking weekly during peak growth. This prevents rubbing and wind damage.
Pruning for Optimal Trellis Performance
Pruning is non-negotiable for trellised raspberries, promoting vigor and yield.
For Summer-Bearers
Post-harvest, cut fruited canes to ground level. Thin new canes to 4-6 per foot, removing weaklings.
For Everbearers
After fall crop, mow all canes to 6 inches for a single spring crop, or selectively prune for two crops.
Tools: Bypass pruners for clean cuts. Always sanitize to prevent disease spread.
Maintenance Tips for Long-Lasting Trellises
Your investment deserves care to endure seasons.
- Annual Inspection: Check for loose wires, rot, or leaning posts; repair promptly.
- Winter Prep: In cold zones, loosen ties and lay canes down if severe frost threatens, though upright is usually fine.
- Pest and Disease Watch: Scout for Japanese beetles or cane borers; trellising aids early detection.
- Feeding: Apply balanced fertilizer in spring, but avoid excess nitrogen that spurs soft growth.
With minimal upkeep, a well-built trellis lasts 10+ years.
Common Mistakes to Avoid
Steer clear of these pitfalls for success:
- Insufficient Post Depth: Shallow holes lead to toppling; go deep.
- Overcrowding: Too many canes compete for space and light.
- Neglecting Tension: Saggy wires invite breakage.
- Wrong Variety Match: Trailing types need more robust support than upright.
- Ignoring Pruning: Unpruned patches become impenetrable thickets.
Start small if unsure, expanding as confidence grows.
Advanced Variations and Customizations
Once basics are mastered, experiment. For urban spaces, wall-mounted trellises save ground area. In permaculture setups, integrate raspberries into guilds with nitrogen-fixers like clover. Eco-friendly twists include bamboo poles and natural twine for sustainability.
For commercial-scale, consider automated tension systems or arched designs for overhead protection against birds.
Harvesting and Enjoying Your Trellised Raspberries
The payoff: plump, sun-ripened berries at your fingertips. Pick every 2-3 days during peak, twisting gently to avoid juice loss. Yields vary—expect 1-2 quarts per plant annually with good trellising.
Store in fridge up to a week, or freeze for year-round treats. Share extras with neighbors; the joy multiplies.
Conclusion: Elevate Your Garden with Trellised Raspberries
Trellising raspberry bushes transforms a potential chore into a rewarding ritual, yielding not just fruit but satisfaction in self-sufficiency. From site selection to seasonal tweaks, each step builds a thriving patch tailored to your green thumb. Ready to get started? Grab your tools and watch your garden flourish. Happy planting!