Ultimate Guide to Choosing the Best Hair Dryer for Damaged Hair
Discover how to choose the best hair dryer for damaged hair. Learn which features protect fragile strands, reduce frizz, and boost shine, plus safe drying tips and styling tricks.
Heat styling can transform your look, but it can also be tough on your hair. If your hair feels dry, brittle, frizzy, or prone to split ends, the wrong hair dryer can make the damage even worse. The good news? Choosing the right hair dryer for damaged hair can actually protect, smooth, and support repair rather than harm it.
This detailed guide explains what to look for in a hair dryer when your hair is already stressed, how to read the specs, and which features really matter for healthier, shinier results.
Why Damaged Hair Needs a Gentle Hair Dryer
Damaged hair has a compromised cuticle layer, which makes each strand more porous, weaker, and more vulnerable to heat. Traditional high-heat, high-airflow dryers can strip even more moisture from the hair shaft, leading to:
- Increased frizz and roughness.
- More breakage and split ends.
- Faded color on color-treated hair.
- Dull, lifeless appearance instead of shine.
A good hair dryer for damaged hair should minimize heat stress while still drying the hair efficiently. That balance comes from smart technology, materials, and settings, not just a high price tag.
Key Features to Look For in a Hair Dryer for Damaged Hair
1. Adjustable Heat and Speed Settings
For fragile hair, control is everything. At a minimum, look for a dryer with:
- At least two heat settings: low and medium, with high only if you use it rarely.
- Multiple speed settings: so you can combine lower heat with higher airflow.
- Cool shot button: a burst of cool air to seal the cuticle and set your style.
Use the lowest effective temperature that still dries your hair in a reasonable time. Constantly blasting high heat on already damaged hair is one of the fastest ways to worsen breakage.
2. Ionic Technology for Frizz Control
Ionic hair dryers emit negative ions that help break down water droplets on the hair surface and neutralize static. For damaged hair, this can offer several benefits:
- Faster drying with less heat exposure.
- Reduced frizz and flyaways.
- A smoother, more reflective cuticle that looks shinier.
While “ionic” can sometimes be a marketing buzzword, reputable ionic dryers often make a noticeable difference for dry, frizzy, or color-treated hair.
3. Ceramic, Tourmaline, or Porcelain Components
The internal materials of a dryer affect how evenly and gently heat is distributed. For damaged hair, prioritize:
- Ceramic: Provides even, consistent heat and helps prevent overheating specific sections of your hair.
- Tourmaline: Naturally emits negative ions and infrared heat, making it a great choice for smoothing and shine.
- Porcelain or porcelain-coated: Often used to create a more uniform, mild heat that is less aggressive.
A dryer labeled ceramic ionic or tourmaline ionic is often a safe bet for fragile, over-processed, or fine hair prone to damage.
4. Infrared (Far-Infrared) Heat
Infrared hair dryers use longer wavelengths of heat that penetrate the hair more gently, drying the hair from the inside out. This type of heat is typically less harsh on the surface of the hair and can help maintain more moisture within the strand.
If your hair is severely damaged, over-bleached, or naturally very fragile, a dryer that combines infrared + ceramic/tourmaline technology can offer an extra layer of protection.
5. Wattage: Power with Control
Many people assume more wattage is automatically worse for damaged hair. In reality, wattage is about power and airflow, not just heat.
- 1800–2000 watts is a good range for home use, giving enough power for efficient drying without needing extreme heat.
- Very low wattage (below 1400 W) can lead to longer drying times, which means more total heat exposure even if the temperature is lower.
The key is to pair sufficient wattage with low to medium heat settings and healthy technique.
6. Cool Shot and True Cool Settings
A true cool setting (not just “less hot”) helps:
- Seal the hair cuticle after drying.
- Lock in shine and reduce frizz.
- Set curls, waves, or smooth blowouts without additional heat tools.
Use the cool shot at the end of each section or at the end of your blowout for a smoother, longer-lasting finish.
7. Attachments That Protect Damaged Hair
The right attachments can significantly reduce mechanical and heat stress on compromised hair.
Concentrator Nozzle
A concentrator nozzle directs the airflow and:
- Prevents hot air from blasting all over, which can roughen the cuticle.
- Helps you control frizz by directing air down the hair shaft.
- Allows smoother, more polished blowouts with a round or paddle brush.
Diffuser
For curly, wavy, or coily hair, a diffuser is essential:
- Spreads heat and airflow more evenly over a larger area.
- Reduces direct heat and mechanical tension on curls.
- Helps maintain curl pattern with less frizz.
If your hair is both curly and damaged, always use a diffuser on low heat and low speed.
Comb or Detangling Attachments
Comb attachments can be helpful for certain hair types but can also cause snagging on fragile hair. If your hair is very compromised:
- Detangle thoroughly with a wide-tooth comb before drying.
- Be very gentle with any comb attachment or avoid it altogether.
How to Match a Hair Dryer to Your Hair Type and Damage Level
Not all damaged hair is the same. Consider both your natural hair type and your level of damage when choosing a hair dryer.
Fine, Fragile, or Thinning Hair
- Choose a lightweight ceramic or tourmaline ionic dryer with multiple heat settings.
- Use low heat / medium airflow to avoid over-drying the delicate strands.
- A nozzle helps smooth the cuticle without needing a very high temperature.
Fine hair tends to heat up quickly, so prioritize temperature control and always use a heat protectant before drying.
Thick, Coarse, or Very Frizzy Hair
- Look for a more powerful dryer (around 1875–2000 W) with ionic and ceramic technology.
- Use medium heat / high airflow for faster drying with less exposure time.
- Pair with a concentrator nozzle to smooth the cuticle and reduce frizz.
Thick, coarse hair may tolerate slightly higher heat, but if it is also chemically damaged (bleached, relaxed, or excessively colored), err on the side of caution.
Curly, Wavy, or Coily Hair
- Choose a dryer with a high-quality diffuser attachment.
- Opt for ceramic ionic features to maintain moisture and reduce frizz.
- Use low to medium heat / low speed to preserve curl pattern.
Curly and coily hair is often naturally drier, so the combination of damage plus heat can be especially harsh. A gentle diffuser setup is one of the best investments you can make.
Chemically Treated or Color-Treated Hair
- Prioritize infrared and ionic technology for gentler, faster drying.
- Stick to medium or low heat to prevent accelerated color fading.
- Always finish with a cool shot to help keep the cuticle as smooth and sealed as possible.
If your hair has been bleached or highlighted, consider a dryer that specifically markets itself as suitable for color-treated hair and pair it with protective leave-in products.
Smart Buying Checklist: What Really Matters
To simplify your decision, focus on the following essentials when shopping for a dryer for damaged hair:
- Technology: Ceramic and/or tourmaline with ionic and, ideally, infrared heat.
- Settings: At least two heat and two speed options, plus a cool shot.
- Attachments: Concentrator for smooth styles; diffuser if you have curls or waves.
- Wattage: Around 1800–2000 W for efficient yet controlled drying.
- Weight and ergonomics: Lightweight and comfortable to hold to minimize hand fatigue and reduce the risk of rushing through your routine.
- Removable filter: Easier cleaning improves performance and prolongs the life of the dryer.
A higher price does not always mean better for damaged hair, but very cheap dryers often lack the technology and control needed to protect fragile strands.
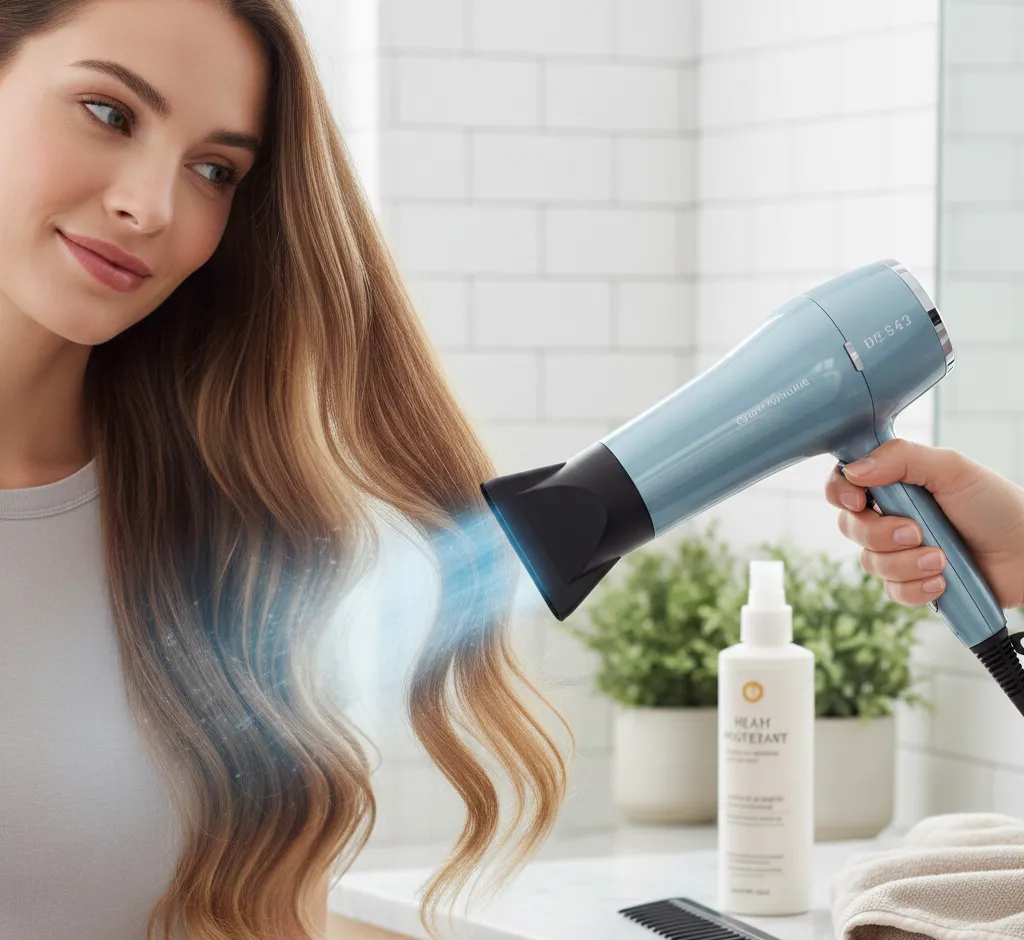
How to Use Your Hair Dryer Safely on Damaged Hair
Even the best hair dryer can cause damage if you use it incorrectly. Combine a protective dryer with healthy technique to get the best results.
1. Always Prep with a Heat Protectant
Before you even turn on the dryer, apply a heat protectant spray, cream, or serum from mid-lengths to ends. A good protectant can reduce heat damage by acting as a barrier and helping distribute heat more evenly.
2. Remove Excess Water Gently
Never start blow-drying soaking wet hair. Instead:
- Blot (do not rub) your hair with a soft microfiber towel or cotton T-shirt.
- Allow hair to air dry until about 60–70% dry before using your dryer.
This shortens drying time and reduces the overall heat exposure.
3. Keep a Safe Distance
Hold the dryer about 15–20 cm away from your hair. Concentrating heat too closely on one spot can scorch fragile strands and irritate the scalp.
4. Always Move the Dryer
Keep the dryer moving continuously and direct airflow down the hair shaft from roots to ends. This helps:
- Reduce hot spots and burning.
- Lay the cuticle flat for a smoother finish.
- Prevent unnecessary frizz and roughness.
5. Start with Lower Heat
Begin with low to medium heat and adjust only if needed. If you find yourself tempted to crank up the temperature, increase airflow instead of heat whenever possible.
6. Finish with a Cool Shot
After each section, or at the end of your blow-dry, use the cool shot button or cool setting to:
- Set the shape of your style.
- Help seal the cuticle.
- Boost shine and longevity.
7. Limit Frequency of Heat Styling
If your hair is already damaged, try not to blow-dry every single day. Whenever possible:
- Allow hair to air dry partially or fully.
- Reserve full blowouts for special occasions or a few times per week.
- Rotate in heat-free styling methods, such as overnight braids or rollers.
Extra Tips to Support Repair While Using a Hair Dryer
Choosing the right hair dryer is just one part of caring for damaged hair. Combine your new tool with healthy habits to see real improvement over time.
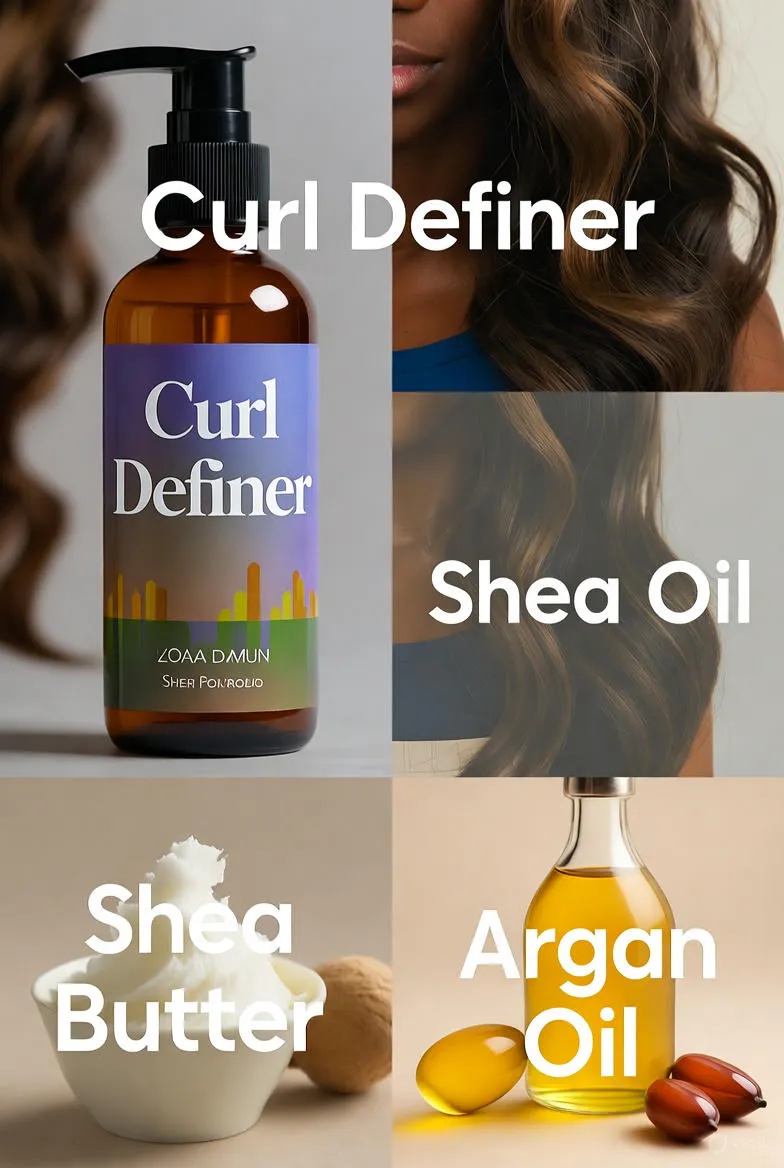
Use Nourishing Products
- Incorporate moisturizing shampoos and conditioners designed for damaged or dry hair.
- Add a weekly deep conditioning mask or bond-repair treatment.
- Use a leave-in conditioner or serum before drying to boost protection and shine.
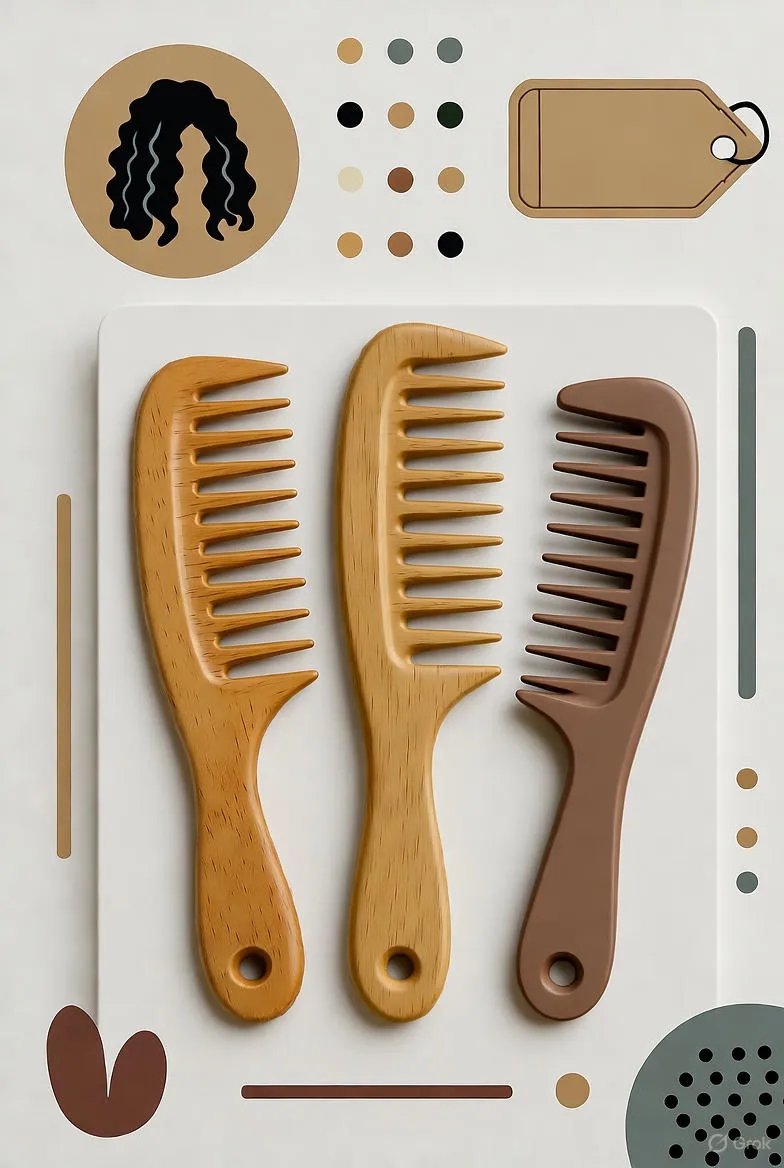
Be Gentle with Brushes and Combs
Mechanical damage can be just as harmful as heat. To minimize breakage:
- Detangle hair when it is damp, not soaking wet, using a wide-tooth comb.
- Work from the ends up to the roots to avoid pulling and snapping.
- Pair your dryer with gentle brushes designed for blowouts.
Trim Regularly
Even with a protective hair dryer, damaged ends will eventually split further up the strand. Regular trims every 6–10 weeks can keep your hair looking healthier and reduce fraying ends.
When to Replace Your Old Hair Dryer
An outdated or poorly functioning dryer can sabotage your hair care efforts. Consider upgrading if:
- Your dryer has only one very hot setting and no cool shot.
- You notice a burning smell, inconsistent heat, or visible damage on the grill.
- The cord is frayed or the filter is clogged and cannot be cleaned.
- Drying takes much longer than it used to, even with the same technique.
Modern dryers with ceramic, tourmaline, ionic, and infrared features are far more gentle and efficient than old-style metal coil dryers.
Final Thoughts: Protect First, Style Second
When your hair is damaged, your priority should always be protection over speed. The right hair dryer can help you achieve smooth, shiny, styled hair without sacrificing the health of your strands.
Look for controlled heat settings, ceramic or tourmaline ionic technology, and helpful attachments, then pair them with good habits like using heat protectant and avoiding aggressive heat. With the right combination of tools and technique, you can enjoy beautiful blowouts while gradually improving the condition of your hair.
Investing in a thoughtful, gentle hair dryer is not just a cosmetic choice—it is a long-term commitment to healthier, stronger, more resilient hair.