Ultimate Guide to Growing Organic Raspberries at Home: Tips for Bountiful, Chemical-Free Harvests
Learn expert tips for growing organic raspberries at home. From soil prep and planting to organic pest control and harvesting, achieve bountiful yields of fresh, chemical-free berries in your garden.
Introduction to Organic Raspberry Cultivation
Imagine plucking juicy, sun-ripened raspberries straight from your own garden, bursting with flavor and free from synthetic pesticides. Growing organic raspberries at home isn't just a rewarding hobby; it's a step toward self-sufficiency and healthier living. These perennial plants thrive in temperate climates and can produce fruit for years with proper care. Whether you're a novice gardener or looking to expand your edible landscape, this guide will walk you through every stage, from selecting the perfect variety to savoring your first harvest.
Selecting the Best Raspberry Varieties for Your Garden
The first step in your raspberry journey is choosing varieties suited to your local conditions. Raspberries come in two main types: summer-bearing (floricanes) and everbearing (primocanes). Summer-bearing varieties produce one large crop in early to mid-summer, while everbearing ones offer two smaller crops—one in summer and another in fall.
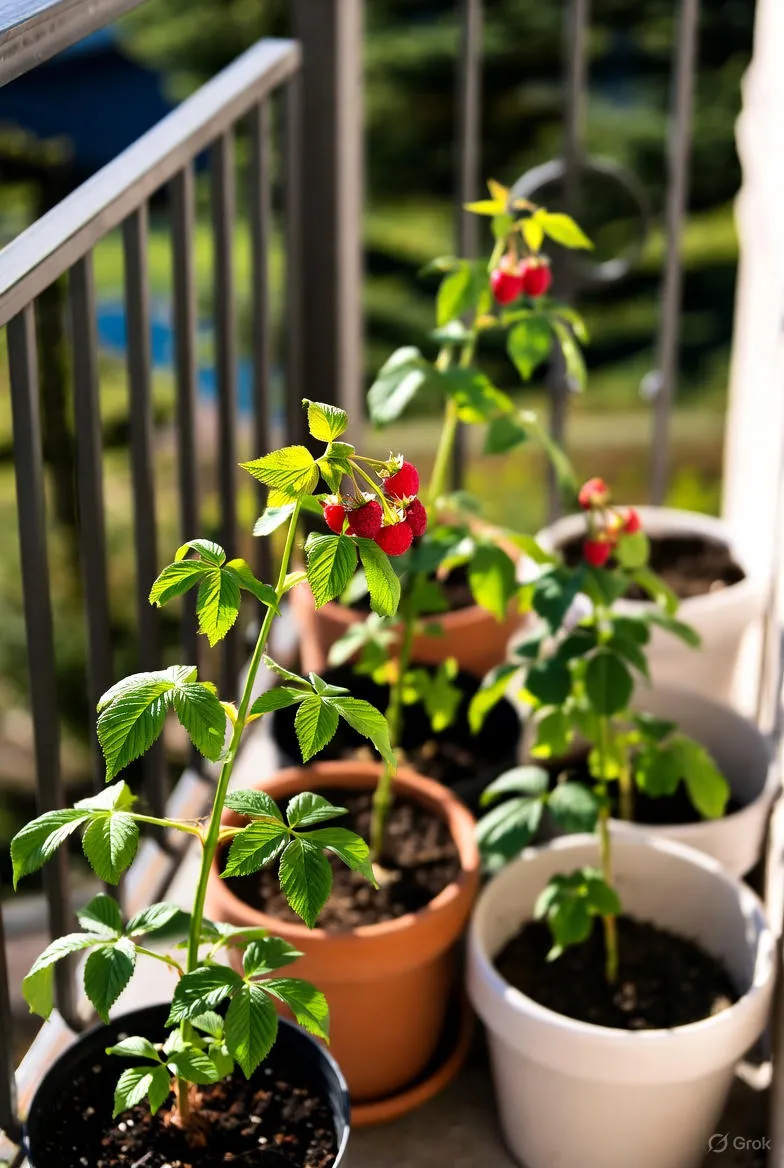
For organic growers, opt for disease-resistant cultivars like 'Heritage' for everbearing or 'Boyne' for summer-bearing. These hardy plants adapt well to home gardens and yield plump, flavorful berries. Consider your USDA hardiness zone; most raspberries prefer zones 4-8. If space is limited, dwarf varieties such as 'Ruby Beauty' are excellent for containers.
Before purchasing, check for certified organic nursery stock to ensure your plants start off pesticide-free. Bare-root canes are cost-effective and widely available in early spring, but potted plants offer flexibility for planting anytime.
Preparing the Ideal Site and Soil
Raspberries demand a sunny spot with at least six to eight hours of direct sunlight daily. Avoid low-lying areas prone to frost pockets, as these delicate canes can suffer winter damage. Good air circulation is crucial to prevent fungal issues, so space your rows accordingly.
Soil is the foundation of organic success. Aim for well-drained, loamy soil with a pH between 5.5 and 6.5. Test your soil using a home kit or send a sample to a local extension service. If the pH is too low, incorporate dolomitic lime; for high pH, use elemental sulfur.
Enrich the bed with organic matter like composted manure or leaf mold to boost fertility and improve structure. Work in 2-4 inches of compost into the top 12 inches of soil. For raised beds, construct frames at least 12 inches high to enhance drainage in clay-heavy soils.
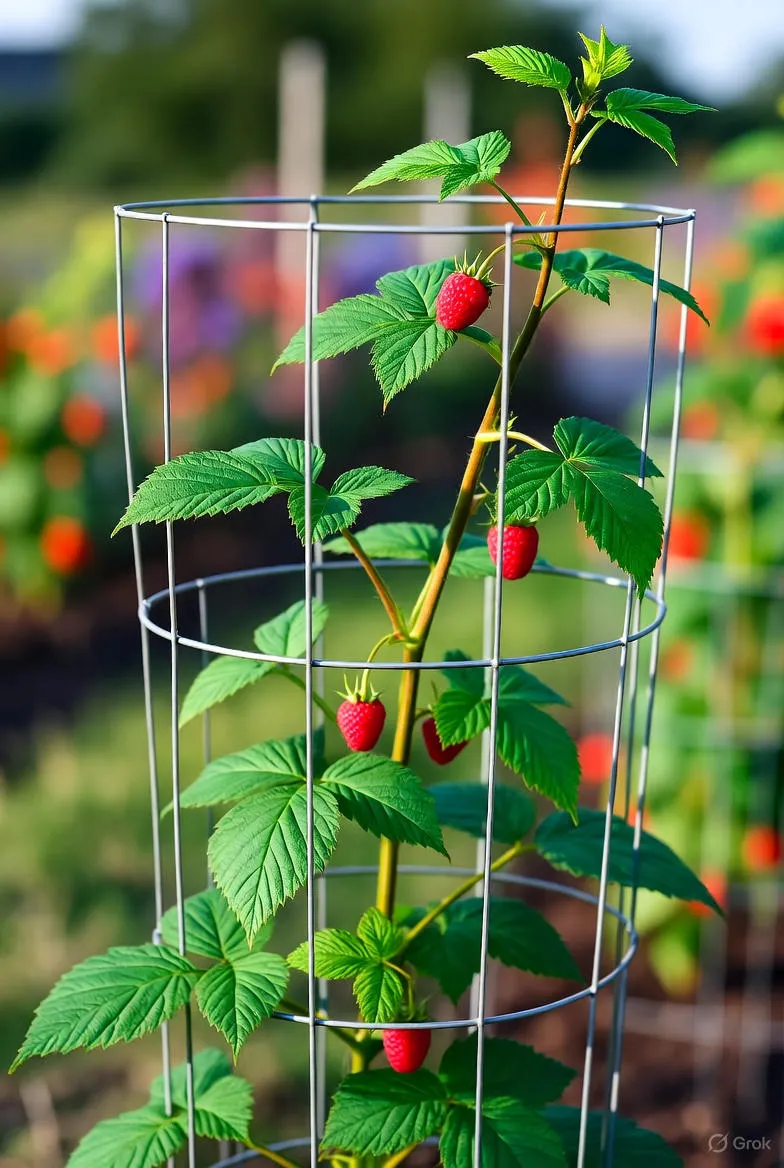
Building a Support System
Raspberry canes grow tall and arching, often reaching 5-7 feet. Install a simple trellis system using T-posts and wires spaced 2 feet apart vertically. This keeps canes upright, eases harvesting, and promotes airflow. For a rustic look, use wooden stakes and twine.
Planting Your Raspberry Canes
Spring is prime planting time, just as the soil warms. Dig holes 18-24 inches apart in rows 6-8 feet apart, wide enough to accommodate roots without crowding. Soak bare-root canes in water for a few hours before planting.
Position the canes so the roots spread out and the crown (where roots meet stems) sits 1-2 inches below soil level. Backfill with soil, firm gently, and water deeply to settle the ground. Mulch around the base with 3-4 inches of straw or wood chips to suppress weeds, retain moisture, and regulate temperature.
If planting everbearing varieties, you might get a small crop the first year, but patience pays off—expect full production by year two.
Watering and Fertilizing Organically
Consistent moisture is key, especially during fruit development. Provide 1-2 inches of water weekly, more in hot, dry spells. Drip irrigation or soaker hoses are ideal for targeted watering that keeps foliage dry and reduces disease risk.
For organic nutrition, apply a balanced fertilizer like fish emulsion or compost tea in early spring as growth begins. Side-dress with aged manure mid-season. Avoid over-fertilizing, which leads to lush leaves at the expense of fruit. Monitor plant health; yellowing leaves may signal nutrient deficiencies addressable with seaweed extract.
Pruning for Healthy, Productive Plants
Pruning maintains vigor and shape. For summer-bearing raspberries, in late winter, remove spent floricanes (last year's fruiting canes) at ground level. Thin new primocanes to 4-6 per foot, removing weak or crowded ones.
Everbearing varieties require a 'two-crop' or 'one-crop' approach. For two crops, prune like summer-bearers; for one fall crop, mow all canes to 6 inches in late winter. Use clean, sharp shears to make angled cuts, and always prune on dry days to minimize infection.
- Tip: Wear gloves—raspberry thorns are no joke!
- Bonus: Compost pruned canes to recycle nutrients back into your garden.
Organic Pest and Disease Management
Organic growing means working with nature, not against it. Companion planting with alliums like garlic or onions deters aphids and spider mites. Introduce beneficial insects such as ladybugs for aphid control.
For fungal foes like anthracnose, ensure good spacing and remove debris. A baking soda spray (1 tablespoon per gallon of water) can help prevent powdery mildew. If verticillium wilt appears (wilting leaves, stunted growth), remove affected plants and rotate crops—raspberries dislike following potatoes or tomatoes.
Monitor weekly for Japanese beetles; handpick and drop into soapy water. Neem oil serves as a broad-spectrum organic spray for various pests, applied in early evening.
Winter Protection
In colder zones, hill up soil around canes or wrap with burlap to shield from wind. A thick mulch layer insulates roots against freeze-thaw cycles.
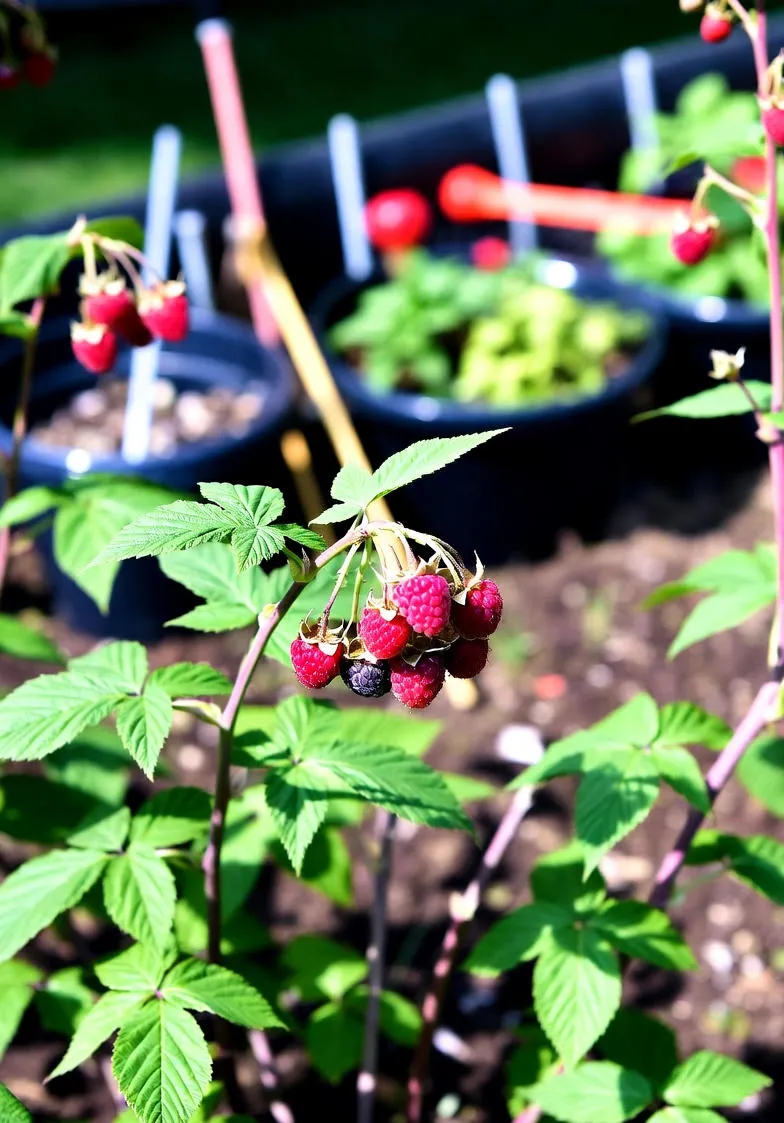
Harvesting and Enjoying Your Raspberries
Berries are ready when they slip easily from the core, typically 24-48 hours after turning full color. Harvest every 2-3 days in peak season to catch them at peak ripeness. Morning picks yield the sweetest fruit.
Gently twist or use small shears to avoid damaging the plant. Yield varies: a mature row can produce 5-10 pounds per 10 feet. Store in a single layer in the fridge for up to a week, or freeze for longer preservation.
Beyond eating fresh, experiment with jams, pies, or infusing vinegars. Share extras with neighbors to build community garden bonds.
Common Mistakes and How to Avoid Them
- Poor Drainage: Leads to root rot. Test by digging a hole and filling with water—if it doesn't drain in an hour, amend soil.
- Neglecting Pruning: Results in tangled, disease-prone thickets. Schedule annual sessions.
- Inconsistent Watering: Causes misshapen berries. Set reminders or install timers.
- Ignoring Weeds: Compete for resources. Mulch religiously and pull early.
- Overcrowding: Reduces airflow and yields. Space thoughtfully from the start.
Learning from these pitfalls ensures long-term success.
Expanding Your Organic Raspberry Patch
Once established, propagate via tip layering: bend a cane tip to the ground, cover with soil, and watch roots form. New plants gift opportunities to expand or share.
Integrate raspberries into permaculture designs, underplanting with nitrogen-fixers like clover or herbs like mint for ground cover. This symbiotic approach enhances biodiversity and soil health.
Conclusion: Savor the Fruits of Your Labor
Growing organic raspberries at home transforms your yard into a productive oasis. With dedication to site prep, organic care, and timely pruning, you'll enjoy seasons of delectable, nutritious berries. Embrace the process—the scratches from thorns are badges of a thriving garden. Start small, learn as you go, and soon you'll be the envy of your neighborhood with armfuls of ruby-red treasure.
(Word count: 1,248)