The Ultimate Guide to Washing Microgreens: Best Practices for Safety and Freshness
Learn the ultimate, step-by-step guide to washing microgreens properly. Discover best practices for maximizing food safety, preventing bruising, and ensuring your delicate greens stay crisp and fresh for longer.
🌱 Why Proper Washing is Non-Negotiable for Microgreens
Microgreens, the tiny seedlings of edible vegetables and herbs, are packed with flavor and nutrients, often containing significantly higher concentrations of vitamins and antioxidants than their mature counterparts. They are a powerhouse addition to any diet, gracing salads, sandwiches, and garnishes with their delicate texture and intense taste. However, the very nature of how microgreens are grown—often in dense mats, cut just above the soil or growing medium, and consumed raw—makes proper washing a critical step for both food safety and preserving their quality.
Unlike larger produce, microgreens have an extremely high surface-area-to-volume ratio and very delicate structure. This means they can harbor bacteria, soil particles, or residual growing medium more easily, yet they are also highly susceptible to physical damage and waterlogging. The challenge, therefore, lies in finding a cleaning method that is thorough without compromising the greens' fragile integrity. This comprehensive guide will walk you through the **best practices for washing microgreens**, ensuring they are safe, clean, and remain crisp and vibrant until the moment they are consumed.
A Note on Soil vs. Soilless Growing: While soilless mediums (like hemp or coconut coir) can reduce the risk of soil contamination, the need for thorough washing remains. All microgreens are exposed to the environment, including air and water used for irrigation, which can introduce contaminants. Always wash your microgreens, regardless of the growing medium.
🧪 Food Safety First: Understanding the Risks
The primary reason for washing any produce is to mitigate the risk of foodborne illnesses. For microgreens, the key contaminants include:
- Pathogenic Bacteria: Such as *E. coli*, *Salmonella*, and *Listeria*. These can be introduced from contaminated seeds, irrigation water, or poor handling practices.
- Residual Growing Medium: Peat moss, coconut coir, or even small particles of soil can remain attached to the stems. While not usually harmful, they are certainly unappetizing.
- Molds and Fungi: Poor air circulation during growth can sometimes lead to harmless but undesirable molds.
- Pesticides or Fertilizers: While most microgreen growers use organic or highly controlled methods, any non-organic or questionable inputs need to be removed.
Because microgreens are consumed raw, there is no cooking step to eliminate pathogens, making the washing process the final and most crucial line of defense.
💧 The Gentle Method: Step-by-Step Washing Technique
The key to successful microgreen washing is **gentleness** and the use of **large volumes of cool water** for submersion rather than direct rinsing, which can flatten and bruise the delicate leaves.
Phase 1: Preparation
- Prepare Your Tools: Gather a large bowl (preferably a salad spinner basin if you have one), a fine-mesh strainer, and a salad spinner. Ensure all tools are **sanitized** prior to use.
- Cool Water Bath: Fill the large bowl with a generous amount of **cold or cool water**. The water should be cool enough to help the microgreens maintain their crispness.
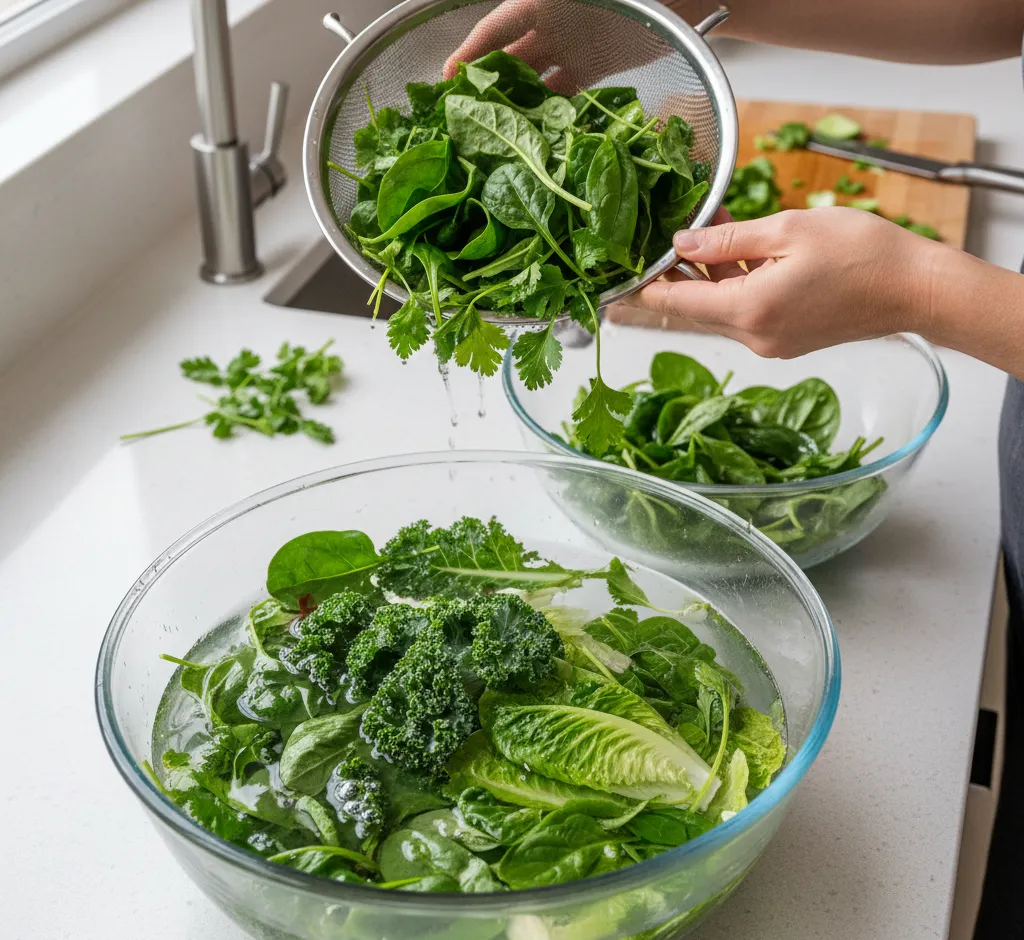
Phase 2: The Submersion Wash
- Gentle Introduction: Place a small, manageable handful of microgreens into the cool water. **Do not dump a large volume** as this can cause the greens to clump and prevents effective cleaning. Work in small batches.
- The Swirl and Soak: Gently agitate the microgreens in the water using your hands for about **30 to 60 seconds**. The agitation should be a gentle swirling motion, not vigorous scrubbing. This action allows any soil or debris to detach and sink to the bottom of the bowl.
- The Lift: Crucially, **do not pour the water and microgreens out together**. Use the fine-mesh strainer or your hands to gently lift the microgreens out of the water. This ensures any heavy particles that sank to the bottom are not re-deposited onto the greens.
- Rinse and Repeat (If Necessary): Inspect the water at the bottom of the bowl. If there is visible dirt or sediment, discard the water, refill the bowl with fresh cool water, and repeat the swirl and soak process. For most commercially grown or home-grown microgreens, one wash is often sufficient.
Phase 3: Drying – The Most Important Step for Freshness
Drying microgreens thoroughly is arguably **more important than the washing itself** for two main reasons:
- Preventing Bruising and Sliminess: Excess moisture accelerates the breakdown of the cell walls, leading to wilting, bruising, and the rapid onset of spoilage (sliminess).
- Flavor Concentration: Dry greens retain their intense, concentrated flavor profiles. Watered-down greens taste bland.
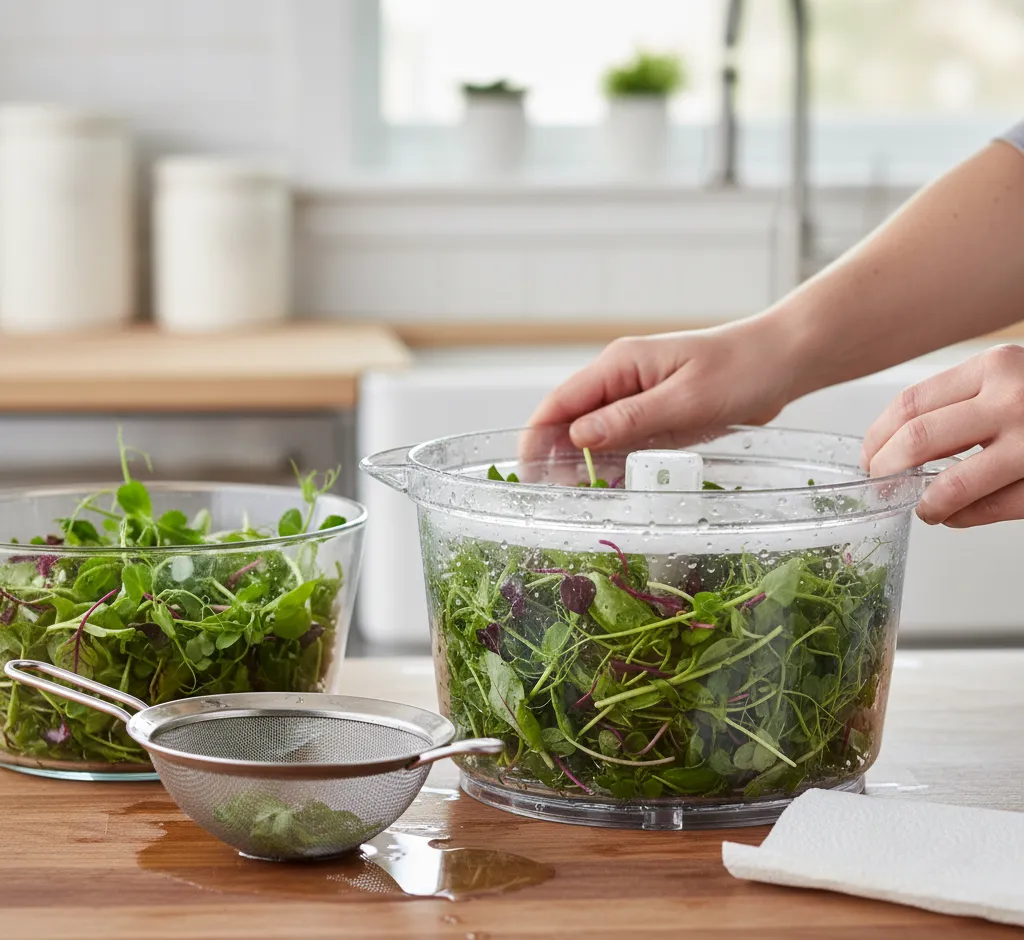
The Drying Methods:
- Salad Spinner (Recommended): This is the most efficient and least damaging method. Place the washed microgreens in the basket of a clean salad spinner. Spin for 30 seconds, check the results, and repeat until the greens are visibly dry. The centrifugal force removes water without crushing the delicate leaves.
- Towel Method (Alternative): For those without a spinner, place a clean, absorbent paper towel or a thin, lint-free kitchen towel on a flat surface. Spread the microgreens in a **single layer** over the towel. Gently blot the top with another paper towel. **Do not rub or press hard.** Let them air dry for a few minutes before storing.
🧊 Best Practices for Post-Washing Storage
Once washed and thoroughly dried, the microgreens must be stored correctly to maintain peak freshness.
- Ensure Zero Moisture: Before storage, double-check that the greens are completely dry.
- The Paper Towel Barrier: Line an airtight container (like a plastic clam-shell or a glass container) with a layer of dry paper towels.
- Layering: Place a layer of microgreens on the paper towel. If you have a large quantity, place another paper towel on top of the greens, and then add another layer of microgreens.
- Airtight Seal and Refrigeration: Seal the container tightly and store it in the crisper drawer of your refrigerator. The paper towels will wick away any residual moisture and help maintain a stable, dry environment. This method can keep microgreens fresh for 5-10 days, depending on the variety.
❌ Common Washing Mistakes to Avoid
Knowing what *not* to do is just as important as knowing what to do. Avoid these common errors when cleaning your microgreens:
- Using Soapy Water or Chemical Washes: Never use dish soap, bleach, or commercial produce washes. Microgreens are porous and can absorb these chemicals, leading to an unpleasant taste and potential health risks. Plain, cool water is sufficient.
- Rinsing Under High-Pressure Tap Water: Direct, strong faucet water will crush the leaves, causing immediate bruising, wilting, and cell-wall rupture, which speeds up decay. Always use the submersion method.
- Ignoring the Temperature: Washing in warm or lukewarm water encourages wilting and accelerates bacterial growth. Always use **cool or cold water**.
- Washing Too Far in Advance: Microgreens, like most delicate greens, have a short shelf life once washed. Only wash the quantity you plan to consume within a day or two. Washing them right before you use them is the best practice for maximum crispness.
- Overcrowding the Wash: Attempting to wash a large pile of microgreens at once prevents water from reaching all the delicate surfaces and makes it impossible for heavy sediment to fall away effectively. Wash in small batches.
💡 Advanced Tips for the Microgreen Enthusiast
Tip 1: The Sanitizing Power of Vinegar (Use with Caution)
While plain water is the standard, some people prefer a mild sanitizing rinse. You can add a small amount of white vinegar to your rinse water, but it must be used correctly to avoid damaging the greens or leaving a residual taste.
Method: In your large bowl of cool water, add **1 part distilled white vinegar to 10 parts water** (a 10:1 ratio). Submerge the microgreens for no more than **30 seconds**. The acidity can help eliminate some bacteria. Immediately follow this with a **plain water rinse** in a fresh bowl of cool water to remove the vinegar residue. This step is usually unnecessary for high-quality, trusted sources.
Tip 2: Staggered Harvesting and Washing
If you grow your own, consider harvesting only what you need for the next meal. This eliminates the need for long-term washed storage and guarantees the highest level of freshness and nutrient retention. If you must harvest the entire tray, wash in small batches over time as you need them, leaving the unwashed portion in the refrigerator.
Tip 3: The Importance of Clean Containers
Any container used for washing or storage—bowls, colanders, spinners, or storage boxes—can be a source of contamination. Wash all equipment with hot, soapy water and rinse thoroughly before every use to maintain an optimal sanitary environment for your delicate greens.
In conclusion, the best practices for washing microgreens distill down to three core principles: **gentleness, cleanliness, and thorough drying**. By avoiding harsh methods, using cool water for submersion, and making a salad spinner your best friend, you can ensure your microgreens are safe to eat, free of debris, and retain their crisp, vibrant texture and nutritional punch. This careful approach is the final step in translating the incredible vitality of these tiny plants onto your plate.